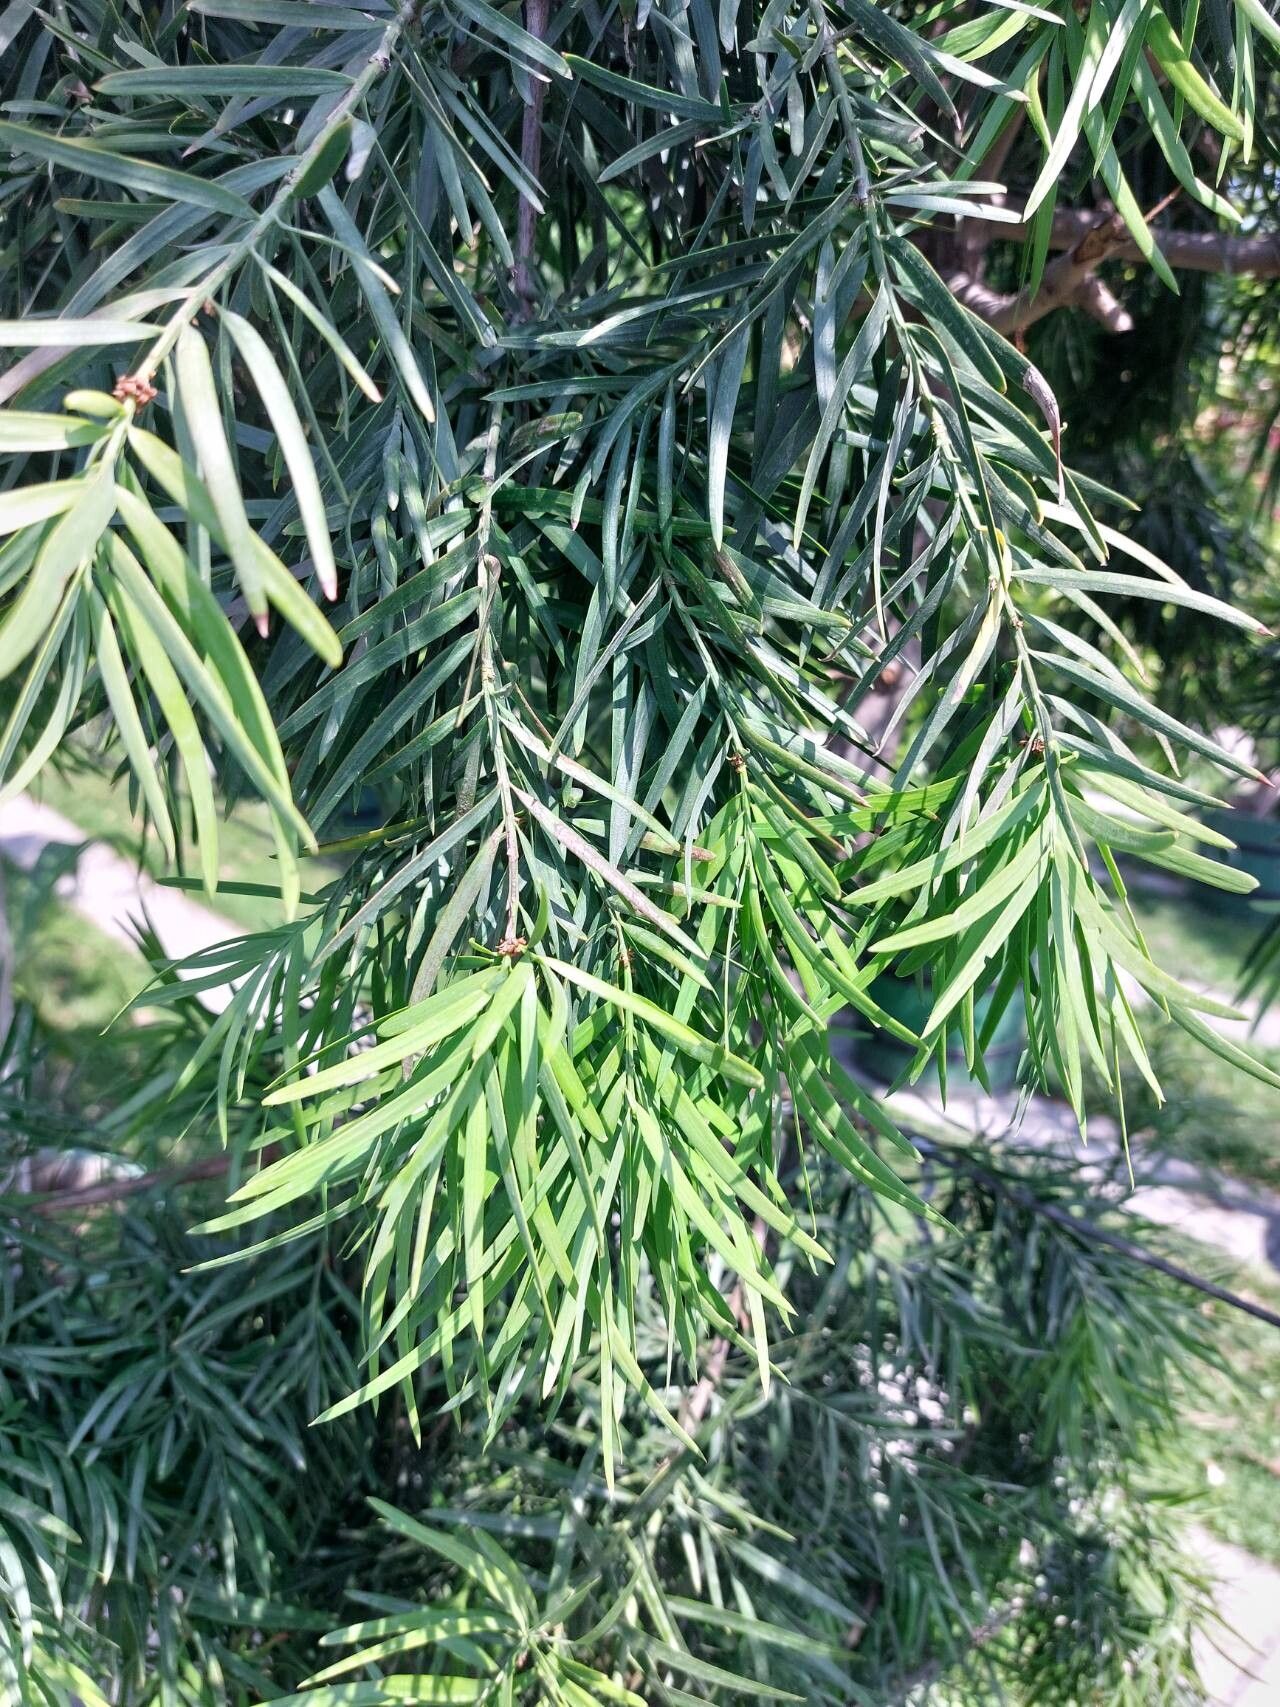
Hello fellow plant lovers! Today, we’re diving into the world of a truly special tree: Afrocarpus gracilior, often called the African Fern Pine or East African Yellowwood. I’ve been growing these beauties for years, and their elegant, upright form and lush, deep green foliage are just stunning. What’s even more rewarding? Successfully growing your own from just a cutting! It might sound a little intimidating, but trust me, with a little guidance, you can do it. While it’s not the absolute easiest plant for a complete novice, it’s definitely achievable with patience and a few key techniques.
The Best Time to Start
The sweet spot for propagating Afrocarpus gracilior is generally in late spring or early summer. This is when the plant is actively growing, and those new shoots have the energy they need to root. Look for stems that are still somewhat flexible but have started to firm up – often called “semi-hardwood cuttings.” Avoid very soft, brand-new growth and overly woody, mature stems.
Supplies You’ll Need
Here’s what you’ll want to have on hand before you get started:
- Sharp Pruning Shears or a Clean Knife: For making clean cuts.
- Rooting Hormone: A powdered or gel form specifically for cuttings.
- Well-Draining Potting Mix: A mix of perlite, peat moss, and a bit of compost works wonderfully. You can also find pre-made cactus or succulent mixes.
- Small Pots or Trays with Drainage Holes: Clean them thoroughly!
- Plastic Bags or a Propagation Dome: To create a humid environment.
- Labels: To keep track of your cuttings (trust me on this!).
- Water: For misting and initial hydration.
Propagation Methods
We’ll focus on stem cuttings, as this is the most reliable method for Afrocarpus gracilior.
-
Selecting and Taking Cuttings:
- Choose healthy, vigorous stems from your mature plant.
- Using your sharp shears or knife, take cuttings that are about 4-6 inches long.
- Make the cut just below a leaf node (where the leaves attach to the stem). This is where rooting hormones work best.
-
Preparing the Cuttings:
- Gently remove the lower leaves from the cutting, leaving just a few at the very top. This prevents them from rotting in the soil.
- If your cuttings are very long, you can pinch off the tip to encourage bushier growth later.
-
Applying Rooting Hormone:
- Dip the cut end of each cutting into water, then into your rooting hormone. Tap off any excess. This helps stimulate root development.
-
Planting the Cuttings:
- Fill your clean pots or trays with your well-draining potting mix. Moisten it thoroughly.
- Use a pencil or dibber to create a small hole in the center of the soil for each cutting.
- Carefully insert the cut end of the cutting into the hole, making sure the rooting hormone stays on the stem. Firm the soil gently around the base.
-
Creating Humidity:
- Water the soil lightly again.
- Cover the pots with a clear plastic bag or a propagation dome. Ensure the plastic doesn’t touch the leaves too much. You can support it with small stakes if needed. This traps humidity, which is crucial for cuttings that can’t yet absorb water through roots.
The “Secret Sauce” (Pro Tips)
- My best tip? Use bottom heat! Placing your pots on a seedling heat mat can dramatically speed up the rooting process. This gentle warmth mimics spring soil temperatures and encourages those roots to form faster.
- Don’t be tempted to overwater. While humidity is key, soggy soil is the enemy of cuttings, leading to rot. Let the top inch of soil dry out slightly between waterings.
- When you’re preparing your cuttings, dip your knife or shears in rubbing alcohol between each cut. This tiny step helps prevent the spread of any potential diseases from one cutting to another.
Aftercare & Troubleshooting
Once your cuttings are potted, place them in a spot with bright, indirect light. Avoid direct sun, which can scorch them. Keep that humidity high, and be patient!
You’ll know your cuttings have rooted when you gently tug on them and feel resistance, or ideally, when you see new growth appearing. This can take anywhere from 6 weeks to several months.
What if things go wrong? The most common issue is rot. If you see your cuttings turning black and mushy, it’s usually a sign of too much moisture and not enough air circulation. Unfortunately, rotted cuttings are usually a goner, but don’t despair! Just clean out the pot and try again with fresh cuttings. Another sign of failure is if the leaves start to yellow and drop off, which might mean they’re not getting enough light or are too dry. Adjust your conditions accordingly.
And there you have it! Propagating your own Afrocarpus gracilior is a truly satisfying journey. It takes a little patience, a bit of observation, and a whole lot of love. Don’t be discouraged if your first few attempts aren’t perfect – every gardener learns from experience. Enjoy the process, celebrate every tiny root, and soon you’ll have new green friends to share with everyone! Happy gardening!
Resource:
https://identify.plantnet.org/k-world-flora/species/Afrocarpus%20gracilior%20(Pilg.)%20C.N.Page/data