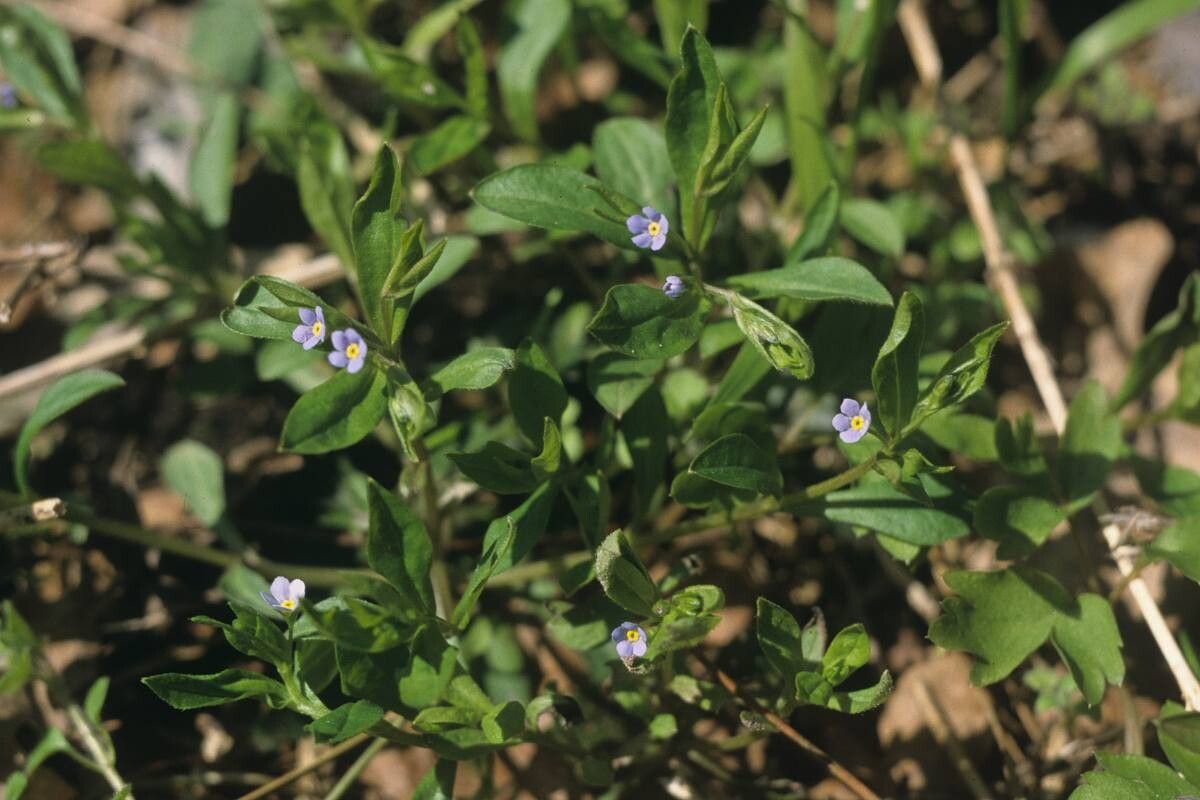
Hello green-thumb friends! Today, we’re diving into the delightful world of Myosotis sicula, also known as Sicilian Forget-Me-Nots. These tiny, ethereal blue flowers are pure garden magic. They have a way of popping up in unexpected nooks, carpeting the ground with soft colour and bringing a smile to your face. If you’ve fallen for their charms, you’ll be happy to know that propagating them is a wonderfully rewarding endeavor. And for beginners? I’d say Myosotis sicula is quite forgiving, making it a fantastic plant to start your propagation journey with.
The Best Time to Start
For the highest success rate, I find the late spring or early summer is your sweet spot. This is when the plant is actively growing after flowering, and new, healthy shoots are abundant. You’ll be taking cuttings from material that has plenty of energy to put into root development. Trying to propagate too late in the season, when growth is slowing down, can be a bit more of a struggle.
Supplies You’ll Need
Gathering your supplies beforehand makes the whole process smoother. Here’s what I typically have on hand:
- Sharp pruning shears or a clean knife: For taking neat cuttings.
- A light, well-draining seed starting mix: I like a blend of peat moss, perlite, and a touch of compost.
- Small pots or propagation trays: Clean ones are key!
- Rooting hormone (optional but recommended): A powder or liquid to give those cuttings a little boost.
- A spray bottle: For keeping things consistently moist.
- Plastic bags or a clear propagation lid: To create a humid environment.
- Gravel or perlite: For moisture retention in the pots.
Propagation Methods
Myosotis sicula is a real trooper, and you can have success with a couple of different approaches.
Stem Cuttings
This is my go-to method for these lovely little plants.
- Take your cuttings: In late spring or early summer, look for healthy, non-flowering stems. You want pieces that are about 3-4 inches long. Use your sharp shears to make a clean cut just below a leaf node (that little bump where a leaf emerges).
- Prepare the cuttings: Gently remove the lower leaves from the cutting, leaving just a couple of sets at the top. This prevents them from rotting in the soil.
- Dip in rooting hormone (optional): If you’re using rooting hormone, dip the cut end of each stem into the powder or liquid. Tap off any excess.
- Plant the cuttings: Fill your small pots or trays with your prepared seed starting mix. Make a small hole with your finger or a pencil, and insert the cut end of the stem. Gently firm the soil around it. You can plant several cuttings in one pot, giving them a little space.
- Water gently: Water the soil thoroughly but gently, so you don’t dislodge the cuttings.
- Create humidity: Cover the pots with a plastic bag or a clear propagation lid. You want to create a mini-greenhouse effect. Open it up for a few minutes each day to allow for air circulation.
- Provide light and warmth: Place the pots in a bright spot, but out of direct, harsh sunlight. A little warmth from the bottom, like from a germination mat, can really speed things up.
Water Propagation (use with caution for M. sicula)
While possible, I find this method a bit trickier for Myosotis sicula due to their delicate nature. If you decide to try it:
- Take cuttings and prepare them as described above, removing lower leaves.
- Place cuttings in a jar of fresh water. Crucially, make sure no leaves are submerged in the water. This is where rot can quickly set in.
- Change the water every other day to keep it fresh.
- Place in bright, indirect light.
- Be patient. You’ll see tiny root nubs appear, but transferring these delicate roots to soil can be a sensitive step and often leads to higher failure rates compared to soil propagation.
The “Secret Sauce” (Pro Tips)
Here are a few things I’ve learned over the years that can make a big difference:
- Don’t let the leaves touch the water (even in soil): Just like in water propagation, any foliage that sits on moist soil surfaces is a prime candidate for fungal problems. Keep those lower leaves trimmed!
- Use bottom heat: Seriously, a gentle warmth from below is like a cozy blanket for your cuttings, encouraging those roots to form much faster. It’s a game-changer.
- Be patient with the “wiggle test”: Resist the urge to tug on your cuttings too soon! Wait until you feel a gentle resistance when you wiggle them. This indicates that roots have formed and anchored them in the soil.
Aftercare & Troubleshooting
Once you see those little roots peeking out from the drainage holes, or you feel that resistance with the wiggle test, it’s time for a slightly different routine.
- Gradually introduce them to open air: If they were under a dome or bag, start by removing it for longer periods each day before taking it off completely.
- Water more conservatively: Let the top inch of soil dry out slightly between waterings. Overwatering is the quickest way to lose your precious new plants.
- Watch for rot: The most common sign of failure is a mushy, blackened stem at the soil line. This is usually due to overwatering and poor air circulation. If you see this, unfortunately, it’s usually best to discard the affected cutting.
- Patience with growth: They might look a bit leggy at first. Don’t worry; once they’re established, you can pinch them back to encourage bushier growth.
A Warm Encouraging Closing
Propagating Myosotis sicula is such a joy. It’s a beautiful way to share these little blue treasures with friends or simply to fill your own garden with more of that delightful colour. Don’t be discouraged if your first attempt isn’t perfect. Gardening is a constant learning process, and with each try, you’ll develop a better feel for what your plants need. So gather your supplies, get your hands dirty, and enjoy the magical journey of bringing new life into your garden. Happy propagating!
Resource:
https://identify.plantnet.org/k-world-flora/species/Myosotis%20sicula%20Guss./data