Oh, hello there! It’s so lovely to see you. Pull up a chair and let’s chat about one of my absolute favorite subjects: bringing more beautiful plants into our lives through propagation. Today, we’re diving into the wonderful world of Harrisia regelii.
Why Propagate Harrisia regelii?
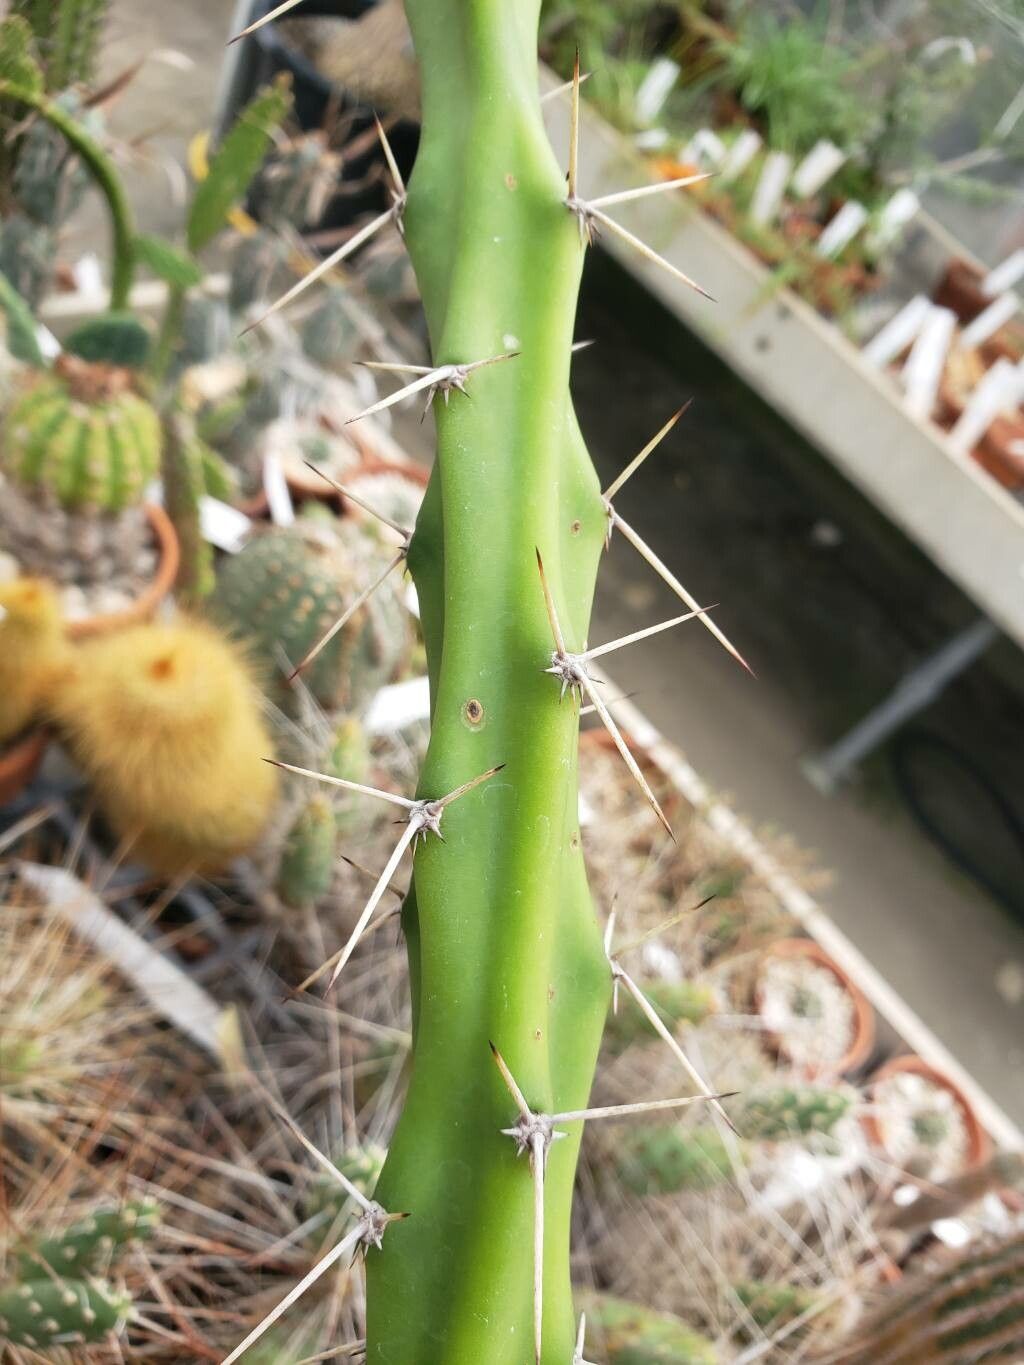
Harrisia regelii, often called the “Serpent Cactus,” is a real charmer. Its trailing, segmented stems are just begging to cascade from a hanging basket or spill over the edge of a shelf. It’s got this wonderfully wild, almost untamed beauty that I find so appealing. And the best part? Propagating it is incredibly rewarding! You get to witness that tiny piece of a plant transform into a whole new, thriving specimen. For those of you just starting out with plants, you’ll be happy to know that Harrisia regelii is a wonderfully forgiving plant to propagate. No need to be nervous!
The Best Time to Start
When is the sweet spot for getting your Harrisia regelii cuttings to take? I’ve found that the late spring or early summer is your golden ticket. This is when the plant is actively growing, pushing out new shoots. Those fresh, vigorous stems have the best energy reserves to develop roots. You can certainly try at other times, but you’ll likely see the most success during this prime growing season.
Supplies You’ll Need
Gathering your tools beforehand makes the whole process so much smoother. Here’s what I always have on hand:
- Sharp Pruning Shears or a Clean Knife: Essential for making clean cuts that heal well.
- Well-Draining Potting Mix: I like a cactus and succulent blend, or I create my own by mixing equal parts potting soil, perlite, and coarse sand.
- Small Pots or Containers: Terracotta pots are great because they breathe, but plastic works too. Ensure they have drainage holes!
- Rooting Hormone (Optional but Recommended): This can give your cuttings a helpful boost. Look for one formulated for succulents or cacti.
- Gloves: While Harrisia regelii isn’t overly spiky, its areoles can still be a bit prickly.
- Watering Can or Spray Bottle: For gentle watering.
Propagation Methods
For Harrisia regelii, we’re going to focus on the easiest and most effective method: stem cuttings.
- Take Your Cuttings: First things first, put on your gloves. Look for a healthy, mature stem. You want a piece that’s at least 4-6 inches long. Using your clean shears or knife, make a clean cut right where one segment joins another. It’s like taking a segment from a chain.
- Let Them Callus: This is a crucial step! After taking your cuttings, you need to let them dry and form a callus over the cut end. This prevents rot when you plant them. Place the cuttings in a dry, airy spot out of direct sunlight for 3 to 7 days. The cut end should look dry and slightly hardened.
- Planting the Cuttings: Once your cuttings have callused, it’s time to plant. You can either stick the callused end directly into a pre-moistened (but not soggy!) potting mix. About one inch deep is usually sufficient. If you’re using rooting hormone, dip the callused end into it before planting.
- Watering Gently: After planting, give the soil a light watering. You want it to be moist but not waterlogged. Overwatering at this stage is the quickest way to invite rot.
The “Secret Sauce” (Pro Tips)
Now, here are a couple of things I’ve learned over the years that really make a difference:
- Bottom Heat is Your Friend: If you have a heat mat designed for seedlings, pop your pots on top of it. This gentle, consistent warmth encourages root development from below. The soil should feel just slightly warm to the touch.
- Don’t Rush the Roots: Be patient! It can take several weeks, sometimes even a couple of months, for Harrisia regelii cuttings to establish a good root system. Resist the urge to constantly tug at them to “check” for roots. Instead, look for signs of new growth – a tiny new segment or a slight swelling at the base.
Aftercare & Troubleshooting
Once you see signs of root establishment, like new growth or the cutting feeling firm when gently tugged, you can start caring for your new plant like a mature one.
- Watering: Allow the soil to dry out between waterings. This is key for cacti and succulents. You can test this by sticking your finger about an inch into the soil. If it feels dry, it’s time to water.
- Light: Place your new Harrisia regelii in a bright spot with indirect sunlight. Direct, intense sun can scorch young plants.
- Troubleshooting: Rot is the Enemy: The most common problem you’ll encounter is rot, which usually stems from overwatering. If your cutting looks mushy, dark, or smells off, sadly, it’s likely too late. Remove it immediately and ensure the soil in your other cuttings is not waterlogged. If you see a bit of rot but the rest of the cutting looks healthy, you might be able to cut away the rotten part and let the rest callus and try again.
Happy Growing!
Propagating Harrisia regelii is such a satisfying journey. It’s about patience, a little bit of know-how, and a lot of love for your plant babies. Don’t be discouraged if a cutting doesn’t take; it’s all part of the learning process. Enjoy watching those little segments transform. Happy gardening!
Resource:
https://identify.plantnet.org/k-world-flora/species/Harrisia%20regelii%20(Weing.)%20Borg/data