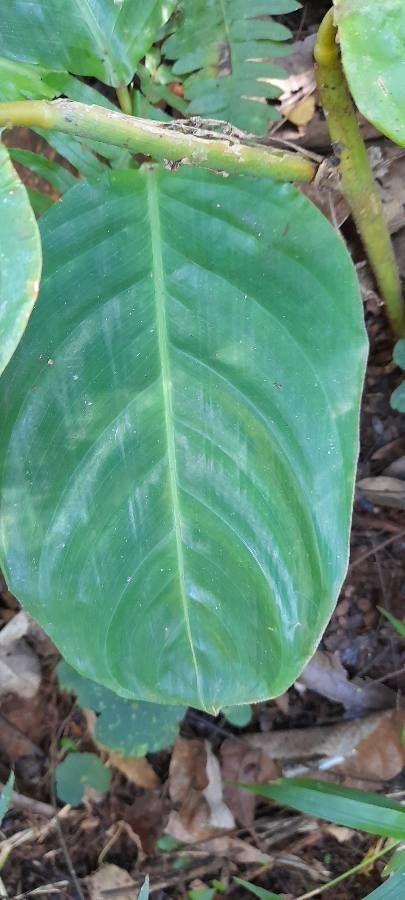
Hello, fellow plant lovers! Today, we’re diving into the wonderful world of Ctenanthe muelleri. If you haven’t met this beauty yet, picture this: striking, patterned foliage that dances in the slightest breeze, often with deep purples on the undersides. It’s a true showstopper, bringing a touch of the tropics right into our homes. And the best part? Being able to multiply this gorgeousness is incredibly rewarding! Now, I know some of you might be a little nervous about propagation, but don’t worry. Ctenanthe muelleri is surprisingly forgiving – a great option even for those just dipping their toes into the world of plant babies.
The Best Time to Start
Timing is everything in the garden, isn’t it? For Ctenanthe muelleri, the sweet spot for propagation is during active growth, which typically means spring and summer. The plant is full of energy then, making it more likely to put out roots and establish itself successfully. You’ll also have a good supply of healthy stems to work with.
Supplies You’ll Need
Let’s gather our tools! It’s always good to have everything prepped before you start.
- Sharp pruning shears or a clean knife: For making clean cuts.
- Well-draining potting mix: I like a blend of peat moss or coco coir, perlite, and a bit of compost.
- Small pots or containers: About 4-6 inches in diameter.
- Rooting hormone (optional but helpful): A powder or gel will do.
- Clear plastic bag or a propagation dome: To create a humid environment.
- Water: For rinsing or water propagation.
Propagation Methods
Ctenanthe muelleri is a fantastic candidate for a couple of my favorite methods. Let’s explore!
Stem Cuttings: My Go-To
This is usually the most reliable way to get new plants.
- Select a healthy stem: Look for a stem on your mature plant that has at least two or three sets of leaves. Avoid any that look leggy or have yellowing foliage.
- Make the cut: Using your clean shears or knife, make a cut just below a leaf node. A leaf node is that little bump where a leaf meets the stem; this is where roots tend to emerge.
- Prepare the cutting: Gently remove the lowest set of leaves. You can dip the cut end into rooting hormone if you’re using it. This step isn’t strictly necessary, but it can give your cutting a little boost.
- Plant your cutting: Fill your small pot with your well-draining potting mix. Make a small hole with your finger or a pencil and insert the cut end of the stem. Gently firm the soil around it.
- Water it in: Water gently until the soil is evenly moist but not soggy.
- Create a humid environment: Cover the pot with a clear plastic bag or place it under a propagation dome. This keeps the humidity high, which is crucial for leafy cuttings. Make sure the leaves aren’t touching the plastic if possible.
Division: For the Bold
If your Ctenanthe muelleri has become quite large and bushy, you might consider division.
- Gently remove the plant from its pot.
- Inspect the root ball. You’re looking for distinct sections or crowns from which new shoots are emerging.
- Carefully tease apart the root ball with your fingers or a clean knife. Aim to separate the plant into smaller sections, ensuring each new division has roots and at least one to two healthy shoots.
- Pot up each division into its own container with fresh, well-draining soil. Water them in as you would with cuttings.
The “Secret Sauce” (Pro Tips)
Here are a few little tricks I’ve picked up over the years that can make a big difference:
- Bottom Heat is Your Friend: If you have a seedling heat mat, placing your pots on top of it can dramatically speed up root formation. It mimics the warmth of tropical soil and gives those nascent roots a real nudge.
- Don’t Drown Your Baby: While humidity is key, overwatering is the quickest way to kill a cutting. The soil should feel moist, like a wrung-out sponge, not waterlogged. If you see water pooling, tip out the excess.
- Patience is a Virtue (and a Requirement!): Sometimes, it takes a few weeks, or even a couple of months, for roots to establish. Resist the urge to constantly tug on your cuttings to check for roots! Trust the process.
Aftercare & Troubleshooting
Once you see new growth emerging from your cutting or division, it’s a good sign roots are forming!
- Acclimatize slowly: Gradually remove the plastic bag or dome over a week or two to allow the new plant to adjust to normal room humidity.
- Continue regular watering: Keep the soil consistently moist but not soggy.
- Bright, indirect light: Place your new plant in a spot that receives plenty of bright, indirect light, just like its parent.
Troubleshooting:
- Yellowing leaves: This can be a sign of overwatering or underwatering. Check your soil moisture.
- Wilting: Often indicates dehydration, but can also be a symptom of root rot if the soil is too wet.
- Rotting at the base: This is usually due to overly wet conditions. If caught early, you might be able to save the cutting by taking a fresh, healthy piece and trying again. Use clean tools and ensure good drainage!
A Little Encouragement
Propagating plants is such a fulfilling part of gardening. It’s a chance to share the beauty you love, and a wonderful way to build your own collection for free! Don’t be discouraged if your first attempt isn’t perfect. Every plant, and every propagation, is a learning experience. So, take a deep breath, embrace the process, and enjoy watching your new Ctenanthe muelleri babies grow! Happy propagating!
Resource:
https://identify.plantnet.org/k-world-flora/species/Ctenanthe%20muelleri%20Petersen/data