Oh, Calystegia atriplicifolia! Isn’t that a beaut? Its lovely, broad leaves and those elegant, trumpet-shaped flowers are just a dream in the garden. Getting more of these to share or to fill out a new space is something I’ve loved doing for years. And the best part? It’s quite forgiving, even for folks just starting out on their propagation journey. You can absolutely do this!
The Best Time to Start
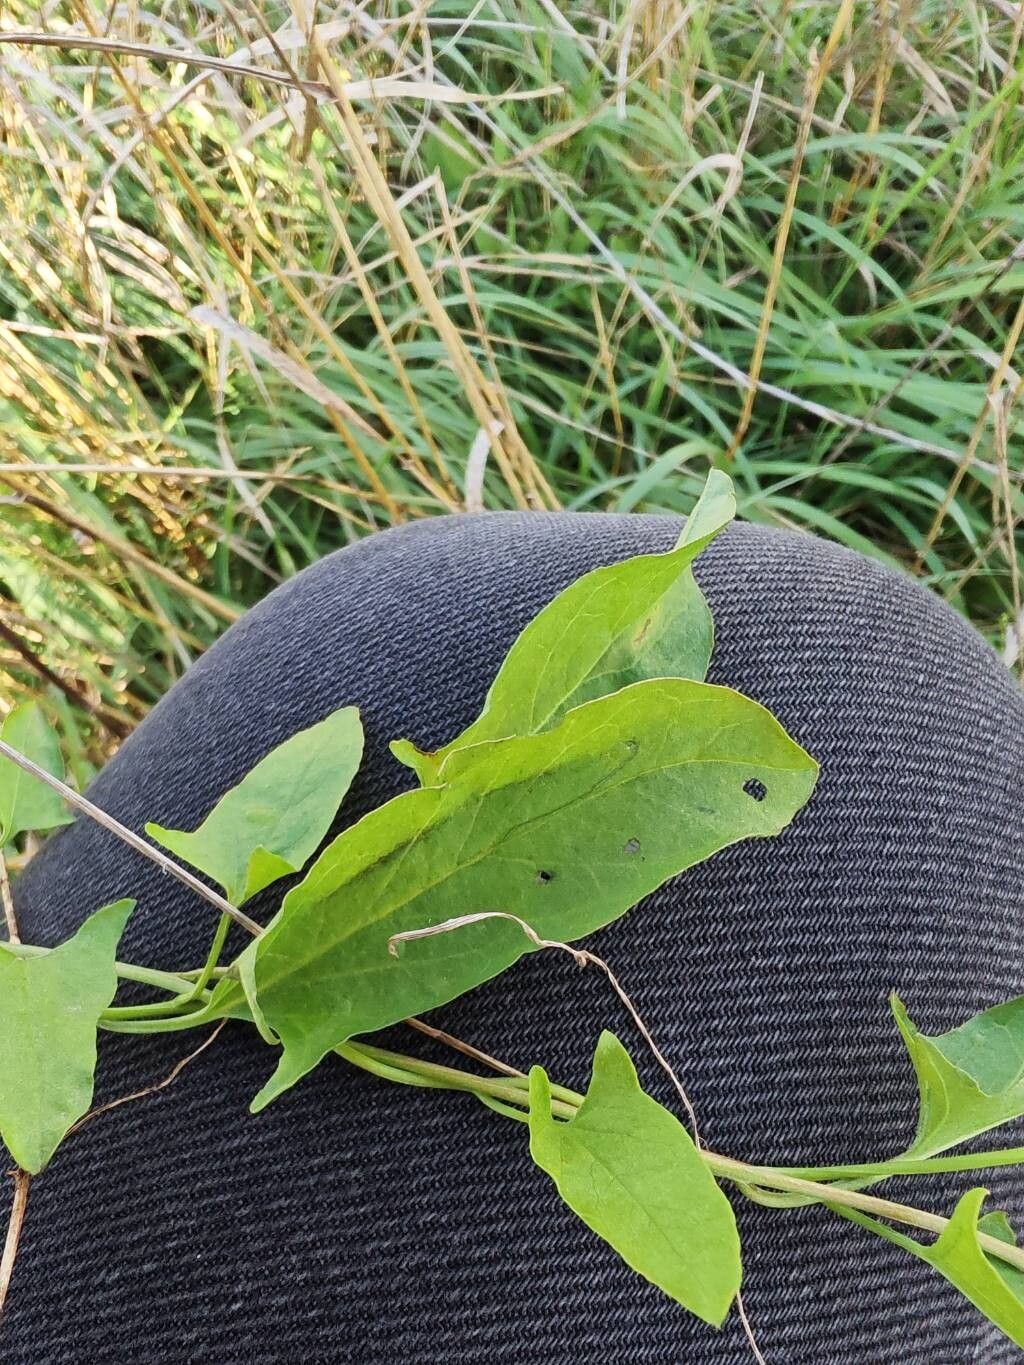
For Calystegia atriplicifolia, the sweet spot for propagation is late spring or early summer. This is when the plant is actively growing, and its stems are plump and full of life. You’re looking for new, semi-hardwood growth – think of the stems that are flexible but not so soft they bend every which way. Avoid very old, woody stems or brand new, tender shoots.
Supplies You’ll Need
Here’s a little toolkit to get you going:
- Sharp pruning shears or a clean, sharp knife: For making clean cuts.
- Rooting hormone (optional but recommended): A powder or gel to give your cuttings a helpful boost.
- Potting mix: A well-draining mix is key. I like a blend of equal parts potting soil, perlite, and a bit of peat moss.
- Small pots or trays: With drainage holes, of course!
- Plastic bags or a propagation dome: To create a humid environment.
- Water: For watering and maybe even a bit of water propagation.
- Labels and a marker: So you don’t forget what you planted where!
Propagation Methods
I find two main methods work wonders for Calystegia atriplicifolia: stem cuttings and division.
Stem Cuttings
This is my go-to for increasing my plant collection.
- Take your cuttings: Using your sharp shears, cut lengths of stem about 4-6 inches long. Make sure each cutting has at least two sets of leaves. Cut just below a leaf node (where a leaf attaches to the stem). This is important because that’s where the magic happens for root development.
- Prepare the cuttings: Gently remove the lower leaves, leaving just a couple at the top. If your leaves are quite large, you can even cut them in half to reduce water loss.
- Dip in rooting hormone (optional): If you’re using rooting hormone, moisten the cut end of the stem and dip it into the powder or gel. Tap off any excess.
- Plant your cuttings: Fill your small pots with your prepared potting mix. Make a hole with your finger or a pencil and gently insert the cutting, ensuring the part where you removed the leaves is buried. Firm the soil gently around the stem.
- Water and cover: Water the soil thoroughly but gently. Then, cover the pot with a plastic bag or propagation dome to keep humidity high. This creates a mini-greenhouse effect.
- Place them in bright, indirect light: Find a warm spot that gets plenty of light but no direct sun, which can scorch the delicate cuttings.
Division
If you have an established clump, division is a quick way to get new plants.
- Dig up the plant: In late spring or early summer (or even early fall), carefully dig up your Calystegia. You want to get as much of the root ball as possible.
- Separate the roots: Gently shake off excess soil. You’ll see where the plant naturally divides into sections. With your hands or a clean spade, carefully pull or cut the root ball into sections, ensuring each section has some healthy roots and at least one growing point (where a stem emerges from the root).
- Replant immediately: Plant each division into its new spot, whether that’s a pot or directly into the garden. Water them well.
The “Secret Sauce” (Pro Tips)
- Don’t let the leaves touch the water (if water propagating): I know some people swear by water propagation for other plants, and while you can try it with Calystegia, I find it’s more prone to rot if the leaves dip below the water line. If you do, make sure only the cut stem or the lowest nodes are submerged.
- Bottom heat is your friend: If you have a heat mat designed for propagation, using it under your pots of cuttings can significantly speed up root formation. The warmth encourages root growth.
- Mist regularly (if not using a dome): If you’re not using a plastic bag or a dome, you’ll need to mist your cuttings regularly to keep them from drying out. A fine misting spray bottle is perfect for this.
Aftercare & Troubleshooting
Once those little roots start forming (you might see them peeking out from the drainage holes, or a gentle tug will offer resistance), it’s time for a bit more attention.
- Gradually acclimatize: Slowly remove the plastic bag or dome over a few days to allow the new plant to adjust to normal humidity levels.
- Watering: Keep the soil consistently moist, but not waterlogged. You’ll sense when they need a drink as the leaves might start to droop slightly.
- First feeding: Wait a few weeks after you see good root development before giving it a very dilute liquid fertilizer.
- Watch for rot: The most common issue is rot, which looks like mushy, black stems. This usually happens from overwatering or poor drainage. If you see it, remove the affected cutting immediately.
- Wilting: Some initial wilting is normal as the cutting works on establishing roots, but if it persists and doesn’t perk up after watering, it might not have taken.
A Warm Farewell
Propagating Calystegia atriplicifolia is such a rewarding endeavor. It’s a chance to understand your plant on a deeper level and to share its beauty. Be patient with yourself and the process. There will be successes and perhaps a few learning moments, but each one teaches you something. Happy gardening, and enjoy watching those new plants grow!
Resource:
https://identify.plantnet.org/k-world-flora/species/Calystegia%20atriplicifolia%20Hallier%20f./data