Hey there, fellow plant enthusiasts! It’s so good to connect with you today. I’ve been digging in the dirt for about two decades now, and I’m always thrilled to share what I’ve learned. Today, we’re going to talk about a real beauty: Erianthus trinii.
Discovering the Magic of Erianthus Trinii
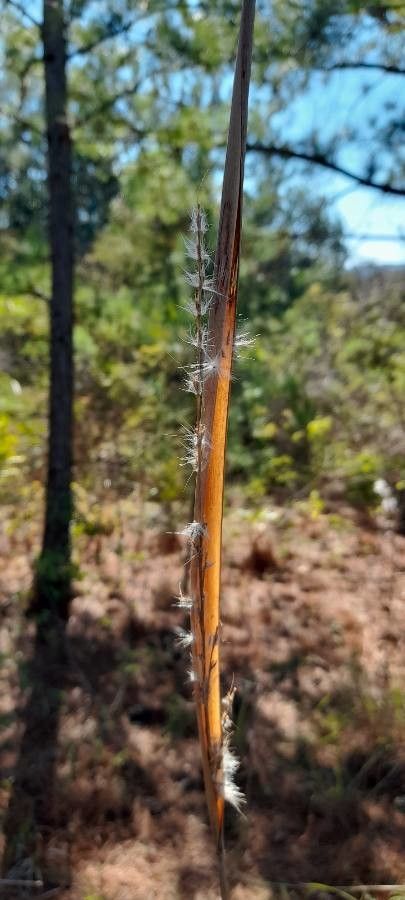
If you’ve seen Erianthus trinii, you know its appeal. It’s one of those grasses that just makes a garden sing. With its graceful plumes and lovely texture, it brings a touch of the wild and elegant to any space. More than that, though, propagating it is incredibly rewarding. It’s a chance to fill your garden, or share with friends, without needing to buy new plants.
Now, as for whether it’s a beginner-friendly plant for propagation? I’d say Erianthus trinii is moderately easy. It’s not notoriously difficult, but it does appreciate a bit of know-how. Stick with me, and you’ll do wonderfully!
When to Get Your Hands Dirty
The best time to start propagating Erianthus trinii is during its active growing season. For most of us, that means late spring through early summer. The plant is full of energy then, which helps those cuttings root nicely. You’re looking for healthy, vigorous stems that haven’t flowered yet.
Your Propagation Toolkit
Here’s what you’ll want to have on hand:
- Sharp, clean pruning shears or a sharp knife: For making clean cuts.
- Rooting hormone (optional but recommended): Helps to speed up root development. I prefer the powder form for cuttings.
- Well-draining potting mix: A blend of perlite, peat moss, and a bit of compost works beautifully. You can also buy a specialty succulent or cactus mix.
- Small pots or trays: Clean containers with drainage holes are essential.
- Watering can or spray bottle: For gently moistening the soil.
- Plastic bags or a propagation dome: To create a humid environment.
Bringing New Life: Propagation Methods
Erianthus trinii is best propagated from stem cuttings. It’s straightforward and usually yields great results.
- Select Your Stems: Look for healthy, non-flowering stems from your mature plant. Aim for pieces about 4-6 inches long. Use your clean shears to make a cut just below a leaf node (the point where a leaf attaches to the stem).
- Prepare the Cuttings: Gently remove the lower leaves from the stem. You want to expose the nodes, as this is where roots will form. If your cuttings are very long, you can trim off the top few inches to make them more manageable.
- Apply Rooting Hormone (If Using): Dip the cut end of each stem into your rooting hormone, tapping off any excess. This gives your cutting a little boost.
- Plant Your Cuttings: Fill your small pots with your prepared potting mix. Make a small hole in the center of the soil with your finger or a pencil. Insert the cut end of the stem into the hole, ensuring at least one or two leaf nodes are buried beneath the surface. Firm the soil gently around the stem.
- Water and Cover: Water the soil thoroughly but gently. You want it to be moist, not soggy. To create a humid microclimate, cover the pot loosely with a clear plastic bag or place it under a propagation dome. Make sure the leaves aren’t touching the plastic.
The “Secret Sauce” (My Insider Tips!)
After years of trial and error, I’ve picked up a few tricks that really make a difference:
- Bottom Heat is Your Friend: Placing your pots on a heated propagation mat can dramatically speed up root formation. The warmth encourages the plant to send out roots much faster.
- Don’t Over-Water Initially: While humidity is key, waterlogged soil is the fastest way to rot your cuttings. Let the top inch of soil dry out slightly between waterings. A good watering when you first plant them, and then careful observation, is the way to go.
- Patience is a Virtue (Especially with Grasses!): Sometimes, grass cuttings can take a little while to show signs of rooting. Don’t get discouraged if you don’t see new growth right away. Give them at least 4-6 weeks.
Aftercare and What to Watch For
Once you start seeing signs of new growth – tiny leaves unfurling at the tips or a gentle tug resistance when you very lightly pull on a cutting – you know roots have formed!
At this point, you can gradually acclimate your new plants to drier air. Start by removing the plastic bag for a few hours each day, then extend the time until they are used to ambient humidity. Continue to keep the soil consistently moist but not waterlogged.
The main thing to watch out for is rot. If your cuttings look black and mushy, or the leaves are yellowing and wilting without any apparent cause, it’s likely rot from too much moisture. Sadly, there’s not much you can do once rot sets in, so prevention is key!
Keep Growing, Keep Going!
Propagating Erianthus trinii is a wonderful journey. It might take a little patience, but seeing those tiny roots emerge and future garden stars begin their independent lives is incredibly fulfilling. So, grab your tools, choose your best stems, and enjoy the process. Happy gardening!
Resource:
https://identify.plantnet.org/k-world-flora/species/Erianthus%20trinii%20(Hack.)%20Hack./data