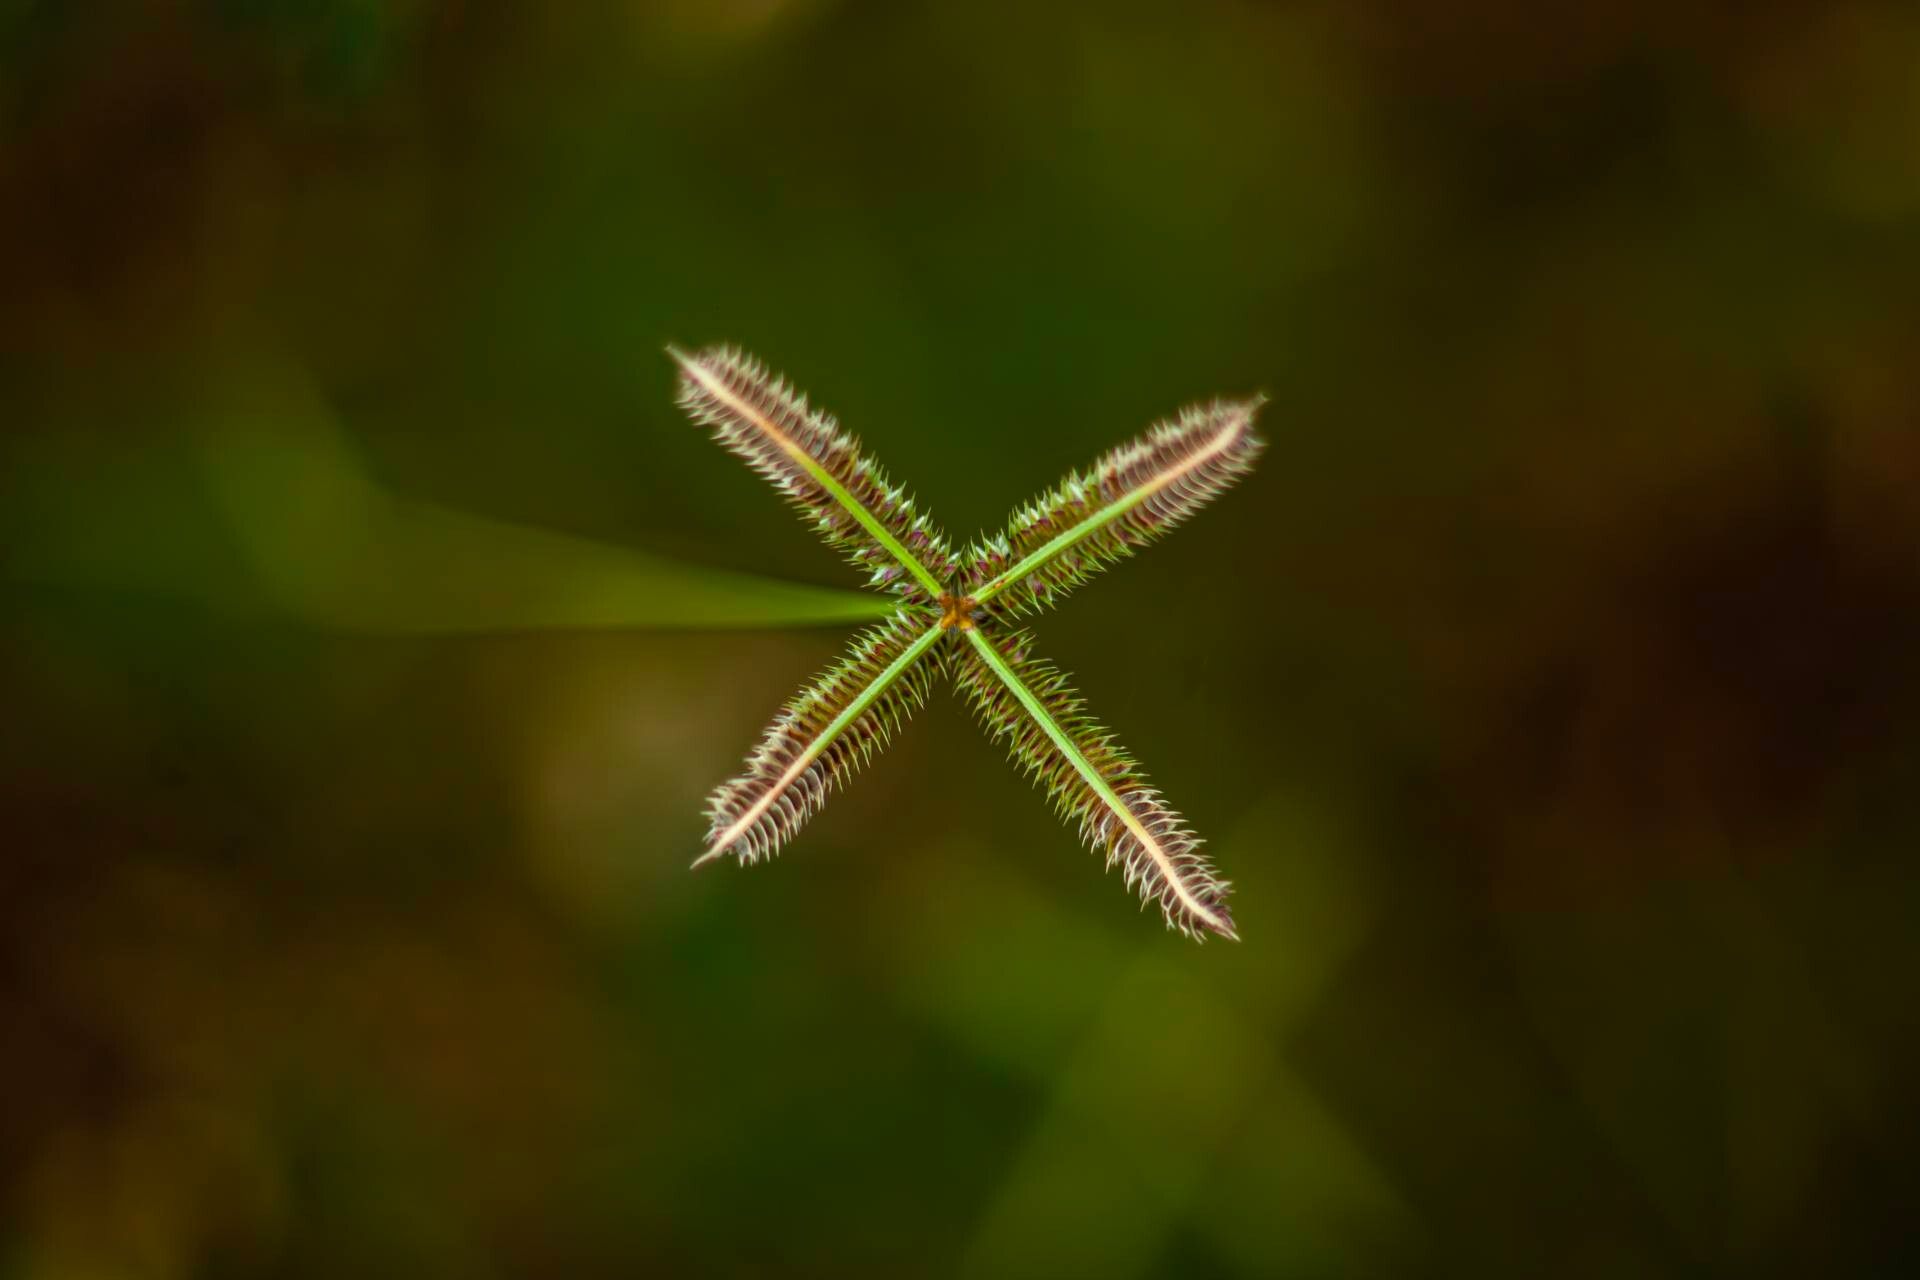
Oh, hello there! Come on in, let’s chat about the wonderful world of plant propagation. Today, we’re diving into Dactyloctenium aegyptium, also known as Egyptian crowfoot grass. Now, I know “grass” might not sound as glamorous as a prize-winning rose, but trust me, this little beauty has a charm all its own, especially when it comes to its graceful, arching growth and its interesting seed heads.
Propagating Dactyloctenium aegyptium is a truly rewarding experience. There’s a special kind of magic in taking a tiny piece of a plant and helping it grow into something entirely new. If you’re new to this plant parent journey, you’ll be happy to hear that this one is actually quite forgiving. I’d say it’s a fantastic choice for beginners looking to dip their toes into propagation.
The Best Time to Start
When it comes to giving your little Dactyloctenium aegyptium cuttings the best start, spring and early summer are your golden ticket. This is when the plant is really in its growth spurt. The days are longer, the sun is warmer, and everything is just bursting with energy. Trying to propagate later in the year, when growth slows down, can be a bit more of a gamble.
Supplies You’ll Need
Before we get our hands dirty, let’s gather our tools. You don’t need a whole lot, but having the right bits and bobs makes all the difference:
- Sharp Pruning Shears or a Clean Knife: For making clean cuts.
- Small Pots or Seed Trays: With drainage holes, of course!
- Well-Draining Potting Mix: I like a blend of seed-starting mix and perlite or horticultural sand. You want it to dry out nicely between waterings.
- Rooting Hormone (Optional but helpful): Especially if your cuttings are a bit leggy.
- Watering Can with a Fine Rose: For gentle watering.
- Plastic Bag or Propagation Dome: To create a humid environment.
- A Small Stick or Label Marker: To keep track of your new babies!
Propagation Methods
Dactyloctenium aegyptium is pretty versatile, but my favorite and most successful method has always been stem cuttings.
Stem Cuttings
- Take Your Cuttings: In spring or early summer, look for healthy, non-flowering stems. Using your sharp shears, take cuttings that are about 4-6 inches long. Make your cut just below a leaf node (that’s the little bump where a leaf grows from).
- Prepare the Cuttings: Gently remove the lower leaves from the cutting, leaving just a few at the top. This prevents them from rotting in the soil.
- Apply Rooting Hormone (if using): Dip the cut end into your rooting hormone powder. Just a light coating is all you need.
- Plant Your Cuttings: Fill your small pots with your prepared potting mix. Make a small hole in the soil with your finger or a pencil. Insert the cut end of the stem into the hole, ensuring it’s deep enough to be stable. Gently firm the soil around it.
- Water Gently: Water the soil thoroughly until it’s evenly moist but not soggy.
- Create Humidity: Place the pot inside a clear plastic bag or cover it with a propagation dome. This creates a mini-greenhouse to keep the humidity high, which is crucial for root development. You can even prop the bag up with a few sticks so it doesn’t touch the leaves.
The “Secret Sauce” (Pro Tips)
Here are a few little tricks I’ve learned over the years that can really give your cuttings an edge:
- Bottom Heat is Your Friend: If you have a heat mat, placing your pots on it can significantly speed up root development. The warmth encourages those roots to get going. Just make sure the mat isn’t too hot – you want cozy, not cooked!
- Don’t Let the Leaves Touch: When you’re using that plastic bag or dome, make sure the leaves of your cuttings aren’t touching the sides or the top. If they do, moisture can build up and lead to rot. A few well-placed skewers can create perfect tent poles.
- Choose the Right Node: When taking cuttings, always try to ensure there’s at least one leaf node buried in the soil. This is where most of the root initiation will happen.
Aftercare & Troubleshooting
Once your cuttings are planted, the real waiting game begins! Keep them in a bright, indirect light spot. Avoid direct sun, as it can scorch those delicate new cuttings. Keep the soil consistently moist, but again, never waterlogged.
You’ll know your cuttings have taken when you see new leaf growth! This usually happens within a few weeks, but it can sometimes take longer. You can also gently tug on a cutting; if you feel resistance, it’s a good sign roots are forming.
Now, let’s talk about what to do if things go sideways. The most common issue you might encounter is rot. This usually happens when the soil stays too wet or the humidity is too high without enough air circulation. If you see stems turning mushy or black, sadly, that cutting is likely lost. Don’t be discouraged! Just remove it, adjust your watering or humidity, and try again. Sometimes, the cuttings might just shrivel up and not root. Again, this can be due to low humidity, poor cuttings, or just an off day for the plant.
A Encouraging Closing
Propagating plants is a journey, and like any journey, there will be bumps along the way. The most important thing is to be patient and enjoy the process. Watching those tiny beginnings turn into robust new plants is incredibly satisfying. So, grab your shears, your soil, and your optimism, and happy propagating! I have a feeling you’re going to do wonderfully.
Resource:
https://identify.plantnet.org/k-world-flora/species/Dactyloctenium%20aegyptium%20(L.)%20Willd./data