Oh, hello there! Come on in, grab a mug. Today, we’re diving into the wonderful world of Cylindropuntia leptocaulis, also known as Pencil Cactus or Christmas Cholla. If you’ve ever admired those delicate, segmented stems cascading from a pot or standing proud in a rock garden, you’re in for a treat. Propagating these beauties is incredibly rewarding, and I’m thrilled to share how we can get you a whole bunch of new plants from just one.
It’s a Little Snake, But With Spines!
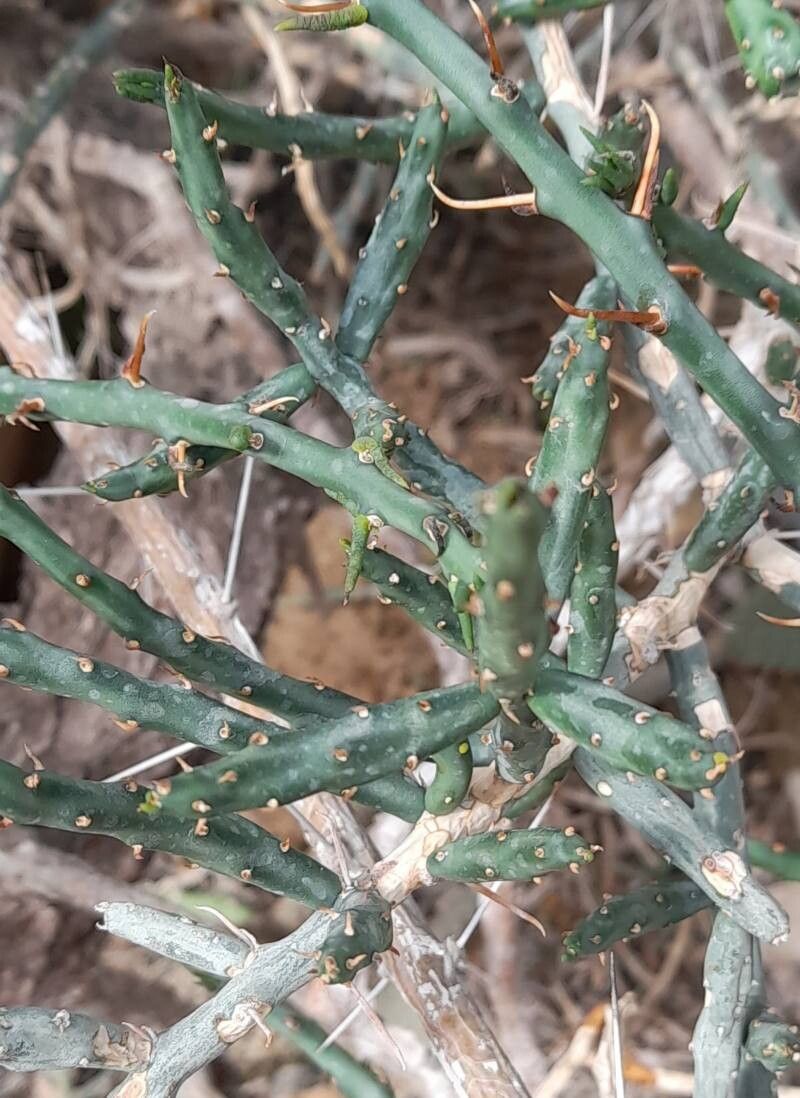
Cylindropuntia leptocaulis really are charming. Their thin, pencil-like segments give them a unique, almost whimsical look. They bloom with these wonderfully bright, often reddish-pink flowers, followed by little berries that can persist for ages. It’s such a joy to watch them grow and to be able to share them with friends. For beginners? I’d say this one is moderately easy. It’s not as forgiving as some succulents, but with a little attention, you’ll be successful.
When’s the Green Light to Get Started?
The absolute best time to propagate Cylindropuntia leptocaulis is during their active growing season. This typically means late spring through summer. You want the plant to be healthy and vibrant, putting on new growth. Trying to propagate during their dormant period, like winter, will likely lead to disappointment.
What You’ll Need for Your Propagation Station
Don’t worry, it’s not a huge list! Just a few trusty tools will set you up for success:
- Sharp Pruning Shears or a Craft Knife: Cleanliness is key here.
- A Well-Draining Potting Mix: Think cactus and succulent mix, or a blend of potting soil, perlite, and coarse sand.
- Rooting Hormone (Optional but helpful): This gives your cuttings a little boost.
- A Spray Bottle: For gentle watering.
- Small Pots or a Tray: For your new propagations.
- Gloves (Recommended!): Those tiny glochids can be sneaky.
- A Sunny Spot: Bright, indirect light is perfect.
Your Step-by-Step Guide to More Cholla
We’ll focus on the most straightforward method for Cylindropuntia leptocaulis: stem cuttings.
- Take Your Cuttings: With your clean shears or knife, select a healthy stem segment. You want pieces that are at least a few inches long. Gently twist or cut them from the parent plant. Try to make a clean break.
- Let Them Callus: This is crucial! You must let the cut end dry out and form a callus. Place the cuttings in a dry, airy spot, out of direct sun, for several days to a week. You’ll see the cut end look healed over. This prevents rot.
- Dip (If Using Rooting Hormone): Once callused, dip the dry end of the cutting into your rooting hormone powder. Tap off any excess.
- Planting Time: Fill your small pots or tray with your dry, well-draining cactus mix. Make a small hole in the soil with your finger or a pencil.
- Insert the Cutting: Gently push the callused end of the cutting into the hole, about an inch deep. Don’t pack the soil too tightly around it. You want air to circulate.
The “Secret Sauce” from My Garden
After years of tinkering, I’ve found a few things that really make a difference with these particular plants:
- Less is More with Water Initially: After planting, I resist the urge to water immediately. I wait at least a week, and then I water very sparingly. A light misting of the soil surface is usually enough. Soggy soil is the quickest way to rot these beauties.
- Bottom Heat is Your Friend: If you’re propagating in a cooler spot, placing your pots on a gentle heat mat can significantly speed up root development. It mimics the warmth they’d get from the ground in their natural habitat.
- Don’t Crowd Them: Give each cutting its own little space. Overcrowding can lead to poor air circulation and makes them more susceptible to fungal issues.
Patience is a Virtue (and So is Good Aftercare)
Once your cuttings have been planted for a few weeks, you can gently tug on them. If you feel resistance, roots have formed! At this point, you can start watering a little more regularly, but still, allow the soil to dry out completely between waterings. Think of it like watering a mature cactus.
Watch out for signs of rot: a mushy or discolored base is a bad sign. If you see this, you might need to remove the affected cutting and let the others dry out more thoroughly. Other signs of failure include the cutting shriveling up and dying without forming roots, which often points to not enough moisture being available (though rot is far more common).
Go Forth and Propagate!
See? It’s really quite manageable. The key is patience and understanding their basic needs – good drainage and not too much water. Don’t get discouraged if your first few attempts aren’t perfect. Every gardener learns by doing, and the thrill of watching a new little Cylindropuntia leptocaulis thrive is absolutely worth it. Happy propagating!
Resource: