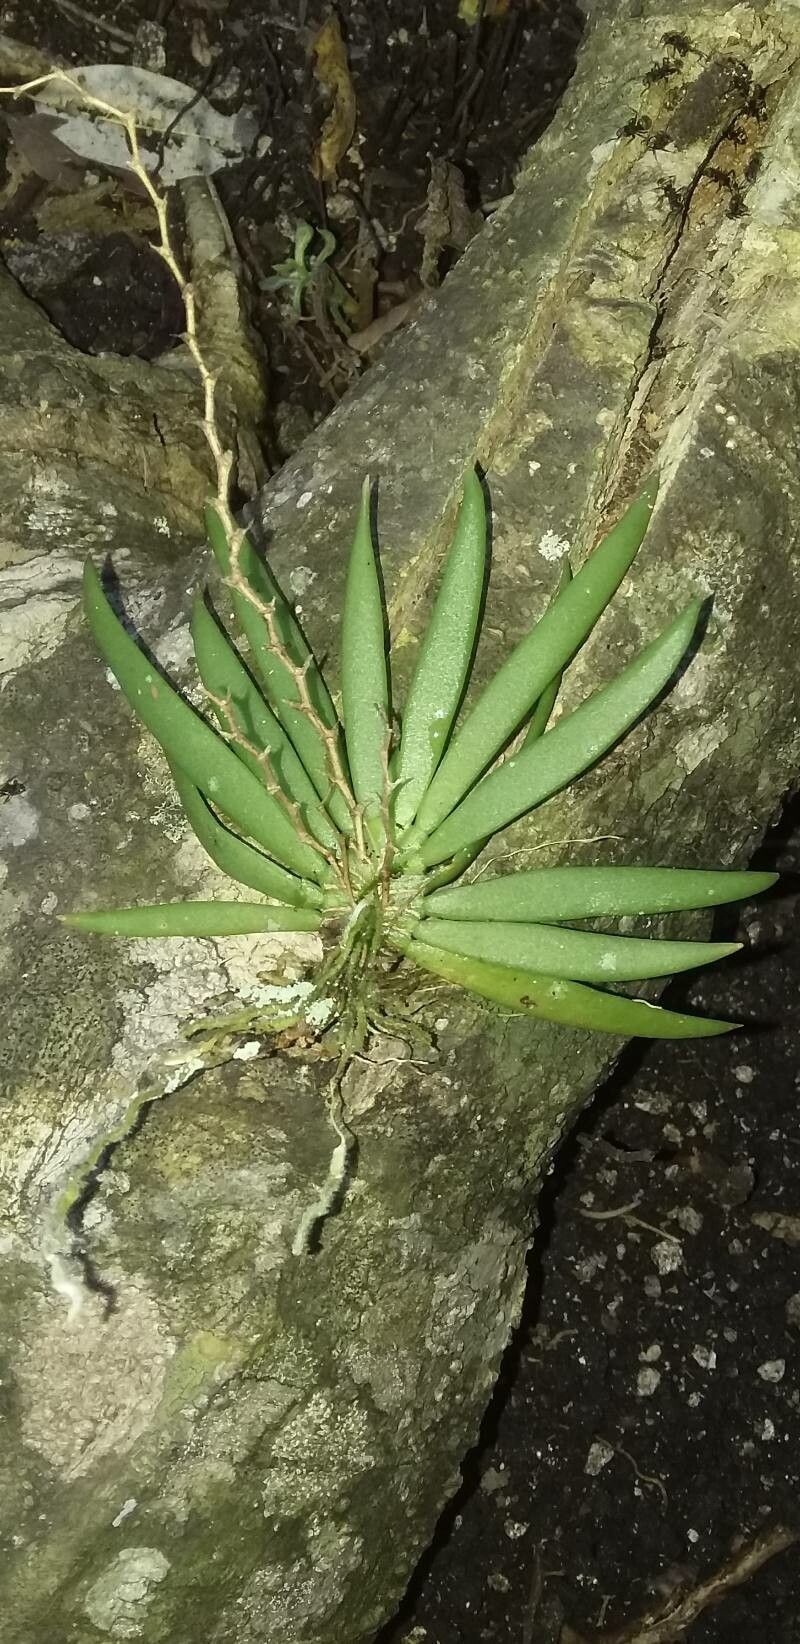
Oh, hello there! Grab a cup of your favorite brew, and let’s chat about a truly delightful little orchid: Ornithocephalus inflexus. If you’re captivated by its charming, delicate blooms, you’re not alone. These orchids bring such a sweet, whimsical touch to any collection. And you know what’s even more rewarding? Propagating them yourself! It’s a fantastic way to multiply your joy and share these beauties with fellow enthusiasts.
Now, are these beginner-friendly astronauts to the orchid world? I’d say they lean a bit more towards the patient intermediate grower. They’re not notoriously difficult, but they do appreciate a gentle touch and a bit of understanding. But don’t let that deter you! With a little care, you’ll be a proud parent in no time.
The Best Time to Start
Timing is everything with plants, and for Ornithocephalus inflexus, the sweet spot is during its active growth phase. This typically happens in the spring or early summer, once the plant has finished its blooming cycle and is sending out new leaves or pseudobulbs. You’re essentially catching it when it has the most energy to put into creating new life. Avoid attempting propagation when the plant is dormant or stressed.
Supplies You’ll Need
Before we dive in, let’s gather our trusty tools:
- Sharp, sterilized pruning shears or a clean knife: For making precise cuts.
- Orchid potting mix: A very airy, well-draining mix is crucial. Think bark, charcoal, and perlite. Avoid anything that retains too much moisture.
- Small pots or propagation trays: Clean and appropriately sized for your new plantlets.
- Optional: Rooting hormone: While not always strictly necessary for Ornithocephalus, it can give a little boost.
- Spray bottle: For misting.
- Clear plastic bags or a small propagation dome: To maintain humidity.
- Labels: To keep track of your efforts!
Propagation Methods
Ornithocephalus inflexus is primarily propagated through division. These orchids tend to grow in clumps, and separating those clumps is the most reliable way to create new plants.
Here’s how we’ll do it:
- Gentle Extraction: Carefully remove the parent plant from its pot. You might need to gently loosen the potting medium around the roots with your fingers or a chopstick.
- Inspect for Divisions: Look for distinct sections of the plant. You’ll want divisions that have at least two or three healthy pseudobulbs and a good root system. Sometimes you can see natural divisions where the rhizome has split.
- The Clean Cut: Using your sterilized pruning shears or knife, make a clean cut through the rhizome to separate the divisions. If you’re using rooting hormone, you can dip the cut ends into it at this stage, though it’s optional.
- Potting Up: Prepare your small pots with your fresh, airy orchid mix. Place each division into its own pot, ensuring the roots are spread out nicely. The top of the rhizome should be just at or slightly above the surface of the mix.
- Initial Water: Water the newly potted divisions gently. You want the mix to be moist but not soggy.
The “Secret Sauce” (Pro Tips)
Now for those little nudges that can make all the difference:
- Humidity is Your Best Friend: These little guys love high humidity. After potting, we’ll pop those new divisions into a clear plastic bag or under a propagation dome. This creates that humid microclimate they crave to encourage root development. Just remember to open the bag or dome for a short period each day to allow for air circulation and prevent fungal issues.
- Bottom Heat Can Be Magic: If you have a heat mat designed for seedlings or plants, placing your pots on it can significantly speed up root formation. It mimics the warmth of the tropics and gives those developing roots an extra incentive to grow. Just ensure the temperature doesn’t get too hot – aim for around 70-75°F (21-24°C).
Aftercare & Troubleshooting
Once your divisions are potted and settled into their humid environment, the real patience begins.
- Watering: Water sparingly at first. The humidity should keep them hydrated. You can mist the leaves lightly, but avoid letting water sit in the crown of the pseudobulbs, as this is a fast track to rot. Wait until the potting mix is just starting to dry out before watering again.
- Light: Place your new plants in bright, indirect light. Think of what you’d provide for a mature orchid – no harsh direct sun!
- Signs of Success: You’ll know you’re on the right track when you start to see new leaf growth or tiny white root tips emerging from the potting mix or the base of the pseudobulbs. This can take several weeks, so don’t get discouraged if it’s not immediate.
Troubleshooting: The most common pitfall is rot. If you see mushy, discolored leaves or pseudobulbs, it’s usually a sign of overwatering or insufficient air circulation. If this happens, remove the affected parts with your sterilized tool, allow the division to dry out a bit more, and improve airflow. Sometimes, even with the best care, a division might not make it. It’s part of gardening, and we learn from every experience.
A Little Patience, A Lot of Joy
So there you have it! Propagating Ornithocephalus inflexus is a process that requires a bit of finesse and plenty of patience. But the reward of nurturing a tiny division into a flourishing new plant is truly special. Don’t be afraid to get your hands dirty, and remember to celebrate every tiny sign of progress. Happy growing!
Resource:
https://identify.plantnet.org/k-world-flora/species/Ornithocephalus%20inflexus%20Lindl./data