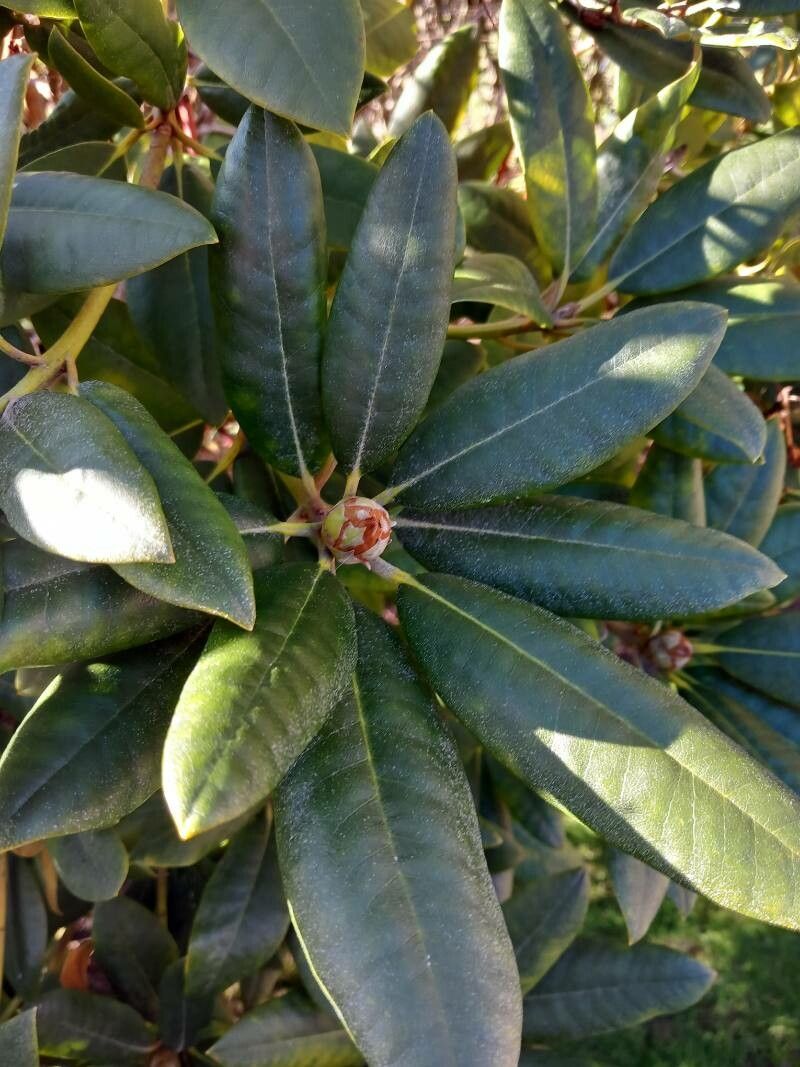
Hello fellow garden enthusiasts! Today, we’re diving into the wonderful world of propagating Rhododendron balfourianum. If you’re charmed by their exquisite blooms and elegant foliage, just like I am, then you know the joy of seeing them thrive. Bringing a new rhododendron to life from a cutting or a division is a truly special experience. It’s a way to expand your collection or share these beauties with friends. Now, Rhododendron balfourianum can be a little finicky, so I’ll level with you – beginners might find it a tad challenging, but with a bit of patience and these tips, you’ll be well on your way.
The Best Time to Start
For the best success with rhododendrons, late spring to early summer is your golden window. This is when the plant is actively growing, and you’ll be taking cuttings from “softwood” – that’s the new, flexible growth that hasn’t quite hardened off yet. It’s pliable and more inclined to root than older, woody stems.
Supplies You’ll Need
Here’s what you’ll want to have on hand:
- Sharp, clean pruning shears or a sharp knife: For making clean cuts.
- Rooting hormone powder or gel: This is a lifesaver for encouraging root development.
- A well-draining potting mix: A blend of peat moss, perlite, and a bit of compost works wonders. You can also buy specific rhododendron or ericaceous compost.
- Small pots or seed trays: With drainage holes!
- Plastic bags or a propagator: To create a humid environment.
- Labels and a waterproof marker: To keep track of your projects.
Propagation Methods
Let’s get our hands dirty!
Stem Cuttings (My Favorite Method)
- Select your shoot: Look for a healthy shoot that’s about 4-6 inches long. It should be flexible but not floppy. You’re aiming for that sweet spot of softwood.
- Make the cut: Using your clean shears or knife, make a cut just below a leaf node. This is where roots are most likely to form.
- Prepare the cutting: Gently remove the lower leaves, leaving just a few at the top. If your cutting is a bit long, you can trim about half of each remaining leaf to reduce water loss.
- Apply rooting hormone: Dip the cut end into your rooting hormone, tapping off any excess.
- Plant your cutting: Fill your small pot with your prepared, moist potting mix. Make a hole with a pencil or your finger and insert the cutting. Gently firm the soil around it.
- Create humidity: Water the pot gently, then cover the whole thing with a clear plastic bag, securing it around the pot with a rubber band, or place it in a propagator. This traps moisture, which is crucial for cuttings.
Water Propagation (A Simpler Option for Some)
While not always the most successful for rhododendrons, it’s worth a try for smaller or softer cuttings.
- Take cuttings as above.
- Place in water: Put the cuttings in a clean jar or glass of water, ensuring no leaves are submerged. Change the water every few days to keep it fresh.
- Wait for roots: Keep it in a bright spot, but out of direct sun. You should start to see tiny roots forming within a few weeks. Once the roots are about an inch long, you can carefully transplant them into your potting mix.
Division (For Established Plants)
If you have a larger, established rhododendron, you might be able to gently divide it.
- Dig carefully: In the dormant season (fall or early spring), carefully dig around the plant, trying to capture as much of the root ball as possible.
- Separate the sections: Gently pull apart or use a clean spade to divide the plant into smaller sections, ensuring each section has a good amount of roots and some healthy top growth.
- Replant: Immediately replant the divisions in their new spots or suitable pots with fresh, well-draining soil.
The “Secret Sauce”
- Don’t let leaves touch the water in propagation jars! This is a surefire way to invite rot. Submerged leaves will quickly decay and can infect your cutting, preventing rooting.
- Bottom heat is your friend. If you have a heat mat, placing your pots on it can significantly speed up the rooting process, especially for cuttings. It mimics the warmth of the soil.
- “Wipe” your cuttings. After dipping in rooting hormone and before planting, gently blot the cut end on a paper towel. This removes any excess hormone, which, if too concentrated, can actually inhibit rooting.
Aftercare & Troubleshooting
Once your cuttings have roots (you can test this gently by giving them a very light tug; resistance means roots have formed), it’s time for patience. Keep them in their humid environment for another week or two, gradually introducing them to less humidity by opening the bag or propagator vents. Once they look strong, you can remove them from the bag completely. Keep the soil consistently moist but not waterlogged. They’ll likely need to stay in their nursery pots for a while, often until the following spring, before you consider transplanting them into their final garden spot.
The most common failure is rot. If your cuttings turn black and mushy, it’s usually a sign of too much moisture or insufficient air circulation. If you see this, immediately remove the affected cutting and check your watering practices. Another sign of struggle is wilting that doesn’t recover; this could mean the cutting hasn’t developed enough roots to support itself or it’s drying out.
A Little Encouragement
Propagating rhododendrons is a journey, not a race. There will be times when some cuttings don’t make it, and that’s perfectly okay. Celebrate the successes, learn from the challenges, and most importantly, enjoy the quiet satisfaction of nurturing new life from your beloved plants. Happy gardening!
Resource:
https://identify.plantnet.org/k-world-flora/species/Rhododendron%20balfourianum%20Diels/data