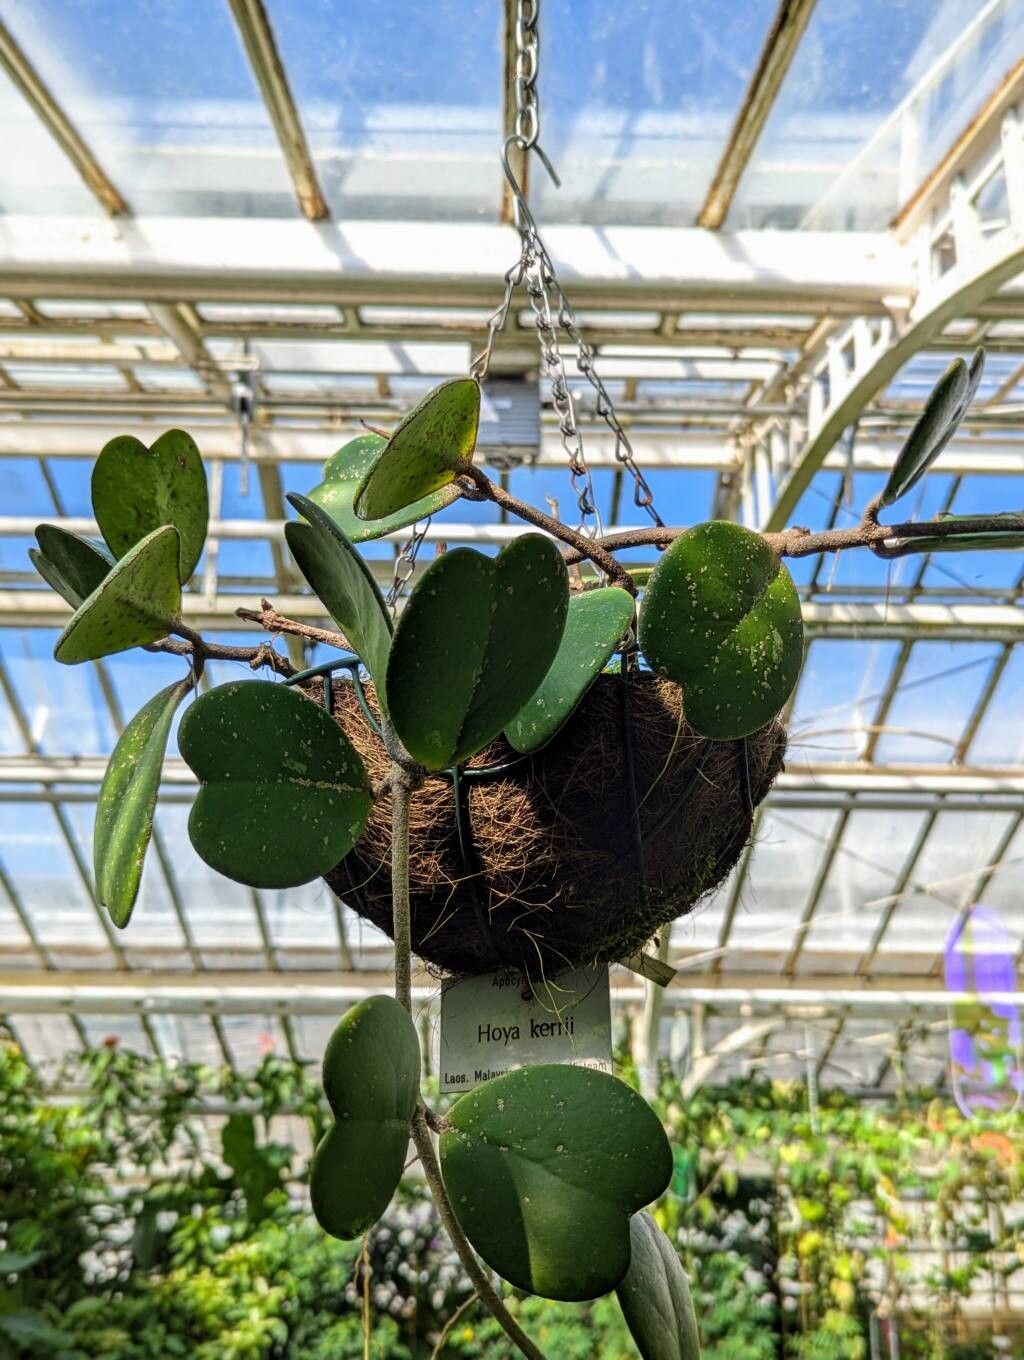
Oh, Hoya kerrii! Just saying the name brings a smile to my face. You know, the sweetheart plant? Its heart-shaped leaves are just so charming. And the best part? You can have more of them! Propagating these beauties is incredibly rewarding. It’s a wonderful way to share the love or simply fill your home with more of that waxy, green goodness. For beginners, I’d say Hoya kerrii is moderately easy. It’s not a “stick it in dirt and forget it” kind of plant, but with a little attention, you’ll be celebrating new growth in no time.
The Best Time to Start
My favorite time to get busy with propagation is during the active growing season, which for most Hoyas, including kerrii, is late spring through summer. The plant is full of energy then, meaning your little cuttings have the best chance to root and take off. You’re looking for healthy, mature stems that have a few leaves on them.
Supplies You’ll Need
Here’s what I usually gather when I’m ready to propagate:
- Sharp, clean pruning shears or a knife: For making clean cuts. Sterilize them with rubbing alcohol!
- Pots or containers: Small ones are perfect for cuttings. Terracotta or plastic will both work.
- Potting medium: A good mix is crucial. I like to use a blend of chunky orchid bark, perlite, and a little bit of coco coir or peat moss. This ensures excellent drainage, which is key for Hoyas. You can also find specialized Hoya potting mixes.
- Rooting hormone (optional but recommended): This can give your cuttings a helpful boost. I prefer the powder form.
- Clear plastic bags or a propagation box/dome: To create a humid environment.
- Water: For the water propagation method.
- A small watering can or spray bottle: For gentle watering.
Propagation Methods
Let’s get our hands dirty! Here are the two main ways I like to propagate Hoya kerrii:
Method 1: Stem Cuttings in Soil
This is my go-to. It feels more like the plant is establishing itself from the start.
- Take your cutting: Using your sterilized shears, select a healthy stem. Make a cut just below a leaf node (the little bump where a leaf grows from the stem). Aim for cuttings that are about 4-6 inches long and have at least two to three leaves. You can even take cuttings that have just one leaf and a node, but they tend to be a bit slower.
- Prepare the cutting: Gently remove the bottom leaf or two, exposing the node. If you’re using rooting hormone, dip the cut end of the stem into it, tapping off any excess.
- Plant the cutting: Fill your small pots with your well-draining mix. Make a small hole in the center with your finger or a pencil. Gently insert the cut end of the Hoya kerrii cutting into the hole, ensuring the leaf node(s) are below the soil surface.
- Water gently: Lightly water the soil until it’s evenly moist, but not soggy.
- Create humidity: Place the potted cutting into a clear plastic bag, sealing it loosely to allow some air circulation, or put it into a propagation dome. You want to create a mini-greenhouse effect.
Method 2: Water Propagation
This method is a bit more visual and can be satisfying as you watch the roots develop.
- Take your cutting: Same as above – select a healthy stem, cut just below a leaf node, and ensure it has at least one or two leaves.
- Prepare the cutting: Remove the lowest leaf so that the node is exposed.
- Place in water: Fill a clean jar or glass with room temperature water. Submerge the cut end of the stem, making sure the exposed leaf node is underwater. Importantly, make sure the leaves do not touch the water. They can rot if they sit in water.
- Find a good spot: Place the jar in a location with bright, indirect light.
- Change the water: Change the water every few days to keep it fresh and prevent bacterial growth.
The “Secret Sauce” (Pro Tips)
Here are a couple of things I’ve learned over the years that really make a difference:
- Bottom Heat is Your Friend: If you can, place your potted cuttings (for the soil method) on a seedling heat mat. This gentle warmth from below really encourages the roots to start growing. It’s like giving them a warm hug!
- Patience with Single-Leaf Cuttings: If you decide to propagate those adorable single-leaf “sweetheart” cuttings, know that they often don’t have a stem piece. These guys are relying on developing new growth from the node within the leaf itself. They take a lot longer to show any signs of life, so resist the urge to dig them up constantly! Patience is truly key here.
Aftercare & Troubleshooting
Once your Hoya kerrii cuttings have developed a nice root system (you’ll see them peeking out of the drainage holes or growing actively in water), it’s time to treat them like a young plant.
- For soil-propagated cuttings: Continue to keep the soil consistently moist but not waterlogged. As they grow, you can gradually acclimate them to typical Hoya watering schedules.
- For water-propagated cuttings: Once you have about an inch of roots, gently plant them in your well-draining potting mix. Water them in well and then treat them as you would a newly potted plant.
- Troubleshooting: The most common issue you’ll face is rot. If you see mushy, black stems or leaves turning yellow and falling off, it’s usually a sign of too much moisture and not enough airflow. Gently check the cutting – if it feels slimy, it’s likely a goner. If it’s just a bit droopy, try reducing watering and improving airflow. Occasionally, a cutting might just not take. Don’t be discouraged; it happens to all of us! Just try again.
A Encouraging Closing
Propagating Hoya kerrii is a journey, and sometimes it’s a slow one. But the feeling of watching those tiny roots emerge and a new leaf unfurl is absolutely unparalleled. Be patient, give your cuttings the care they need, and enjoy the process of growing more of these wonderful plants. Happy propagating!
Resource:
https://identify.plantnet.org/k-world-flora/species/Hoya%20kerrii%20Craib/data