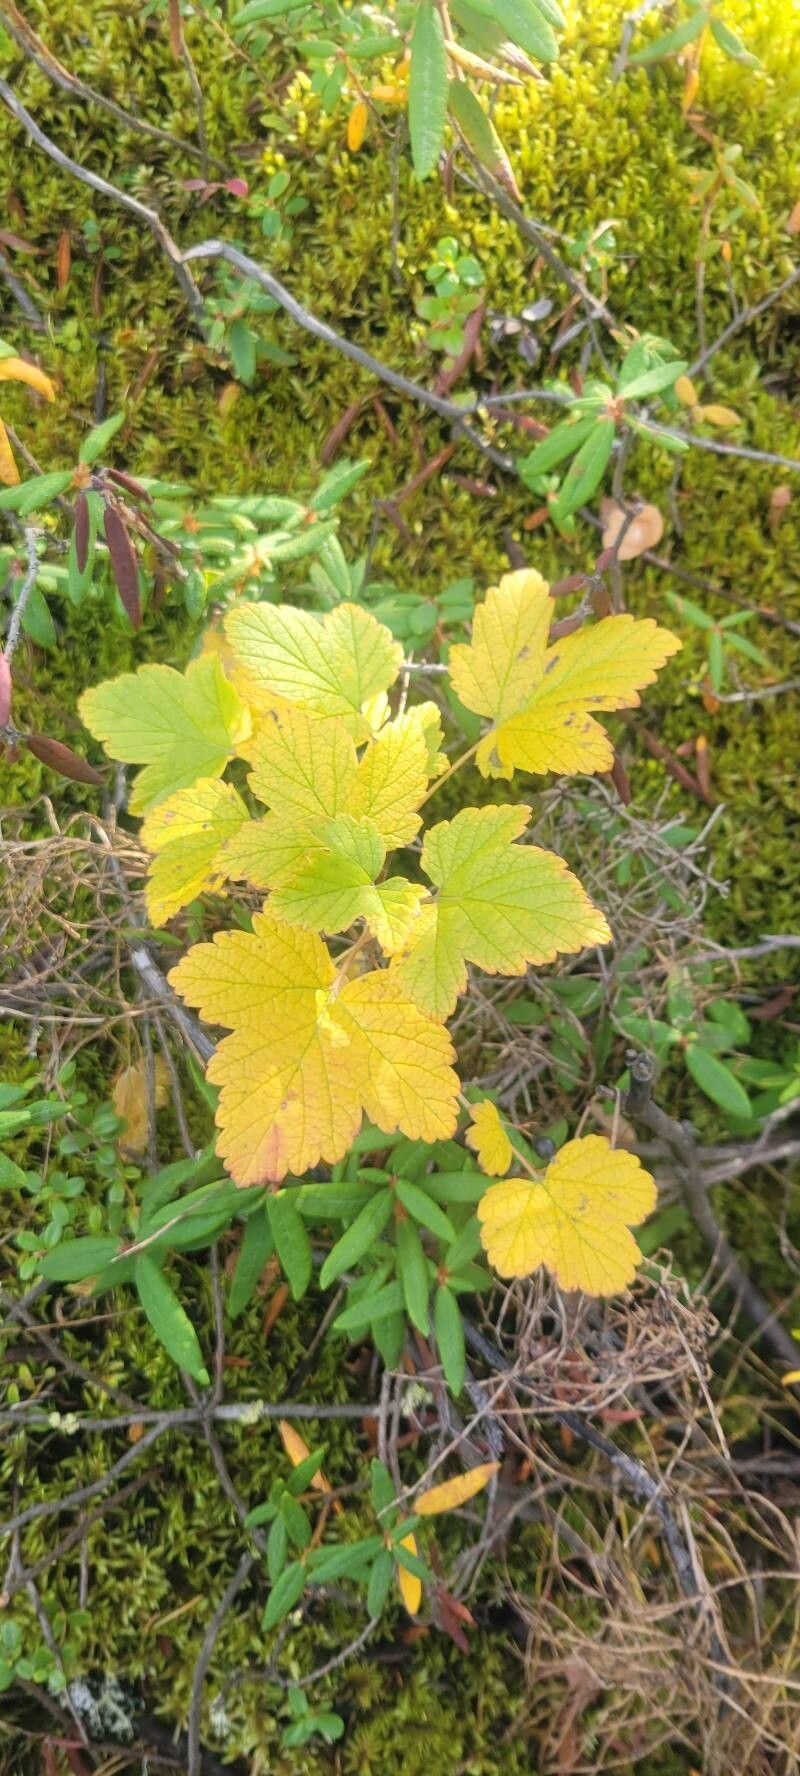
Oh, hello there! Let’s chat about Ribes hudsonianum, or as some of us affectionately call it, the wild currant. If you’re looking for a native shrub that offers beautiful, delicate flowers in spring followed by clusters of edible berries, you’re in for a treat. Plus, those berries are a lifeline for our feathered friends, making it a truly rewarding plant to have in your garden. Propagating this lovely shrub is a wonderful way to expand your collection, and I’m happy to say, it’s quite achievable for beginners once you know a few simple tricks. Think of it as sharing the green goodness!
The Best Time to Start
For the best chance of success with Ribes hudsonianum, I always recommend working with softwood cuttings in late spring to early summer. This is when the new growth is flexible and vigorous, making it eager to root. You’re essentially capturing that burst of energy. Taking cuttings when the stems are still pliable is key.
Supplies You’ll Need
Here’s a little kit to gather before we get our hands dirty:
- Sharp pruning shears or a clean knife: For making neat cuts. We don’t want to tear the stems.
- Rooting hormone (optional but helpful!): A powder or gel that encourages root development.
- A well-draining potting mix: I usually use a blend of equal parts peat moss or coir, perlite, and a bit of compost. This gives them good aeration and moisture retention.
- Small pots or seed trays: Anything that can hold your cuttings and allow for drainage.
- A plastic bag or clear propagation dome: To create a humid environment.
- Labels: To keep track of what you’ve planted and when!
Propagation Methods: Stem Cuttings
This is my go-to method for Ribes.
- Select Your Cuttings: Look for new, healthy stems that are about pencil-thick and roughly 4-6 inches long. They should be flexible, not woody. You’ll want to make your cut just below a leaf node (where a leaf attaches to the stem).
- Prepare the Cuttings: Gently remove the lower leaves, leaving just a couple at the very top. This prevents them from rotting in the soil. If your cuttings are a bit on the long side, you can cut them in half to make shorter, more manageable pieces.
- Apply Rooting Hormone (If Using): Dip the cut end into the rooting hormone. Just a light dusting is all you need.
- Plant Your Cuttings: Make a hole in your potting mix with a finger or pencil. Gently push the cutting into the hole, ensuring the leaf nodes are below the soil surface. This is where future roots will emerge.
- Water Gently: Water the pot thoroughly but be careful not to dislodge the cuttings.
- Create a Humid Environment: Cover the pot with a plastic bag, securing it around the base, or place it under a clear propagation dome. This is crucial for keeping the leaves from drying out.
- Provide Light and Warmth: Place your pots in a bright spot that doesn’t get direct, scorching sun. A windowsill that gets bright, indirect light is perfect. If you have it, gentle bottom heat from a propagation mat can significantly speed up rooting.
The “Secret Sauce” (Pro Tips)
- Don’t let the leaves touch the water: If you’re using water propagation or if your humidity dome is touching the leaves, try to keep those leaves elevated. Any foliage dipping into standing water is a fast track to rot. We want those leaves to breathe the humid air, not sit in a puddle.
- Take more than you think you’ll need: Nature has its own way of doing things, and not every cutting will make it. I always aim to take a few extra. It’s much more satisfying to have a surplus of little Ribes plants than to wish you’d taken more!
- Hygiene is king: Before you start, sterilize your tools with rubbing alcohol. This prevents the spread of any potential diseases from one plant to another. Clean tools mean happy cuttings.
Aftercare & Troubleshooting
Once your cuttings have rooted – and you’ll know this when you see new leaf growth and feel a gentle tug when you carefully try to lift a cutting – it’s time for their next adventure. Gradually remove the plastic bag or dome over a few days to acclimate them to normal humidity. Water them regularly, keeping the soil consistently moist but not waterlogged.
The most common issue you might encounter is rot. If you see your cuttings wilting, turning black, or becoming mushy, it’s likely due to too much moisture or poor air circulation. If this happens, try to remove the affected cutting immediately, check your drainage, and ensure there’s adequate airflow. It’s a learning curve, and a little rot doesn’t mean you’re a bad gardener!
A Encouraging Closing
Propagating plants is such a rewarding journey. It’s about patience, observation, and a little bit of hope. Enjoy the process of nurturing these tiny beginnings. Soon enough, you’ll have your very own baby wild currants to admire, plant, and share. Happy propagating!
Resource:
https://identify.plantnet.org/k-world-flora/species/Ribes%20hudsonianum%20Richardson/data