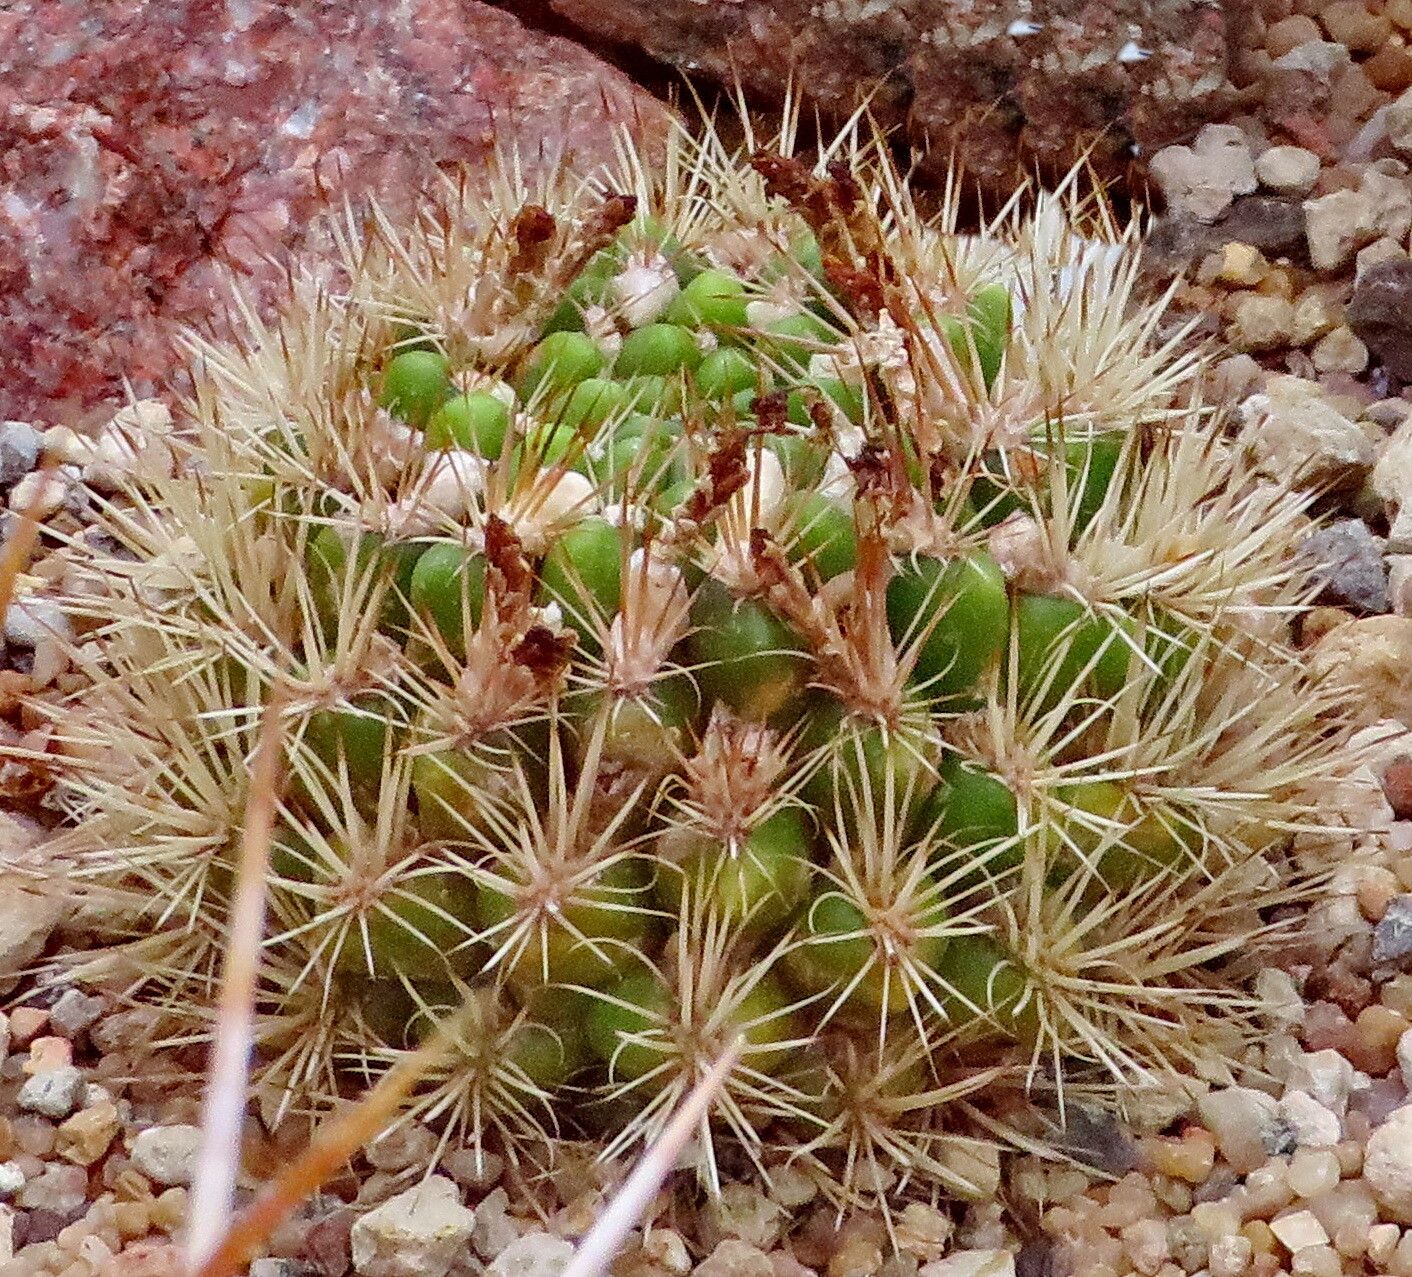
Ah, the gorgeous Leucostele atacamensis! What a beauty. Their towering, stately presence and the way they catch the afternoon sun are just something else, aren’t they? If you’ve been admiring one of these magnificent cacti, you might be wondering if you can bring more into your life. Good news – you absolutely can! Propagating them is a deeply satisfying process, like coaxing a little piece of that desert magic to join your collection.
Now, about beginner-friendliness: Leucostele atacamensis propagation is generally moderately easy. It’s not quite as foolproof as, say, a jade plant, but with a little attention and the right approach, you’ll be well on your way to success.
When’s the Sweet Spot for Starting?
The best time to start propagating your Leucostele atacamensis is during its active growing season. For most of us, that means late spring through summer. This is when the plant has the energy and resources to heal from cuttings and to root vigorously. Trying to propagate during its dormant period – late autumn and winter – will likely lead to disappointment.
Your Propagation Toolkit
Gathering your supplies beforehand makes the whole process smoother. Here’s what you’ll want on hand:
- Sharp, sterile pruning shears or a clean knife: Essential for making clean cuts.
- Rooting hormone (optional but recommended): Helps encourage faster and stronger root development. I like to use a powder form.
- Well-draining potting mix: A cactus and succulent mix is ideal. You can also create your own by combining equal parts potting soil, coarse sand, and perlite.
- Small pots or trays: Clean, with drainage holes, of course!
- Gloves: Cacti can be prickly!
- Watering can or spray bottle: For gentle watering.
- A sunny spot: For your new charges to grow.
Bringing New Life: Propagation Methods
The primary and most successful way to propagate Leucostele atacamensis is through stem cuttings.
- Take Your Cutting: Choose a healthy, mature stem section. You’re looking for something that’s firm and not too young or soft. Using your sterile shears or knife, make a clean cut. A section that’s at least 6-10 inches long is a good starting point.
- Let it Callus: This is a crucial step! After taking the cutting, leave it in a dry, well-ventilated spot out of direct sun for several days to a week. You want the cut end to dry out and form a callus. This prevents rot when you plant it. It’ll look like a dry, leathery scab over the cut.
- Apply Rooting Hormone (Optional): Once the callus has formed, you can dip the callused end into rooting hormone, tapping off any excess.
- Planting Time: Fill your pots or trays with your well-draining potting mix. Make a hole in the center with your finger or a pencil – deep enough to accommodate at least a third of the cutting.
- Insert the Cutting: Gently place the callused end of the cutting into the hole. Firm the soil around it so the cutting stands upright without wobbling.
- Initial Watering: Water very lightly, just enough to settle the soil around the base of the cutting. Don’t drench it!
The “Secret Sauce” from My Garden
Here are a few things I’ve learned over the years that really make a difference:
- Patience with the Callus: I can’t stress this enough – don’t rush the callusing process. If you plant a wet cutting, you’re practically inviting rot. It might seem like a long time to wait, but it’s your cutting’s best defense.
- The Gentle Touch of Water: When you do begin watering, be extremely sparing. I usually wait for the soil to dry out almost completely before watering lightly again. Overwatering is the number one killer of cactus cuttings. Think of it as mimicking desert rainfall – infrequent but effective.
- Bottom Heat is Your Friend: If you can provide a little gentle bottom heat (like from a seedling heat mat set to a low temperature), it really speeds up root formation. It mimics the warmth of the soil in its natural habitat and gives those roots a great start.
Nurturing Your New Sprouts & Common Hiccups
Once you start seeing signs of rooting – often indicated by new growth or the cutting resisting a gentle tug – you can increase watering slightly, but always allow the soil to dry out between waterings. Keep it in a bright spot with good air circulation.
What if things go wrong? The most common issue is rot. If your cutting starts to turn soft, mushy, or black, it’s a definite sign of rot. Unfortunately, there’s usually no coming back from this. If you catch it early, you might be able to cut away the rotted part, let the clean cut callus again, and try again. Damping off, a fungal disease that affects seedlings and cuttings, can also occur in overly wet conditions. That’s why good drainage and careful watering are so vital.
Keep Growing!
Propagating these desert giants is a journey. It requires a bit of patience and observation, but the reward of seeing your Leucostele atacamensis cutting develop roots and new growth is immense. So, don’t be discouraged if your first attempt isn’t perfect. Learn from it, adjust your approach, and enjoy the beautiful process of bringing more of these incredible plants into your world. Happy gardening!
Resource: