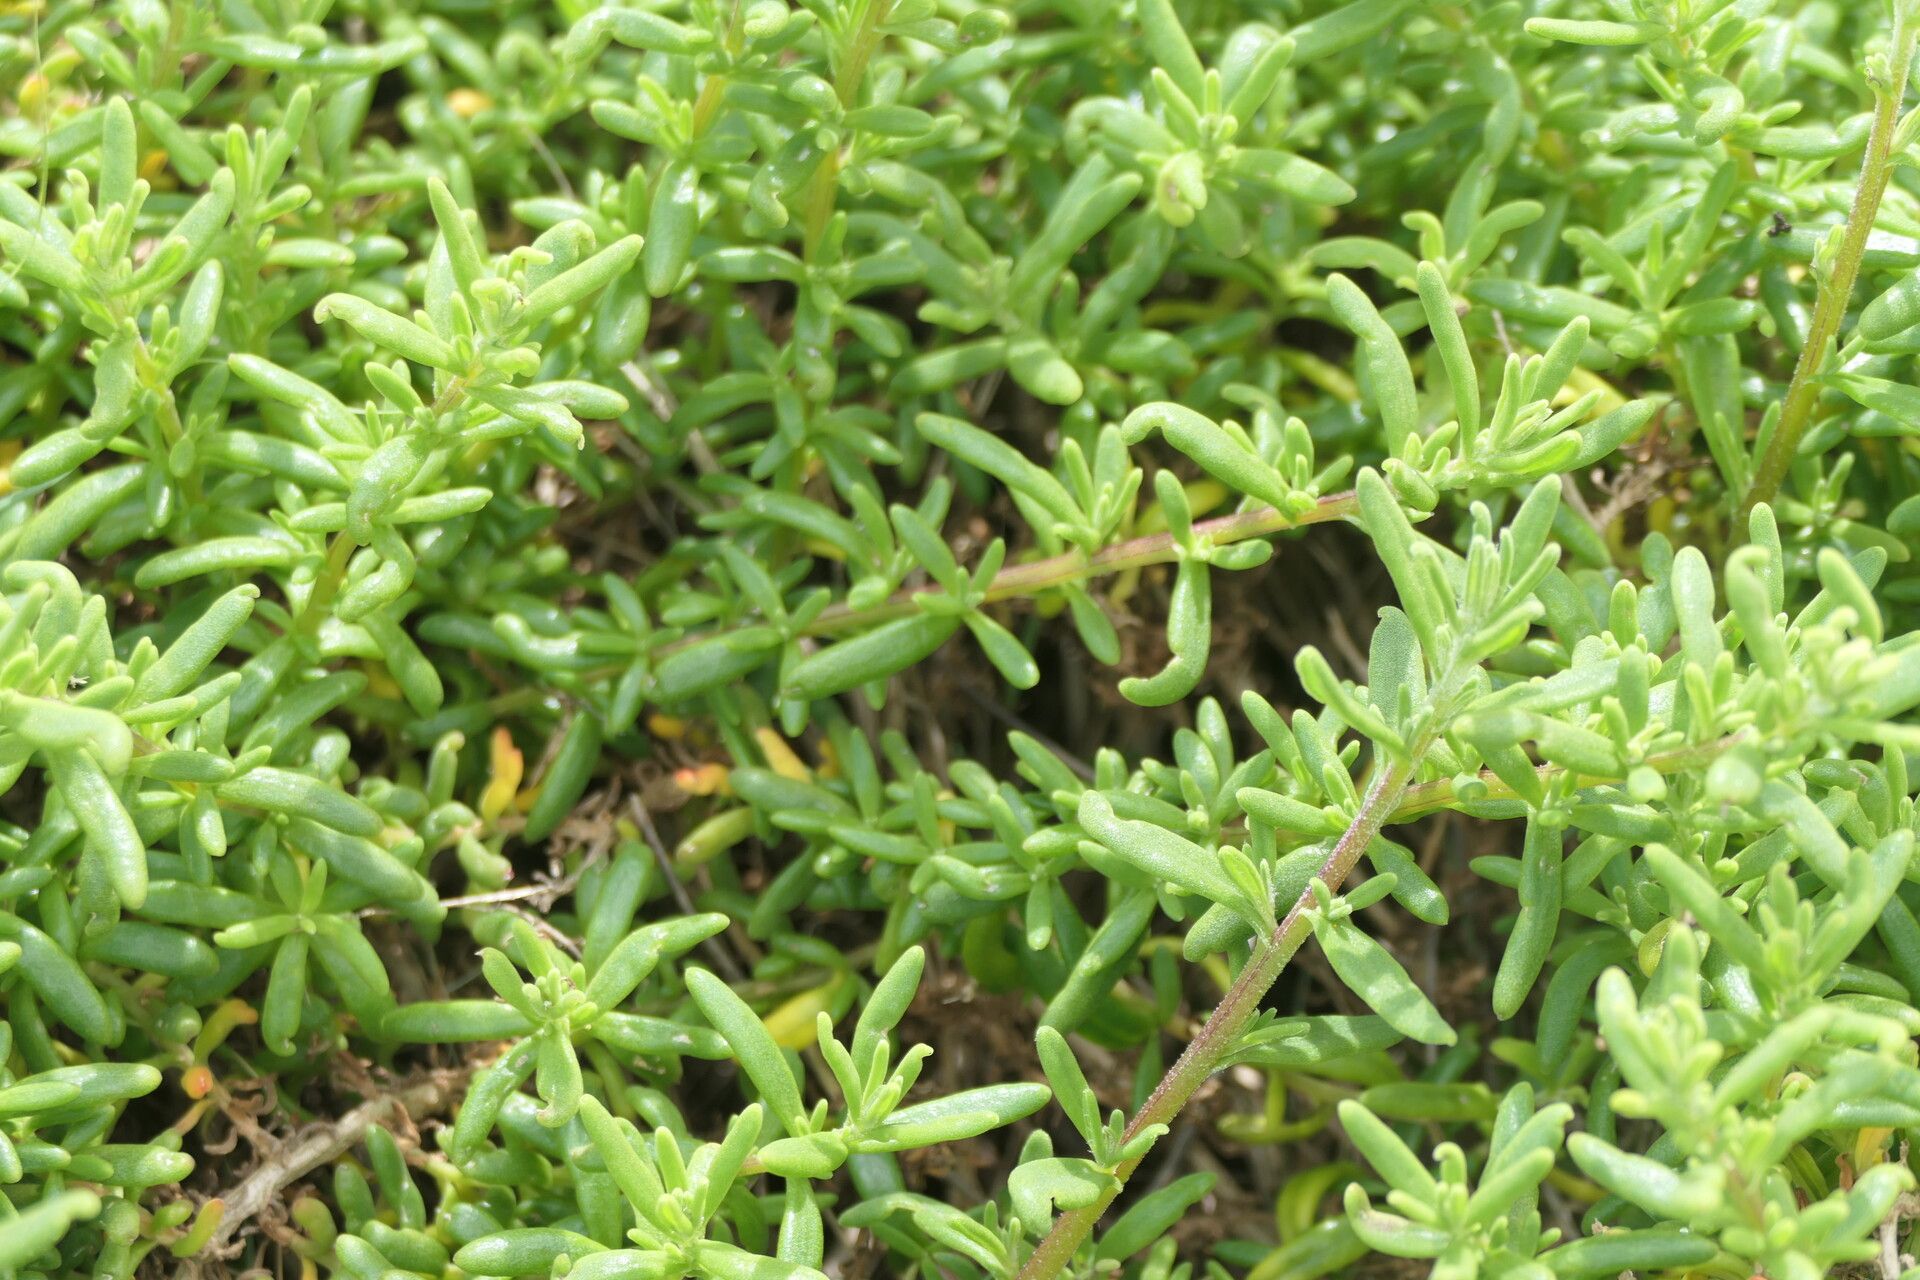
Oh, hello there! Come on in, grab a cuppa. Today, we’re diving into the wonderful world of propagating Tetragonia fruticosa, or as many of us lovingly call it, karkalla or warrigal greens. This tough little native is a real gem. It’s that delicious, spinach-like green that thrives in coastal conditions, and frankly, it’s such a joy to have a constant supply. And the best part? You can easily multiply your own patch! I find propagating karkalla incredibly rewarding, a lovely way to share its bounty. If you’re a beginner gardener, you’ll be pleased to know this one is quite forgiving, making it a fantastic plant to start your propagation journey with.
The Best Time to Start
For the highest success rate with Tetragonia fruticosa, I always lean towards late spring through summer. This is when the plant is actively growing and has plenty of energy to put into developing new roots. You want to be harvesting cuttings from healthy, vigorous stems that aren’t flowering or setting seed just yet. Look for stems that are somewhat firm but still have a bit of flexibility – not too woody, and definitely not soft and floppy.
Supplies You’ll Need
Gathering your tools beforehand makes the whole process much smoother. Here’s what I usually have handy:
- Sharp pruning shears or secateurs: Cleanliness is key here to prevent disease.
- Rooting hormone powder or gel: While karkalla can root without it, it definitely speeds things up and increases your success rate.
- A well-draining propagation mix: I find a 50/50 blend of perlite and seed-starting mix works brilliantly. You can also use coarse sand and peat moss.
- Small pots or trays: Clean containers with drainage holes are essential.
- A watering can with a fine rose: For gentle watering.
- A plastic bag or propagator lid: To create a humid environment.
- Sharp knife or razor blade: For preparing cuttings.
Propagation Methods
I’ve found two methods work exceptionally well for karkalla, and they’re both pretty straightforward:
Stem Cuttings
This is my go-to method.
- Take your cuttings: Select healthy stems and, using your clean secateurs, cut pieces about 10-15 cm long. Make sure each cutting has at least two sets of leaves.
- Prepare the cuttings: At the bottom of each cutting, carefully remove the lower leaves. You want to expose a few nodes where roots will emerge. If the leaves are large, you can even cut them in half horizontally to reduce water loss.
- Apply rooting hormone: Dip the cut end of each stem into your rooting hormone, tapping off any excess.
- Pot them up: Make small holes in your prepared propagation mix using a pencil or skewer. Gently insert the cuttings, ensuring the lowest nodes are buried. Firm the soil gently around them.
- Water and cover: Water them gently until the soil is moist but not waterlogged. Then, cover the pots with a plastic bag or a propagator lid to maintain high humidity. You can stick a couple of bamboo canes in the pot to keep the plastic from touching the leaves.
- Provide warmth and light: Place your pots in a bright spot, but out of direct hot sun. A bit of warmth from a heat mat can really encourage rooting, though it’s not strictly necessary in the summer months if you’re in a warmer climate.
Water Propagation (for the impatient!)
If you’re someone who likes to see progress, this is for you.
- Select and prepare cuttings: Similar to stem cuttings, choose healthy, non-flowering stems and cut them to about 10-15 cm. Remove the lower leaves.
- Place in water: Pop your prepared cuttings into a clean jar or glass of fresh, clean water. Make sure no leaves are submerged in the water. If they are, trim them off.
- Change the water regularly: This is crucial to prevent rot. Change the water every 2-3 days, or whenever it looks cloudy.
- Watch for roots: You should start to see little white roots emerging from the nodes within a couple of weeks.
- Pot up once rooted: Once the roots are a few centimeters long, you can carefully transplant them into pots with your well-draining propagation mix. Treat them much like you would a newly potted stem cutting.
The “Secret Sauce” (Pro Tips)
Here are a couple of things that have made a noticeable difference for me over the years with plants like karkalla:
- Don’t let the leaves touch the water: I know I mentioned it, but it bears repeating, especially for water propagation. Any submerged leaves are a one-way ticket to rot. Trim them off or adjust your setup so they’re safely above the waterline.
- Bottom heat is your friend: While karkalla is hardy, providing gentle bottom heat (think a seedling heat mat set on low) can dramatically speed up root development, especially if your ambient temperatures are fluctuating. It mimics the warmth of spring soil and really gives those roots a kickstart.
- The “snap test”: When taking cuttings, I often give the stem a gentle bend. If it snaps cleanly, it’s ideal. If it bends or creases, it’s probably too soft or too woody.
Aftercare & Troubleshooting
Once you see those first signs of roots – either a little bit of growth at the base or new shoots appearing above the soil – it’s time to transition.
- Gradual acclimatization: If you’ve been using a humidity dome or plastic bag, gradually introduce your new cuttings to normal air. Start by removing the cover for a few hours each day, increasing the time until they are fully exposed. This prevents shock.
- Watering: Continue to water them gently, keeping the soil consistently moist but not soggy. As they grow and develop a stronger root system, you can allow the top inch of soil to dry out slightly between waterings.
- Light: Continue to provide bright, indirect light. Once they’re established and growing well, you can slowly move them into a sunnier spot, getting them used to full sun gradually.
Now, for the not-so-fun part: troubleshooting. The most common issue you might encounter is rot. If your cuttings turn black and mushy at the base, it’s usually a sign of too much moisture and not enough air circulation. If you see this, try to remove the affected parts immediately and ensure your soil has excellent drainage. Overwatering is the biggest culprit when it comes to rot. In the early stages, wilting can also occur; this often means the cutting hasn’t rooted yet and is losing water faster than it can absorb it. Increasing humidity (by re-covering it) can help, but if it persists, the cutting may not be viable.
A Encouraging Closing
Propagating karkalla is such a satisfying process. It’s a wonderful way to connect with nature and expand your garden bounty. Don’t get discouraged if not every cutting takes; gardening is all about learning and experimenting. Be patient, enjoy the feel of the soil in your hands, and celebrate every little sign of new life. Happy propagating!
Resource:
https://identify.plantnet.org/k-world-flora/species/Tetragonia%20fruticosa%20L./data