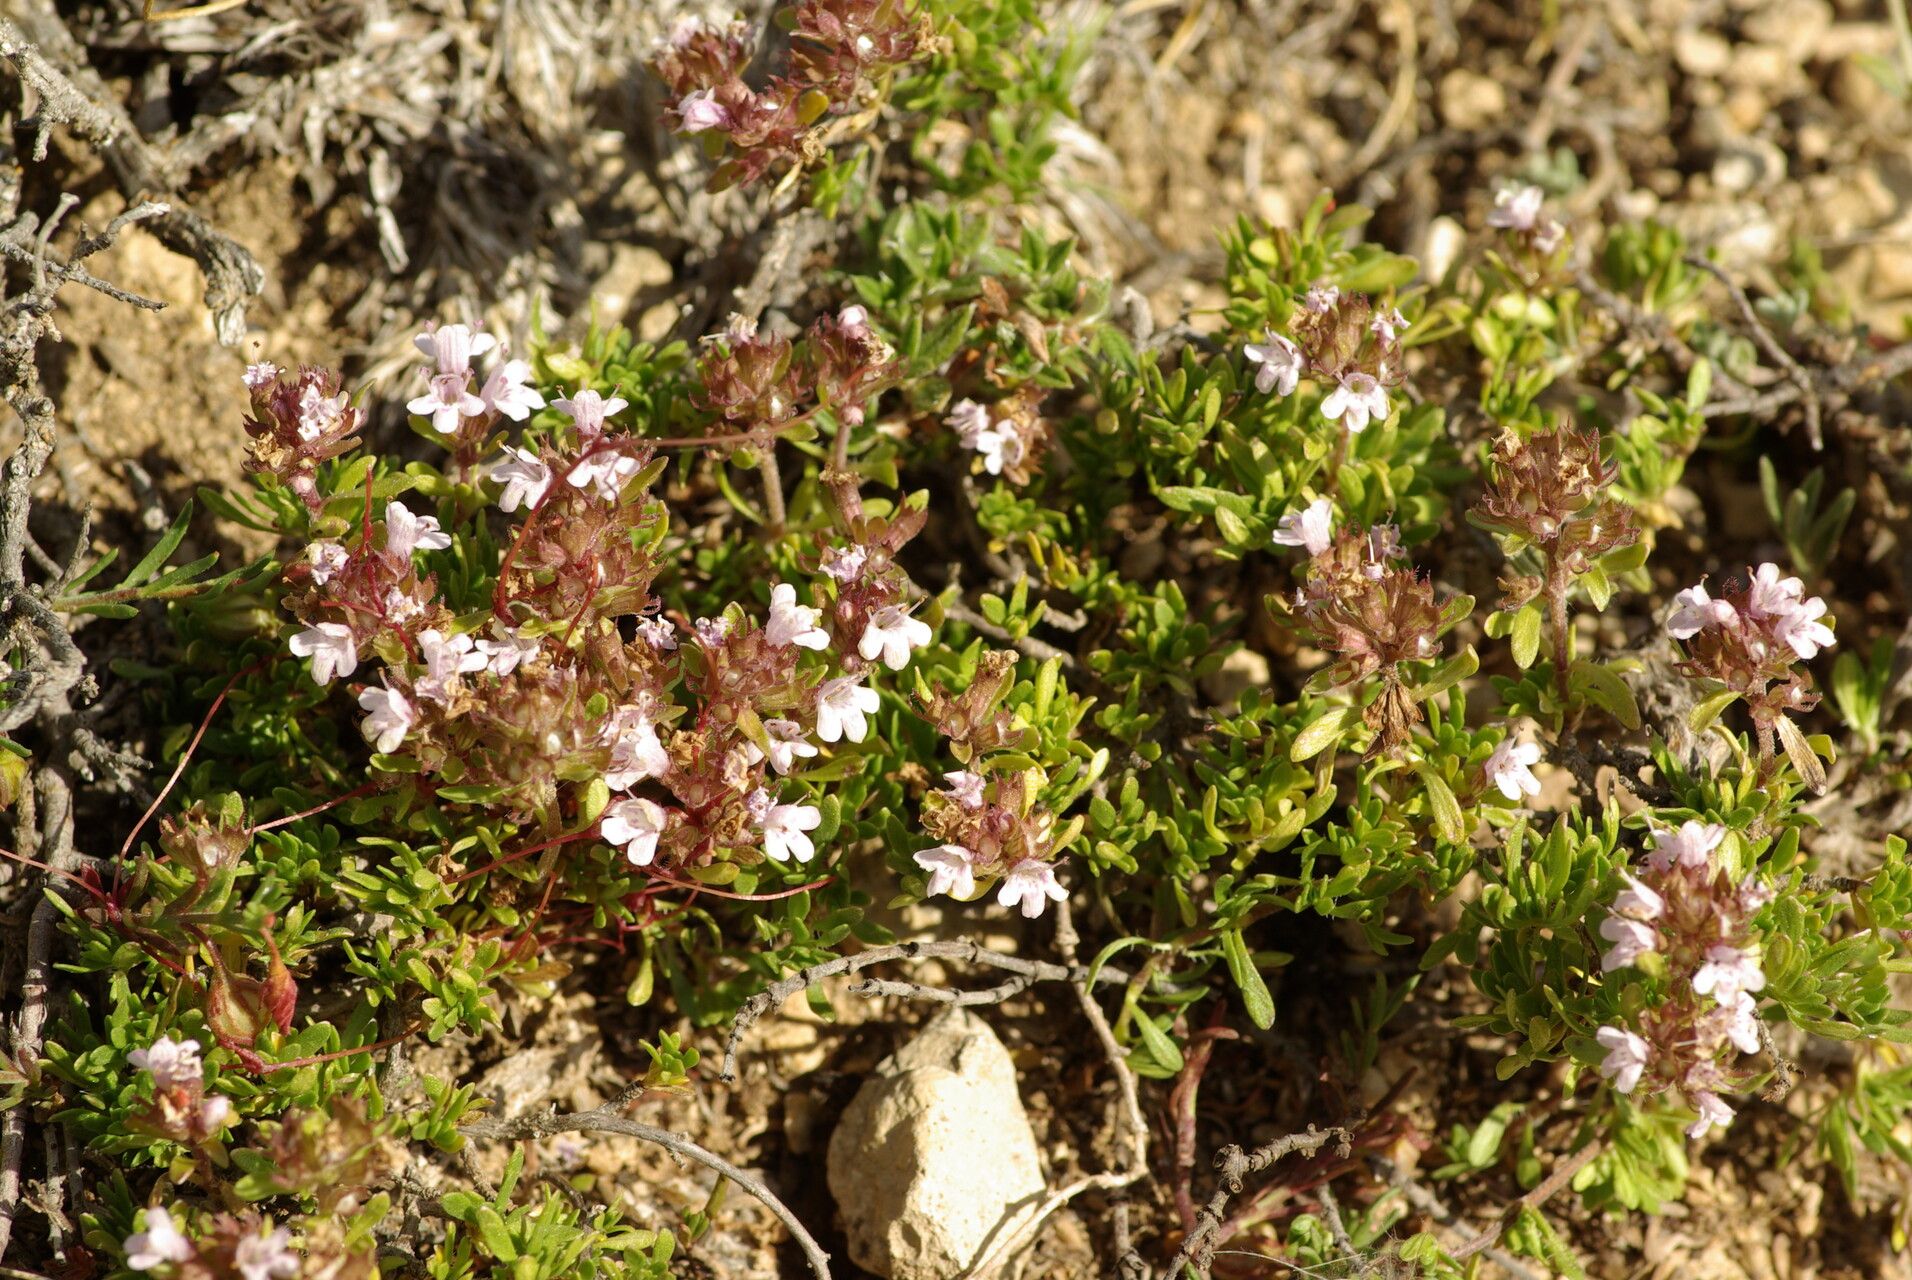
Ah, Thymus leptophyllus! If you’re looking to fill your garden with that delightful, subtly floral scent and charming little purplish-pink blooms, you’re in for a treat. This particular thyme, often called Wild Thyme or Spanish Thyme, is a real gem. It’s less aggressive than some of its cousins, offering a more delicate presence, and let me tell you, watching a tiny cutting unfurl into a flourishing plant is one of gardening’s greatest joys. For the beginner, I’d say Thymus leptophyllus falls into the “moderately easy” category. It’s not as foolproof as a succulent, but with a little attention, you’ll be successful.
The Best Time to Start
For the highest success rate, late spring or early summer, just as the plant is actively growing, is your golden window. You want to collect cuttings from healthy, non-flowering stems. Think of it like taking a healthy branch from a happy tree – full of life and ready to branch out on its own!
Supplies You’ll Need
Here’s what I always have on hand when I’m propagating thyme:
- Sharp pruning shears or a clean knife: For making clean cuts.
- Rooting hormone (optional but helpful): A powder or gel that encourages root development.
- A well-draining potting mix: A 50/50 blend of perlite and peat moss or coco coir is fantastic. Avoid heavy garden soil!
- Small pots or seed trays: With drainage holes, of course.
- A spray bottle: For misting.
- Plastic bags or a propagation dome: To create a humid environment.
- Labels: So you don’t forget what you planted and when!
Propagation Methods
My favorite way to propagate Thymus leptophyllus is through stem cuttings. It’s reliable and gives you the most bang for your buck.
- Select Your Cuttings: Look for healthy, semi-hardwood stems. These are slightly woody at the base but still a bit flexible. Avoid woody, old stems or very soft, new growth. Aim for cuttings about 3-4 inches long.
- Prepare the Cuttings: Using your clean shears or knife, make a cut just below a leaf node (where leaves attach to the stem). Gently strip off the lower leaves from about half of the cutting. This is crucial! Those leaves will rot if buried or sitting in damp soil.
- Apply Rooting Hormone (if using): Dip the cut end of the stem into the rooting hormone, tapping off any excess.
- Planting the Cuttings: Fill your pots with your prepared potting mix. Make a small hole with a pencil or your finger and insert the cut end of the thyme cutting, pressing the soil gently around it to secure. You can plant several cuttings in one pot, giving them a little space.
- Create a Humid Environment: Water the soil gently until it’s moist but not soggy. Then, cover the pots with a plastic bag that doesn’t touch the leaves (you can use skewers to prop it up) or place them under a propagation dome.
- Placement: Put the pots in a bright spot with indirect light. Avoid direct sunlight, which can scorch the delicate cuttings.
The “Secret Sauce”
- Bottom Heat is Your Friend: If you have it, placing your pots on a heat mat designed for seedlings can significantly speed up root formation. About 70-75°F (21-24°C) is ideal.
- Don’t Drown Them: While humidity is key, overwatering is the fastest way to kill your thyme cuttings. Let the top layer of soil dry out slightly between waterings. A gentle misting around the plants can help keep humidity up without soaking the soil.
- Patience is a Virtue: I know it’s tempting to constantly check, but trust me, resist the urge to pull them up to see if they have roots too soon. It can easily damage new, fragile root systems.
Aftercare & Troubleshooting
Once you start to see new leaf growth, that’s a good sign that roots are forming! This can take anywhere from 3 to 6 weeks, sometimes longer.
When they seem rooted (you can gently tug on them, and there’s resistance), it’s time to gradually introduce them to less humid conditions. Start by removing the plastic cover for a few hours each day, then leave it off for longer periods. Once they’re acclimatized, they can be transplanted into their own individual pots.
The big enemy here is rot. If you see stems turning black and mushy, it’s usually a sign of too much moisture and not enough air circulation. If this happens, try to remove the affected cuttings immediately and let the remaining soil dry out more before watering again. Sometimes, a bit of gentle airflow from a small fan set on low can help prevent too much dampness.
A Encouraging Closing
Propagating Thymus leptophyllus is a deeply satisfying journey. It’s about patience, observation, and the sheer wonder of life. Don’t be discouraged if you have a few failures along the way; every gardener does! Just keep trying, learn from each batch, and soon you’ll have a delightful abundance of this fragrant herb to share and enjoy. Happy propagating!
Resource:
https://identify.plantnet.org/k-world-flora/species/Thymus%20leptophyllus%20Lange/data