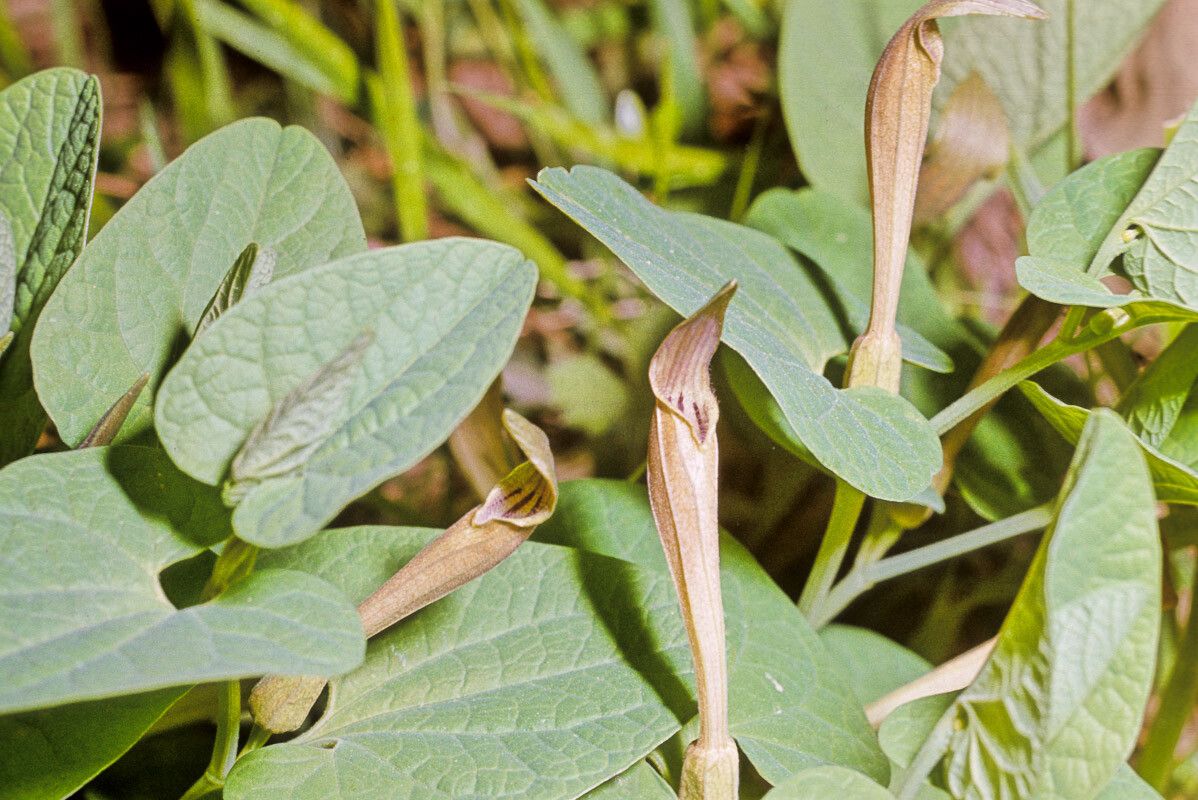
Oh, hello there! Pull up a chair and let’s chat about one of my absolute favorite plants: Aristolochia lutea. This vine is such a charmer with its quirky, trumpet-shaped flowers and lush foliage. It’s like a little piece of botanical magic that really livens up a garden. And the best part? Being able to create more of these beauties yourself, right from your own plants. It’s incredibly rewarding, though I’ll be honest, Aristolochia lutea can be a bit of a diva when it comes to propagation. It’s not the easiest plant for a complete beginner to start with, but with a little patience and these tips, you’ll be well on your way.
The Best Time to Start
For Aristolochia lutea, I find the late spring to early summer is absolutely prime time. This is when the plant is in full swing with its active growth. You want to be taking cuttings from healthy, new growth that’s just started to mature – think stems that are firm but still have a bit of flexibility to them. Avoid anything woody or too soft.
Supplies You’ll Need
Gathering your supplies makes the whole process smoother. Here’s what I usually have on hand:
- Sharp Pruning Shears or a Hobby Knife: Clean cuts are key.
- Rooting Hormone: A good quality powder or gel makes a world of difference.
- Potting Mix: A well-draining mix is crucial. I often use a blend of peat moss, perlite, and a bit of coarse sand.
- Small Pots or Seed Trays: Clean ones, of course!
- Plastic Bags or a Propagator: To create a humid environment.
- Watering Can or Spray Bottle: For gentle watering.
- Labels and a Marker: So you don’t forget what’s what!
Propagation Methods
Let’s get our hands dirty with a couple of methods that work well for Aristolochia lutea.
Stem Cuttings
This is by far my go-to method.
- Take Cuttings: Select a healthy stem that’s about 4-6 inches long. Make a clean cut just below a leaf node (where a leaf attaches to the stem). Remove the lower leaves, leaving just a couple at the very top.
- Prepare the Cuttings: Dip the cut end into your rooting hormone, tapping off any excess.
- Plant the Cuttings: Fill your pots with your prepared potting mix. Make a small hole with your finger or a pencil and insert the cutting. Gently firm the soil around it.
- Water Gently: Water thoroughly but gently, making sure the soil is moist but not waterlogged.
- Create Humidity: Cover the pot with a plastic bag or place it in a propagator. Make sure the leaves aren’t touching the plastic.
- Provide Warmth: Place your pots in a warm, bright location, out of direct sunlight.
Water Propagation (with caution)
While not always my first choice for Aristolochia lutea, it can work if done carefully.
- Select and Prepare Cuttings: Similar to stem cuttings, take 4-6 inch cuttings with at least one leaf node submerged. Remove lower leaves.
- Place in Water: Put the cuttings in a clean jar or vase filled with clean water. Make sure the leaf node is submerged, but do not let the leaves themselves touch the water.
- Change Water Regularly: Change the water every few days to keep it fresh and prevent rot.
- Provide Warmth and Light: Place the jar in a bright spot away from direct sun.
- Watch for Roots: You should start to see roots forming within a few weeks. Once the roots are about an inch long, you can transplant them into soil.
The “Secret Sauce” (Pro Tips)
Here are a few tricks I’ve learned over the years that really boost success rates with these lovely vines.
-
Bottom Heat is Your Friend: Aristolochia lutea loves its roots to be warm. Placing your pots on a heated propagator mat can significantly speed up root development. It’s like giving them a cozy bed!
-
Don’t Be Afraid to Be Ruthless: Sometimes, especially with stem cuttings, you might have stems that seem a bit languid. If you’re not seeing much happening after a few weeks, don’t be afraid to gently tug on a cutting. If it resists, that’s a good sign roots are forming! If it pulls out easily, it’s likely not going to make it.
-
Hygiene is Paramount: I can’t stress this enough. Cleanliness prevents a lot of rot and fungal issues. Make sure your pots, tools, and even your hands are clean before you start.
Aftercare & Troubleshooting
Once you see those tiny roots appearing, congratulations!
- Acclimating: If you used a plastic bag, gradually introduce your new plants to normal air by opening the bag a little more each day over a week.
- Watering: Continue to keep the soil consistently moist but not soggy. As they grow stronger, you can water them less frequently.
- Transplanting: Once your cuttings have a good root system and show new leaf growth, you can transplant them into slightly larger pots.
- Signs of Trouble: The biggest foe is rot. If a cutting turns black and mushy, or if mold appears on the soil surface, chances are it’s too wet or not enough air circulation. Remove affected cuttings immediately to prevent spreading. Brown, crispy leaves might indicate it’s too dry or exposed to direct sun.
A Little Patience, A Lot of Reward
Propagating Aristolochia lutea can be a journey, and there will likely be a few missteps along the way. But that’s part of the fun, isn’t it? Every successful root, every new leaf unfurling, is a triumph. So, be patient with your little leafy babies, give them the care they deserve, and enjoy watching your garden, and your collection, grow. Happy propagating!
Resource:
https://identify.plantnet.org/k-world-flora/species/Aristolochia%20lutea%20Desf./data