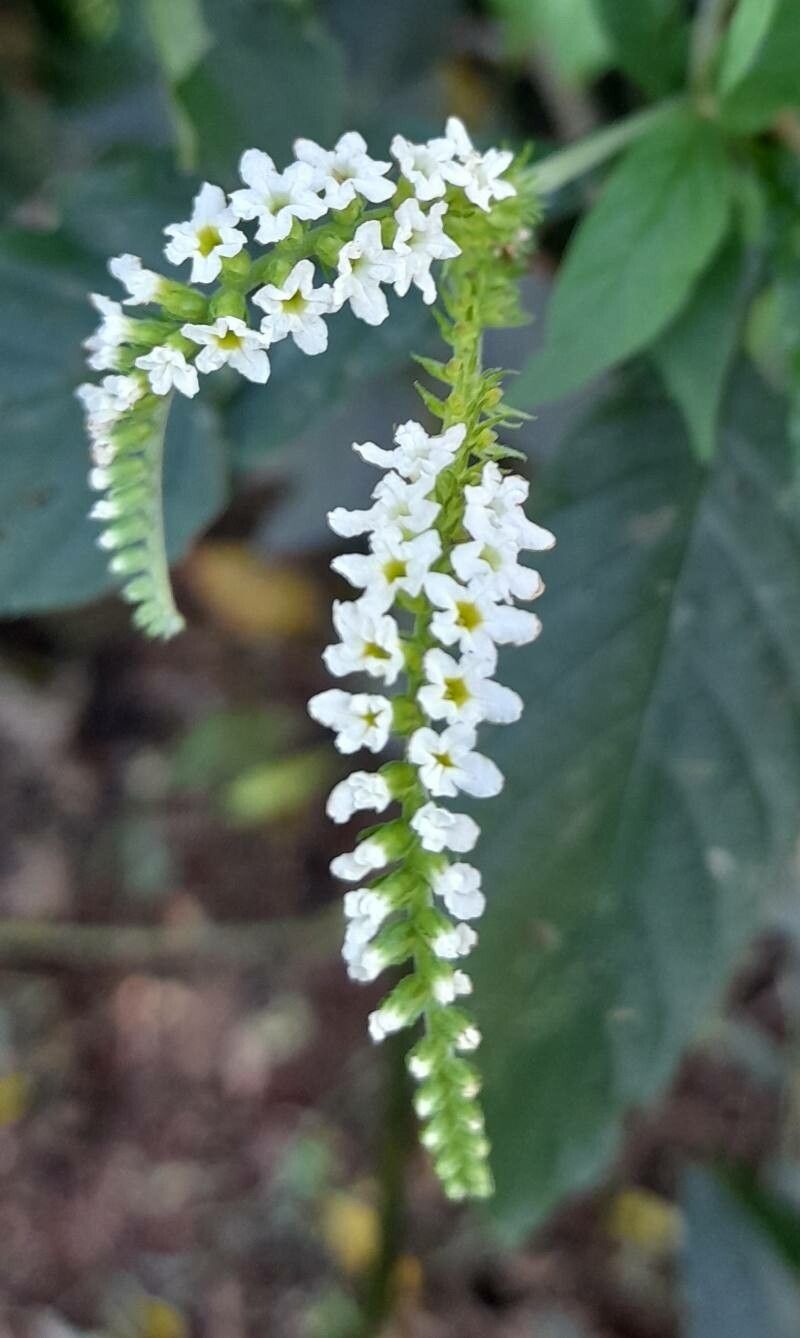
Hello fellow garden enthusiasts! If you’re anything like me, you fall head over heels for plants that offer a sensory delight. And that’s exactly what Heliotropium tiaridioides, often known as Little Heliotrope, does. Its intoxicating vanilla-almond scent alone is enough to make a garden sing. Plus, those charming clusters of tiny blue flowers? Pure magic.
The wonderful thing about propagating Heliotropium tiaridioides is that it’s surprisingly accessible, even for those just dipping their toes into the world of plant making. It’s a truly rewarding journey, watching a tiny cutting transform into a fragrant, blooming specimen. I find it to be a wonderfully straightforward plant to multiply, which makes it perfect for sharing with friends or just expanding your own collection.
The Best Time to Start
When it comes to getting the best results with Heliotropium tiaridioides, spring and early summer are your golden ticket. This is when the plant is actively growing and has plenty of energy to put into developing new roots. You want to take cuttings from softwood or semi-hardwood growth – that means stems that are flexible and a little pliable, not the old, woody bits from last year, nor the super soft, floppy new growth.
Supplies You’ll Need
Here’s what I usually gather before I get started:
- Sharp pruning shears or a clean, sharp knife: For taking clean cuts.
- Rooting hormone (optional but recommended): Helps speed up root development. I like to use a powder or gel.
- A well-draining potting mix: A good blend is usually equal parts perlite and peat moss or coco coir. You can also buy specialized seed-starting or cutting mixes.
- Small pots or trays: Clean ones are a must!
- Clear plastic bags or a propagator: To create a humid environment.
- Warm water: For misting.
Propagation Methods
My go-to method for Heliotropium tiaridioides is stem cuttings. It’s reliable and allows you to create multiples fairly quickly.
- Select and Cut: In late spring or early summer, find a healthy, actively growing stem. Using your sharp shears or knife, take a cutting that is about 4-6 inches long. Make the cut just below a leaf node (where a leaf meets the stem). This is where the magic happens for root formation.
- Prepare the Cutting: Gently remove the lower leaves from the cutting, leaving just a few at the tip. If the leaves are quite large, you can even cut them in half horizontally. This reduces water loss from the leaves while the cutting tries to root.
- Apply Rooting Hormone (Optional): Dip the cut end of the stem into your rooting hormone, tapping off any excess.
- Plant Your Cuttings: Fill your small pots or trays with your prepared, moistened potting mix. Make a small hole with your finger or a pencil. Insert the cut end of the Heliotrope cutting into the hole, ensuring the leaf node is buried. Gently firm the soil around the base of the cutting.
- Create Humidity: Water the soil lightly. Then, cover the pot or tray with a clear plastic bag or place it in a propagator. This is crucial for keeping the humidity high, which prevents the cuttings from drying out before they can root. You can prop the bag up with a few stakes so it doesn’t touch the leaves.
The “Secret Sauce” (Pro Tips)
Now, for a couple of little tricks that have always served me well:
- Don’t let the leaves of your cuttings touch the water if you decide to try water propagation (which is also possible but I find cuttings in soil more robust). In soil cuttings, ensure no leaves are resting directly on the soil surface, as this can encourage rot.
- Bottom heat is your friend! If you have a seedling heat mat, placing your pots on it can significantly speed up root development. It mimics the warmth of spring soil and encourages vigorous new growth.
- When you mist your cuttings, use lukewarm water. Cold water can shock those delicate new tissues.
Aftercare & Troubleshooting
Once your cuttings are planted, keep them in a bright, indirect light location. Avoid direct sun, as it can scorch those young leaves. Keep the soil consistently moist but not waterlogged. A good sign is if your cuttings start to show new, tiny leaf growth – that means they’re developing roots!
You’ll know your cuttings have rooted when you gently tug on them and feel resistance. This usually takes a few weeks. Once they’ve established a good root system, you can gradually acclimate them to normal conditions by opening the plastic bag a little more each day or removing them from the propagator. Then, it’s time to pot them up into slightly larger containers.
The most common issue you might encounter is rot. If a cutting turns mushy and black, it’s usually a sign of too much moisture and not enough air circulation. Always use clean tools and pots, and ensure your soil has excellent drainage to help prevent this. If some cuttings don’t take, don’t get discouraged! Plant propagation is often a process of trial and error.
So there you have it! A simple guide to bringing more of that delightful Heliotrope fragrance into your life. Be patient, enjoy the process of nurturing these tiny beginnings, and soon you’ll be rewarded with beautiful, blooming plants. Happy gardening!
Resource:
https://identify.plantnet.org/k-world-flora/species/Heliotropium%20tiaridioides%20Cham./data