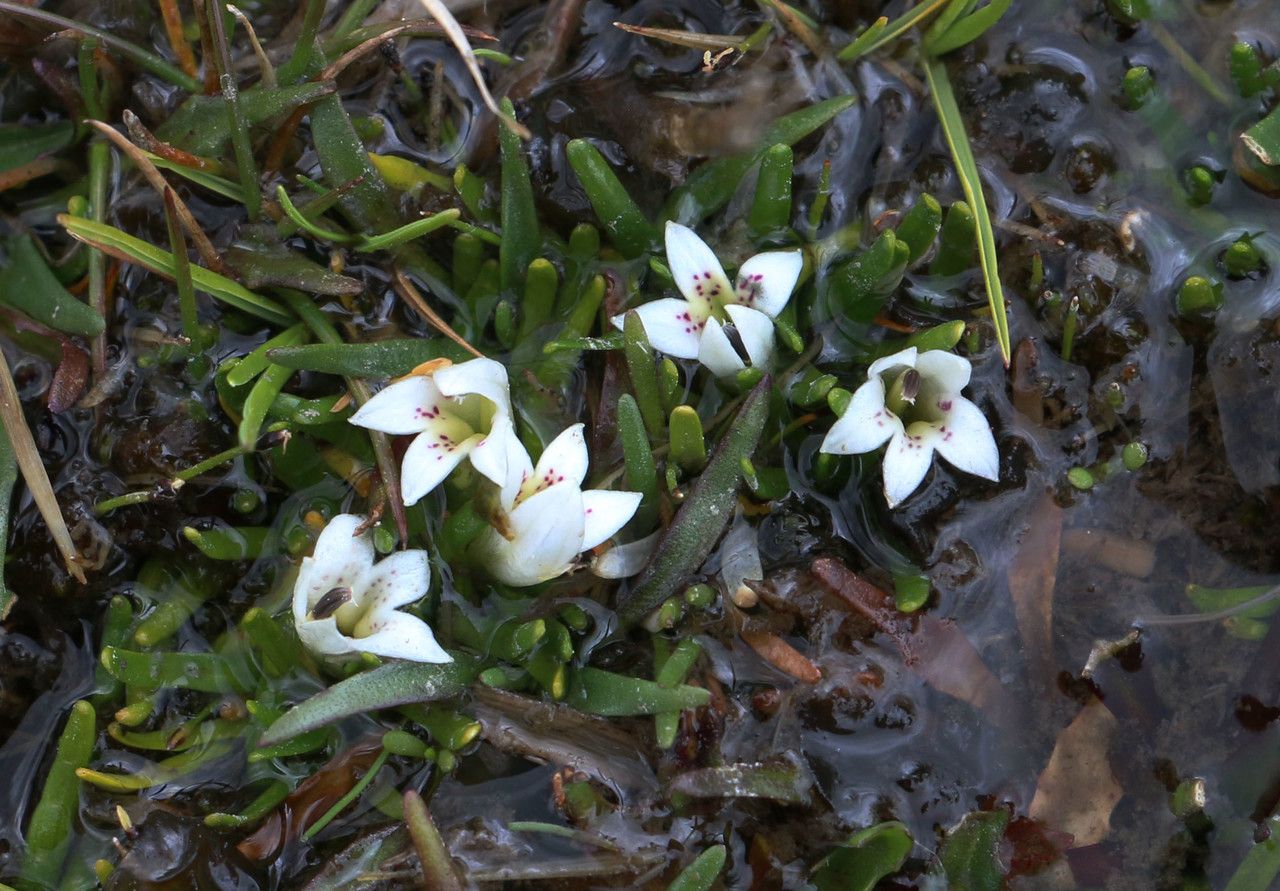
Oh, Lysipomia pumila! If you’ve ever admired those delicate, often fuzzy leaves and the charming little flowers these beauties send up, you’re not alone. I’ve been captivated by them for years. There’s something incredibly satisfying about coaxing a new life from a piece of an existing plant, and Lysipomia is a fantastic candidate for this rewarding practice. I’d say for beginners, they’re moderately easy. It might take a little patience, but the success you’ll feel is absolutely worth it.
The Best Time to Start
My favorite time to get busy with Lysipomia propagation is in the late spring or early summer. This is when the plant is in its most vigorous growth phase. It’s got plenty of energy to spare for developing new roots. Starting then gives those baby plants a good long growing season to establish themselves before cooler weather arrives.
Supplies You’ll Need
Before we get our hands dirty, let’s gather our tools. You don’t need anything too fancy for Lysipomia.
- Sharp pruning shears or a clean, sharp knife: Essential for taking clean cuts.
- Small pots or seed trays: Whatever you have handy will work. Drainage is key!
- Well-draining potting mix: I like to use a mix of equal parts seed starting mix and perlite or horticultural sand. This prevents soggy roots.
- Rooting hormone (optional but helpful): A powdered or gel rooting hormone can give your cuttings a nice boost.
- Clear plastic bag or dome: This creates a mini-greenhouse effect to keep humidity high.
- Watering can with a fine rose: For gentle watering.
Propagation Methods: Let’s Get Growing!
Lysipomia pumila is quite amenable to a couple of methods, but my go-to is stem cuttings. It’s quick, effective, and you can get quite a few new plants from a single mature specimen.
Stem Cuttings: My Favorite Approach
- Take your cuttings: Look for healthy, non-flowering stems. Using your clean shears or knife, make a cut just below a leaf node. A leaf node is where a leaf attaches to the stem; this is where roots will emerge. Aim for cuttings that are about 3-4 inches long. Remove any lower leaves, leaving just a couple at the top.
- Wound and dip (optional): If you’re using rooting hormone, lightly scrape the bottom inch of the cutting with your knife to expose fresh tissue, then dip it into the rooting hormone, tapping off any excess.
- Pot them up: Fill your small pots with your prepared potting mix. Make a pilot hole in the center of each pot with your finger or a pencil. Gently insert the prepared cutting into the hole, ensuring the leaf node is buried in the soil. Firm the soil gently around the base of the cutting.
- Water and cover: Water thoroughly, but gently, until you see water draining from the bottom. Then, place the pot inside a clear plastic bag, sealing it loosely, or cover the pot with a clear plastic dome. This will trap humidity, which is crucial for the cuttings to root.
Water Propagation: A Visual Treat
If you prefer to watch the magic happen, water propagation is a neat option.
- Prepare your cuttings: Follow step 1 from the stem cuttings method. Make sure to leave at least one leaf node submerged when you place the cutting in water.
- Place in water: Put your cuttings in a clean glass or jar filled with fresh water.
- Change the water regularly: This is key! Change the water every 2-3 days to keep it fresh and prevent bacterial growth.
- Watch for roots: You should start to see little white roots emerge from the leaf nodes within a few weeks. Once the roots are about an inch long, they’re ready to be transplanted into soil. Pot them up just like you would the stem cuttings.
The “Secret Sauce” (Pro Tips)
Here are a couple of things I’ve learned that make a big difference:
- Don’t let the leaves touch the water in water propagation. This can lead to rot very quickly. If a leaf is dipping into the water, gently trim it off.
- Bottom heat is like magic. If you have a seedling heat mat, placing your pots on it can dramatically speed up root formation for cuttings. It mimics the warmth of spring soil.
- Patience is a virtue, especially with propagation. Sometimes it can take longer than you expect. Don’t give up too soon!
Aftercare & Troubleshooting
Once your cuttings have developed a good root system (you can test this gently by giving them a light tug; if there’s resistance, they’ve rooted!), it’s time to transition them.
- Acclimate gradually: If you used the plastic bag method, gradually open the bag a little more each day over a week to let the cuttings get used to normal humidity before removing the bag entirely.
- Watering: Continue to water them when the top inch of soil feels dry. They’re still young and a bit delicate.
- Light: Keep them in bright, indirect light. No harsh sun for these youngsters!
Now, what if things go wrong? The most common issue is rot. If your cutting turns soft, black, and mushy, it’s likely rotted. This is usually due to too much moisture and not enough air circulation. If you see this happening, remove the affected cutting immediately to prevent it from spreading to other potential propagations. Ensure your soil is well-draining and your humidity isn’t too high for too long.
A Gentle Encouragement to Keep Going
Propagating Lysipomia pumila is a wonderful way to expand your collection or share your love for these charming plants. Don’t be discouraged if your first few attempts don’t work out perfectly. Every gardener learns through trial and error. Just keep trying, observe your plants, and enjoy the process. You’ll be a Lysipomia-propagating pro in no time! Happy gardening!
Resource:
https://identify.plantnet.org/k-world-flora/species/Lysipomia%20pumila%20(Wedd.)%20E.Wimm./data