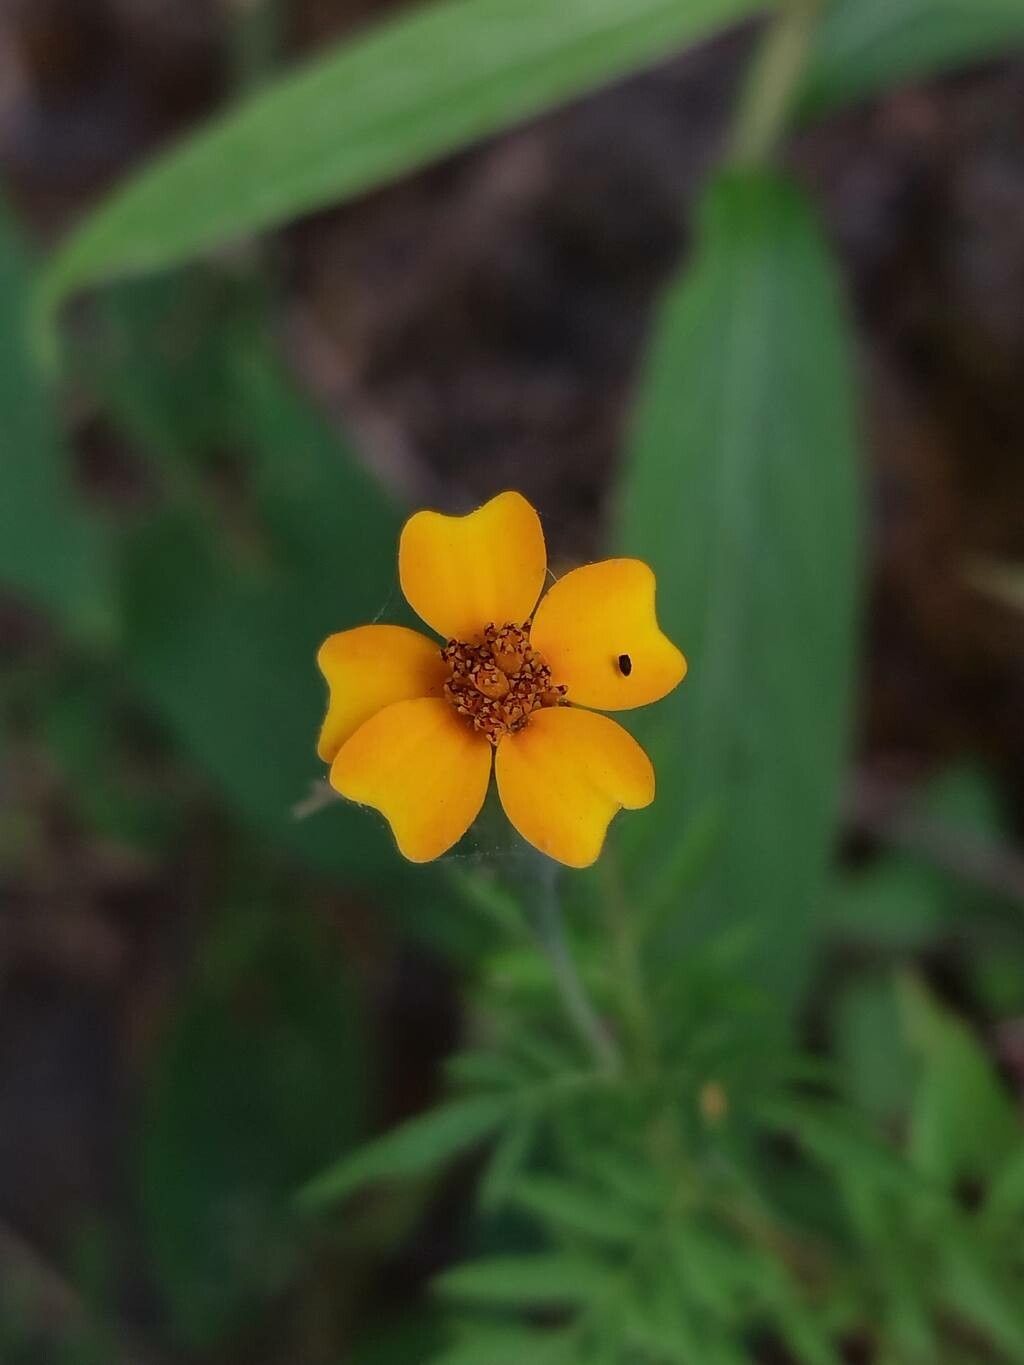
Ah, Tagetes subulata! Those wonderfully fuzzy, wonderfully aromatic members of the marigold family. I’ve always been drawn to their earthy scent and delicate, often intricate flower forms. They bring a subtle charm to the garden, a bit more refined than their showier cousins. And the best part? They’re surprisingly easy to multiply! If you’re new to the plant propagation game, Tagetes subulata is a fantastic friend to have. You’ll be rewarded with a steady supply of these little beauties for your own garden or to share with fellow plant lovers.
The Best Time to Start
For the highest success rate with Tagetes subulata, I always recommend starting in late spring to early summer. This is when the plant is actively growing and has plenty of energy to put into rooting. You want to take cuttings from shoots that are firm but not woody. Think of it as taking a healthy, vigorous bite out of the plant – that’s where the magic happens!
Supplies You’ll Need
Gathering your supplies before you start makes the whole process much smoother. Here’s what I usually have on hand:
- Sharp, clean pruning shears or a sharp knife: A clean cut is crucial for preventing disease.
- Seed-starting mix or a well-draining potting mix: Something light and airy is key. I often mix in perlite or coarse sand.
- Small pots or trays: Clean enough to avoid introducing any nasties.
- Rooting hormone (optional but helpful): Not strictly necessary for Tagetes, but it can give cuttings a nice boost.
- Watering can with a fine rose or spray bottle: Gentle watering is important.
- Plastic bags or a propagation dome: To create a humid environment.
- Small labels and a marker: To keep track of what you’ve planted!
Propagation Methods
Tagetes subulata is most commonly and successfully propagated from stem cuttings. It’s straightforward and yields great results.
Stem Cuttings:
- Select your parent plant: Choose a healthy, vigorous Tagetes subulata specimen that’s in its growing season.
- Take your cuttings: Using your clean shears, snip off healthy stem tips that are about 4-6 inches long. Aim for stems that have new growth but aren’t too soft or floppy. It’s best to take multiple cuttings so you have a higher chance of success.
- Prepare the cuttings: Gently remove the lower leaves from the cutting, leaving only a few at the very top. This prevents them from rotting in the soil. If your cuttings are very long, you can pot two or three per pot.
- Apply rooting hormone (optional): Dip the cut end of each cutting into rooting hormone, tapping off any excess.
- Pot them up: Fill your small pots with your chosen potting mix. Make a small hole in the center of the soil with your finger or a pencil. Insert the cut end of the stem into the hole, ensuring it’s making good contact with the soil. Gently firm the soil around the base of the cutting.
- Water gently: Water thoroughly but gently, so you don’t dislodge your cuttings. I like to let the pots drain completely.
- Create humidity: Cover the pots loosely with a plastic bag or place them under a propagation dome. This helps retain moisture around the cuttings. Ensure the leaves don’t touch the plastic if possible – this can lead to rot.
- Find a good spot: Place the pots in a warm location with bright, indirect light. Avoid direct, hot sun, which can scorch the young cuttings.
The “Secret Sauce” (Pro Tips)
Now for a couple of little nuggets of wisdom from my years in the garden!
- Bottom Heat is Your Friend: If you have a heat mat, popping your pots on it can dramatically speed up the rooting process. Tagetes roots are so much happier with a bit of warmth from below.
- Humidity, but Not Drowning: That plastic bag or dome is essential for humidity, but don’t let it become a stagnant swamp. Ventilate occasionally by lifting the bag or dome for an hour or so each day. It prevents fungal issues and helps the cuttings “breathe.”
- Gentle Does It with Watering: When you water new cuttings, avoid making the soil soggy. You want it to be consistently moist, like a wrung-out sponge, not waterlogged. Overwatering is one of the quickest ways to lose a new baby plant.
Aftercare & Troubleshooting
Once your cuttings have started to show signs of new growth – tiny leaves unfurling at the top – that’s a great indicator they’re rooting! You can gently tug on a cutting; if there’s resistance, you’ve got roots.
Gradually acclimatize them to drier air by removing the plastic cover or opening the dome for longer periods over a week or two. Continue to water when the top inch of soil feels dry. Once they have a good root system and are growing strongly, you can transplant them into slightly larger pots.
The most common issue you’ll see is rot, where the stem turns mushy and black. This is usually a sign of too much moisture and not enough air circulation. If you catch it early, you might be able to save other cuttings by improving conditions. Sometimes, cuttings just fail to root for no apparent reason – that’s part of gardening! Don’t get discouraged.
A Encouraging Closing
Propagating Tagetes subulata is a wonderfully satisfying way to extend your enjoyment of these charming plants. Be patient, observe your cuttings, and don’t be afraid to experiment. Every gardener learns as they go, and the joy of holding a tiny, rooted plant you created yourself is truly something special. Happy propagating!
Resource:
https://identify.plantnet.org/k-world-flora/species/Tagetes%20subulata%20Cerv./data