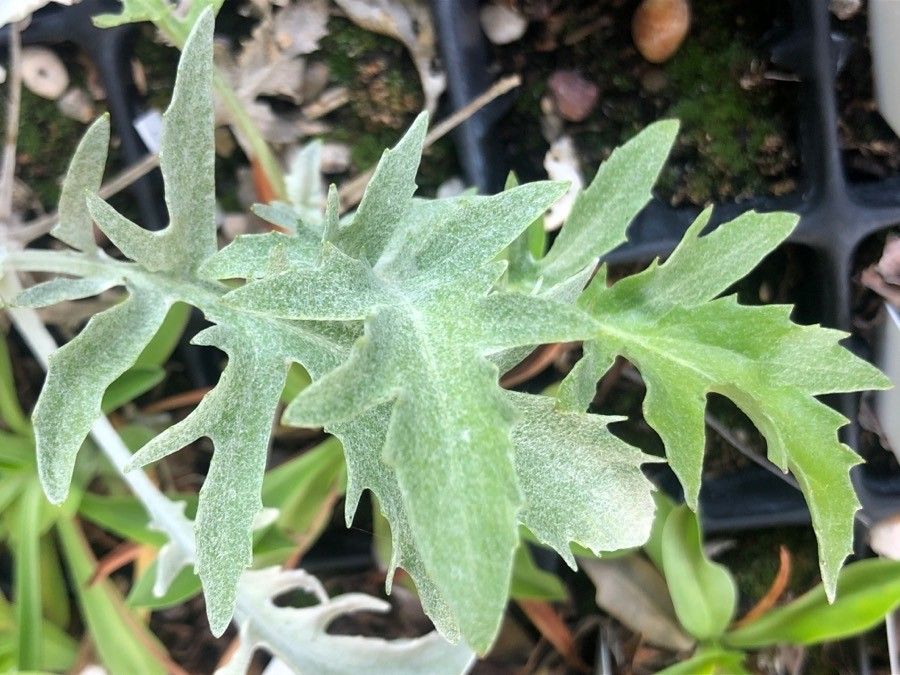
Oh, hello there! Come on in, grab a cup of something warm. Today, we’re diving into the wonderful world of Centaurea clementei, or as some of us fondly call it, the delicate, dreamy yellow centaurea. It’s truly a gem in the garden, isn’t it? Those soft, feathery leaves and those charming, buttery blooms just have a way of making you smile. Propagating this beauty yourself is such a rewarding journey, like coaxing a promise of future sunshine right from your own garden. For beginners, I’d say it’s moderately easy. It’s not as fuss-free as a hardy sedum for example, but with a little care and attention, you’ll be well on your way to success.
The Best Time to Start
When it comes to getting new Centaurea clementei plants going, the sweet spot is usually late spring to early summer. Think of it as the plant hitting its stride, full of youthful energy. This is when you’ll find the softest, most pliable new growth, which is just perfect for taking cuttings. Waiting until the plant has really settled into its growing season gives you the best chance of capturing that vital energy for propagation.
Supplies You’ll Need
Here’s a little checklist to get you prepped. Don’t worry, it’s nothing too intimidating!
- Sharp pruning shears or a clean, sharp knife: For taking clean cuts.
- Rooting hormone (optional but helpful): A little boost never hurt anyone!
- A well-draining potting mix: I like to use a peat-free seed & potting compost mixed with perlite or sharp sand. More drainage is always better!
- Small pots or seed trays: Clean ones are a must.
- A misting bottle: For keeping things humid.
- Plastic bags or a propagator lid: To create that cozy mini-greenhouse effect.
- Labels: So you don’t forget what you’ve planted!
Propagation Methods
Let’s get our hands dirty! We’ll focus on the most reliable method for Centaurea clementei: stem cuttings.
Stem Cuttings:
- Find Your Mother Plant: Locate a healthy, vigorous Centaurea clementei plant. Look for stems that are growing well, but aren’t woody yet.
- Take the Cuttings: Using your sharp pruning shears or knife, take cuttings that are about 4-6 inches long. Make a clean cut just below a leaf node (where a leaf joins the stem). Remove the lower leaves, leaving just a few at the top.
- Prepare the Cuttings: If you’re using rooting hormone, dip the cut end of each stem into it. Give the excess a gentle tap off.
- Pot Them Up: Fill your clean pots with your well-draining potting mix. Make a small hole in the center of the soil with a pencil or your finger.
- Insert the Cuttings: Gently insert the cuttings into the holes, ensuring that at least one leaf node is buried beneath the soil. Firm the soil gently around the base of each cutting.
- Water and Cover: Water the pots gently to settle the soil. Then, cover the pots with a plastic bag or place them inside a propagator with a lid. This is crucial for maintaining humidity.
The “Secret Sauce” (Pro Tips)
Here are a few little tricks I’ve picked up over the years that can make a big difference:
- Avoid Direct Sun: Once your cuttings are potted, place them in a bright spot, but out of direct sunlight. Too much sun can scorch those delicate new leaves before they’ve even had a chance to root.
- Bottom Heat (If You Have It): While not strictly essential, placing your pots on a heat mat can really speed up the rooting process. Centaureas appreciate a bit of warmth from below. It replicates that nice, cozy spring soil temperature.
Aftercare & Troubleshooting
Once your cuttings are happily nestled in their pots, the real waiting game begins!
- Maintain Humidity: Keep the propagator or plastic bag sealed for the first few weeks. You want to see condensation on the inside – that’s a good sign! Mist the leaves gently with your misting bottle if they start to look dry.
- Check for Roots: You’ll start to see signs of growth, like new leaves unfurling, fairly quickly. However, actual roots take a bit longer. After about 3-4 weeks, give a very gentle tug on a cutting. If you feel resistance, it’s a good indication that roots have formed.
- Acclimatize Them: Once they’ve rooted, gradually introduce them to fresh air by opening the propagator lid or the plastic bag a little each day. This prevents shock.
- Signs of Trouble: The most common issue is rot, which usually happens when the soil is too wet and there’s not enough air circulation. If you see stems turning mushy or black at the soil line, sadly, that cutting is likely lost. Don’t overwater! It’s much better to err on the side of slightly too dry than too wet when propagating.
A Encouraging Closing
And there you have it! Propagating Centaurea clementei is a beautiful way to expand your garden’s charm. Be patient, enjoy the process of nurturing these little cuttings. It’s a gentle reminder of nature’s incredible ability to create new life. Happy gardening, and may your yellow centaureas bloom in abundance!
Resource:
https://identify.plantnet.org/k-world-flora/species/Centaurea%20clementei%20Boiss.%20ex%20DC./data