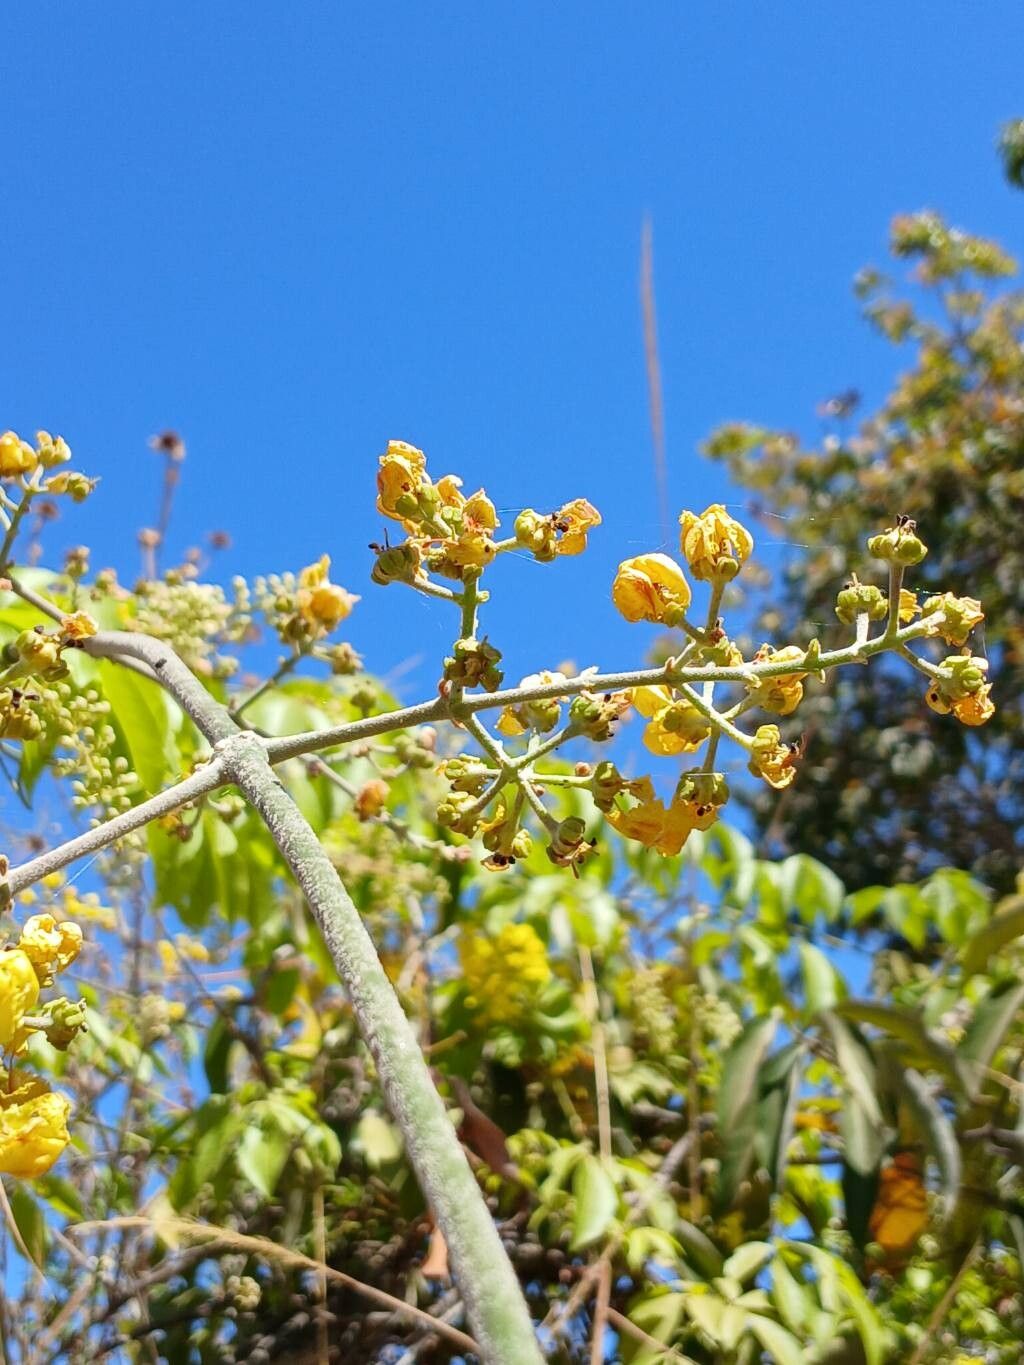
Oh, hello there! Pull up a chair, won’t you? I’m so excited to chat about one of my favorite plants – Banisteriopsis nummifera. If you haven’t met her yet, you’re in for a treat. She’s got these beautiful, coin-shaped leaves, hence the “nummifera” (meaning “coin-bearing”). And her subtle, sweet fragrance? Pure magic, especially in the evening.
Propagating this beauty is surprisingly rewarding. While she might seem a touch exotic, I’ve found that with a little guidance, it’s absolutely achievable, even for those of you who are still building your confidence in the garden. It’s not a “set it and forget it” plant, but the results are so worth the effort.
The Best Time to Start
My favorite time to take cuttings from Banisteriopsis nummifera is during its active growing season, which typically falls from late spring through early summer. You want to choose stems that are young and pliable, not old and woody. Think of a stem that bends easily without snapping – that’s your sweet spot. Waiting for that surge of new growth after the plant has settled into warmer temperatures is key for the best rooting success.
Supplies You’ll Need
Here’s what I always have on hand when I’m ready to propagate:
- Sterilizing solution: Isopropyl alcohol or a diluted bleach solution works wonders.
- Sharp, clean pruning shears or a very sharp knife: Clean cuts are crucial for preventing disease.
- Rooting hormone: I prefer a powdered hormone for stem cuttings, but a liquid one can also work beautifully.
- Potting mix: A well-draining, sterile potting mix is non-negotiable. I often use a blend of peat moss, perlite, and a little bit of orchid bark. You can also find commercial “seed starting” or “propagation” mixes.
- Small pots or trays: Clean pots are important! I like to use 4-inch pots.
- Plastic bags or a clear propagating lid: This will create a humid environment for your cuttings.
- Water: For you to sip while you work, and potentially for water propagation.
Propagation Methods
Let’s get our hands dirty! Banisteriopsis nummifera is pretty forgiving and responds well to a couple of different methods. I lean towards stem cuttings most often because it’s so efficient.
Stem Cuttings: My Go-To
- Select your cutting: Find a healthy, vigorous stem that is about 4-6 inches long. Make your cut just below a leaf node (where a leaf attaches to the stem). This node is where the magic happens for root formation.
- Prepare the cutting: Gently remove the lower leaves, leaving just a couple of leaves at the very top. If your remaining leaves are very large, I like to cut them in half to reduce water loss.
- Dip in rooting hormone: Dip the cut end of the stem into your rooting hormone powder, ensuring it’s coated. Tap off any excess.
- Plant the cutting: Fill your small pots with your pre-moistened potting mix. Make a small hole with your finger or a pencil, and then gently insert the cutting, ensuring the leaf nodes are covered by the soil. Firm the soil gently around the stem.
- Create humidity: Water the soil lightly. Then, cover the pot with a clear plastic bag (supported by stakes so it doesn’t touch the leaves) or place it under a propagating lid. This creates a mini-greenhouse.
- Provide warmth and light: Place the pots in a warm spot with bright, indirect light. Avoid direct sun, which can scorch your new baby plants.
Water Propagation (For the impatient among us!)
If you’re eager to see roots, water propagation is a fun option.
- Prepare the cutting: Follow steps 1 and 2 from the stem cutting method.
- Place in water: Put the prepared cutting in a small jar or glass of clean water, ensuring the leaf nodes are submerged.
- Change water regularly: Change the water every few days to keep it fresh and prevent bacterial growth.
- Wait for roots: You should start to see tiny white roots emerge from the nodes. Once the roots are about an inch long, it’s time to transplant them into soil following step 4 from the stem cutting method. Be very gentle when transplanting, as water roots can be delicate.
The “Secret Sauce” (Pro Tips)
Now, for a couple of little tricks I’ve picked up over the years that really make a difference:
- Warmth is King (with a caveat): While bright, indirect light is important, a gentle bottom heat can significantly speed up root development. You can achieve this with a propagation mat or by placing your pots on top of a gently warmed, but not hot, appliance in your home. Just be sure the heat isn’t so intense that it dries out the soil too quickly.
- Don’t Be Afraid of a Little “Pruning”: If you see a cutting that looks a bit leggy or has too many leaves, don’t hesitate to trim it back. A more compact cutting often redirects its energy into rooting rather than trying to support too much foliage. It feels counterintuitive, but trust me on this!
Aftercare & Troubleshooting
Once you start seeing those beautiful baby roots peeking out from the drainage holes or a new leaf unfurling, congratulations! It’s time for slightly different care.
- Gradual Acclimation: If you used a plastic bag, start by opening the bag gradually over a few days to let your new plant adjust to less humid conditions.
- Watering: Keep the soil consistently moist but not soggy. Overwatering is the quickest way to invite root rot.
- Light: Continue to provide bright, indirect light. As the plant matures, you can slowly introduce it to more light, but watch for signs of scorching.
- Troubleshooting: The most common issue is rot, which usually stems from overwatering or poor drainage. If your cutting wilts and the stem turns mushy and black, it’s likely rot. In this case, it’s best to discard it and start fresh with clean tools and a sterilized mix. Another sign of failure is a cutting that just never seems to root and eventually shrivels. This could be due to a lack of warmth, too much direct sun, or simply using an older, non-viable stem.
A Encouraging Closing
So there you have it! Propagating Banisteriopsis nummifera is a journey, and like any good garden project, it rewards patience. Don’t be discouraged if your first few attempts aren’t perfect. Every gardener has had their share of failures – it’s part of the learning process! Just keep trying, enjoy the quiet satisfaction of nurturing a new life, and before you know it, you’ll have a whole collection of these lovely plants. Happy propagating!
Resource: