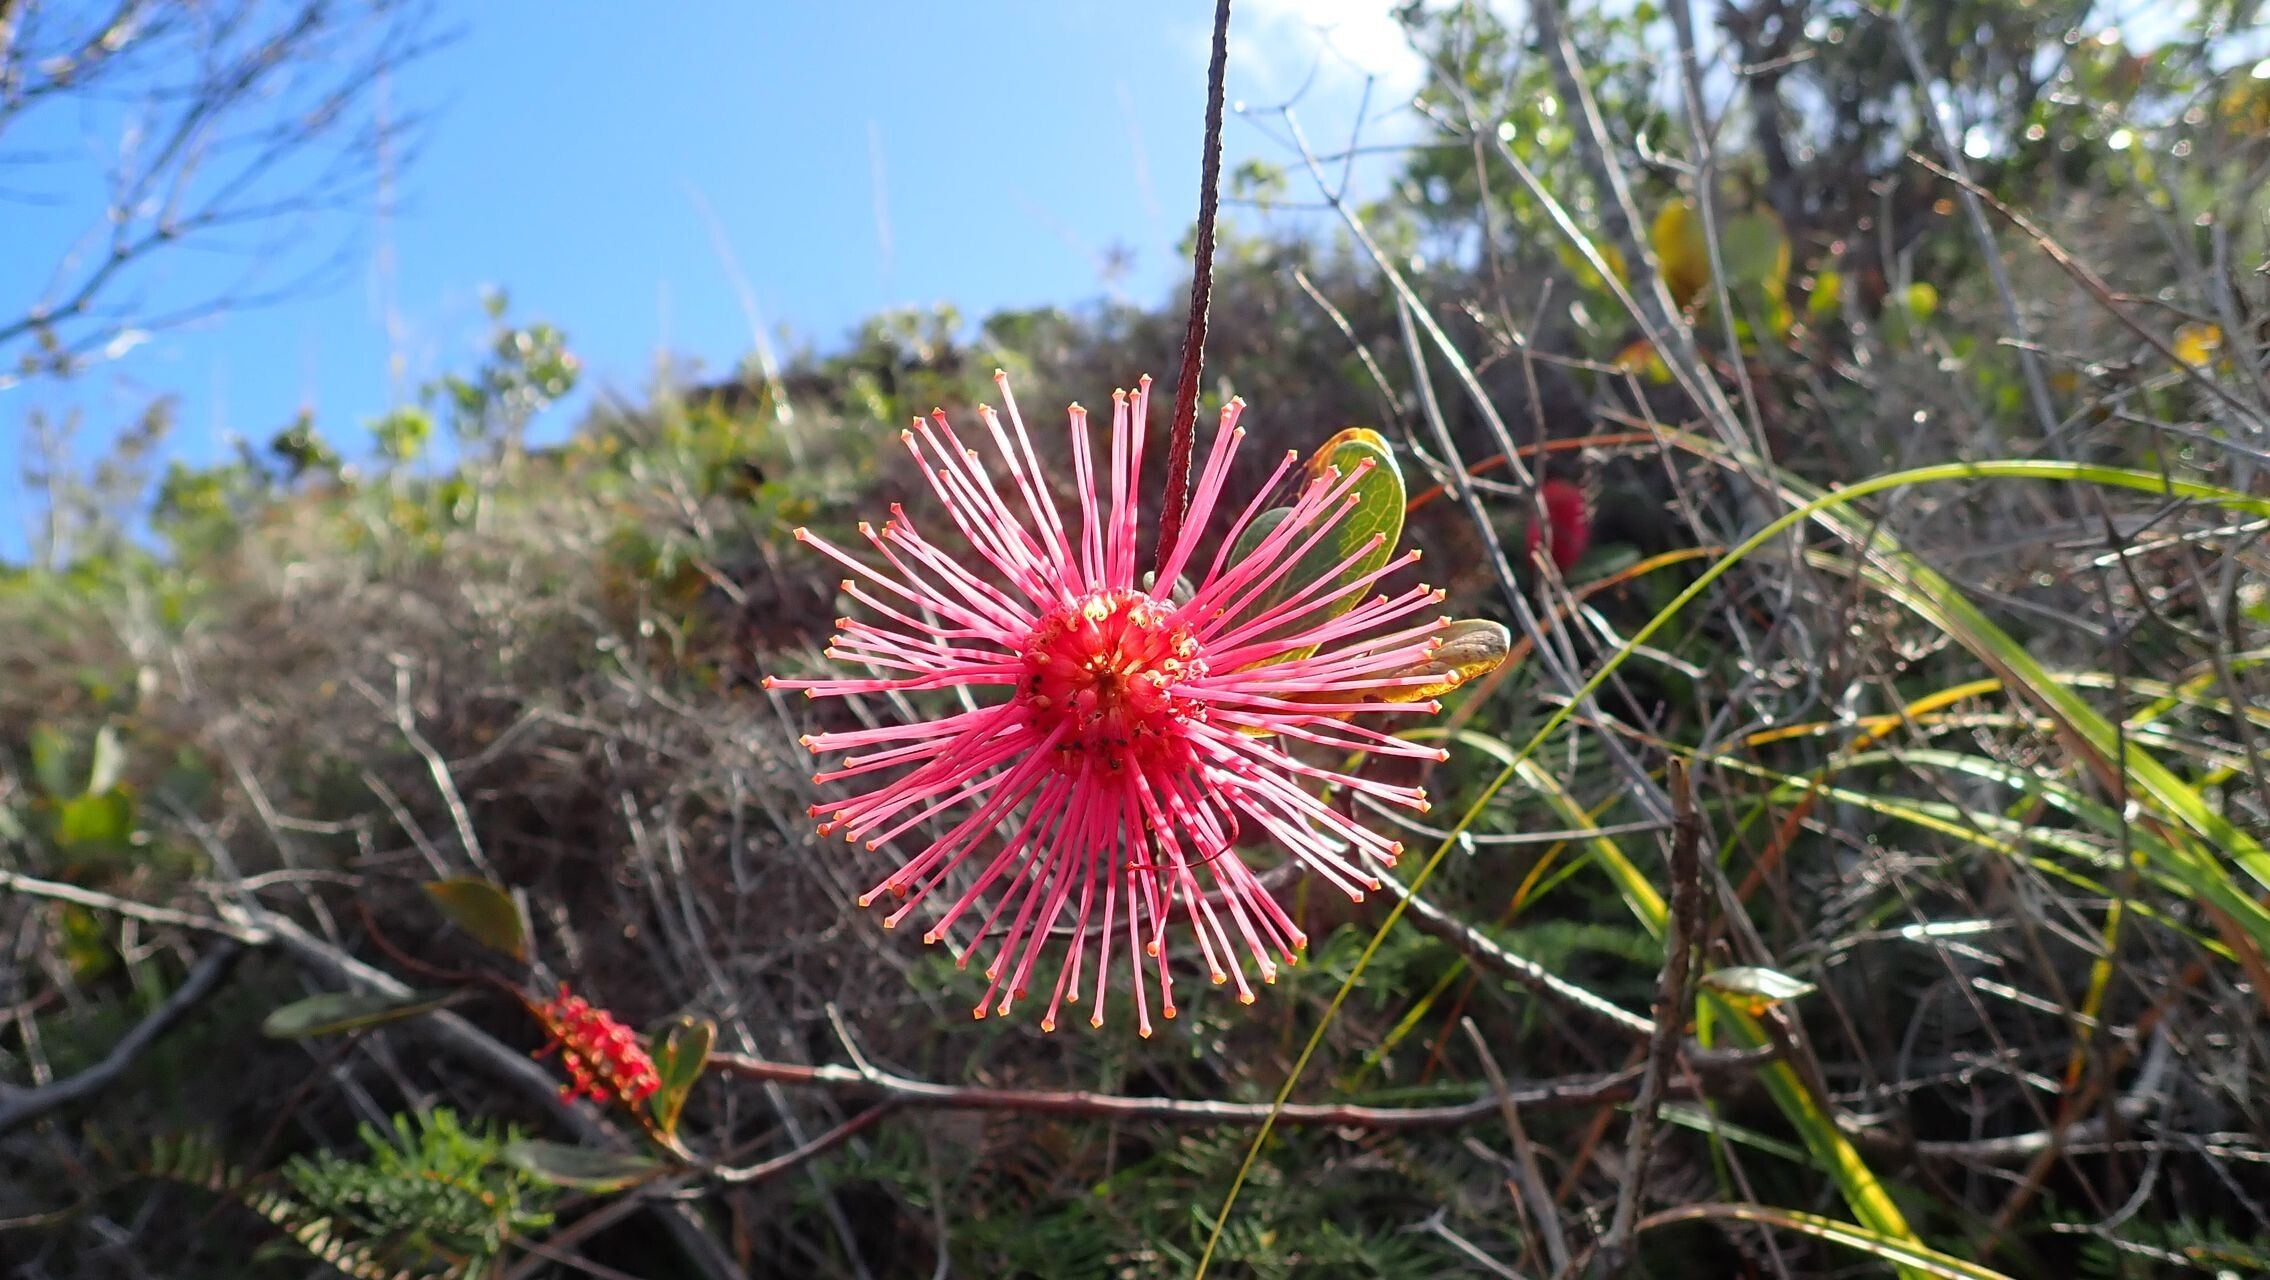
Hello, fellow garden enthusiasts! Today, we’re diving into the wonderful world of propagating Grevillea nepwiensis. I’ve had such joy in my garden watching these beauties unfurl, and sharing that joy by growing more is an incredibly rewarding experience. Grevillea nepwiensis, with its unique, whiskery flowers and lush foliage, is a real showstopper, and truthfully, a fairly accessible plant to propagate once you get the hang of it. Don’t be intimidated; we’ll go through it together!
The Best Time to Start
For the highest chance of success with cuttings, I’ve found that late spring to early summer is your golden window. This is when the plant is actively growing and has plenty of energy to put into developing new roots. Look for stems that are mature but still somewhat flexible – we call these “semi-hardwood” cuttings. Avoid very soft, new growth or old, woody stems; they’re less likely to strike.
Supplies You’ll Need
Here’s a little gathering of what you’ll want to have on hand:
- Sharp pruning shears or a clean knife: For taking clean cuts, which is crucial.
- Rooting hormone: A powder or gel will give your cuttings a helpful boost.
- Well-draining potting mix: A 50/50 blend of seed-raising mix and perlite or coarse sand works wonderfully. Grevilleas hate wet feet.
- Small pots or trays with drainage holes: Cleanliness is key!
- A misting bottle: To keep humidity levels up.
- Clear plastic bags or a propagator: To create a mini-greenhouse effect.
- Optional: A heat mat: This can really speed up root development.
Propagation Methods
Most of my success with Grevillea nepwiensis comes from stem cuttings. It’s straightforward and usually yields great results.
- Take Your Cuttings: Select a healthy, vigorous stem. Using your clean shears, cut a piece about 10-15 cm long. Make the cut just below a leaf node (where a leaf joins the stem). Remove the lower leaves, leaving just a couple at the top.
- Prepare the Cutting: Dip the cut end into your rooting hormone, tapping off any excess.
- Plant Your Cuttings: Fill your clean pots with the well-draining mix. Make a hole in the center with a pencil or your finger and insert the cutting, firming the soil gently around it.
- Create a Humid Environment: Water the soil lightly. Then, cover the pot with a clear plastic bag or place it in a propagator. This shields the cutting and keeps the humidity high, which is vital for preventing dehydration before roots form.
- Provide the Right Conditions: Place the pots in a bright spot out of direct sunlight. If you have a heat mat, place the pots on it. An ideal temperature is around 20-25°C.
The “Secret Sauce” (Pro Tips)
I’ve learned a few things over the years that really make a difference.
Firstly, don’t let your cuttings sit around in water. While some plants are happy doing that, Grevilleas, especially when propagating from cuttings, are prone to rot if left too long in stagnant water. Stick to the soil method for best results.
Secondly, bottom heat is a game-changer. Even a gentle warmth from below (around 20-22°C) encourages root formation much faster and more reliably than just ambient room temperature. It mimics good soil warmth in spring.
And my third little secret? Be patient with the misting. A fine misting of water daily, or even twice a day in very dry conditions, helps keep the leaves turgid and encourages callus formation at the cut end, which is the first step to roots.
Aftercare & Troubleshooting
Once your cuttings have been planted, keep them consistently moist but never waterlogged. You’ll know they’re rooting when you see new leaf growth or feel a gentle resistance when you very lightly tug on the cutting. This usually takes anywhere from 4-8 weeks, sometimes longer.
The most common issue you’ll encounter is rot. If a cutting turns black and mushy, it’s a sign of too much moisture and poor air circulation. Unfortunately, these are usually beyond saving. Ensure your potting mix is airy enough and that you’re not overwatering. If you see mold on the surface, gently scrape it off.
Once roots have developed sufficiently (you might see them peeking out the drainage holes), you can transplant your new Grevilleas into slightly larger pots. Continue to keep them in bright, indirect light for a few more weeks before gradually acclimatizing them to more sun.
A Little Encouragement
Propagating plants is a journey, and sometimes a plant or two doesn’t make it. Don’t be discouraged! Every attempt is a learning experience. With a little patience, the right conditions, and these tips, I have no doubt you’ll be enjoying your very own Grevillea nepwiensis babies in no time. Happy gardening!
Resource: