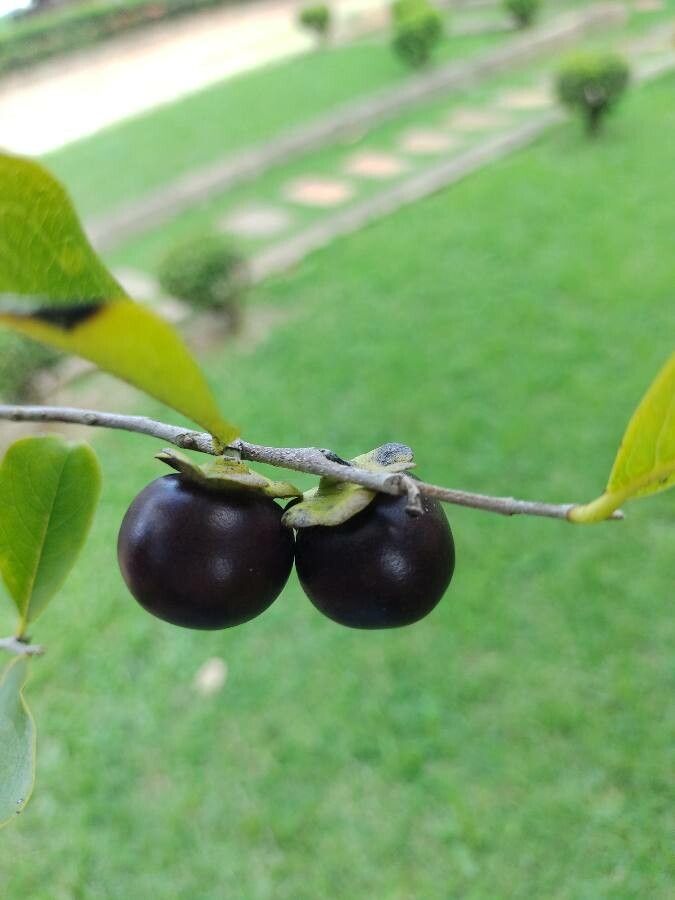
Hey there, fellow plant lovers! Today, we’re diving into something truly special: Diospyros inconstans, often called the “Wild Date” or “African Ebony.” If you’ve ever admired its glossy, dark green leaves and the promise of intriguing fruit, you’re not alone. Propagating this beauty can feel like a little victory, and trust me, it’s more achievable than you might think. While it’s not entirely a beginner’s walk in the park, with a little patience and these tips, you’ll be well on your way to doubling your enjoyment of this plant.
The Best Time to Start
For the highest success rates with Diospyros inconstans, I’ve found the late spring to early summer to be absolutely golden. This is when the plant is actively growing, full of vigor, and ready to put its energy into creating new roots. Think of it as the plant’s prime time for expansion!
Supplies You’ll Need
Let’s gather our tools. Having everything ready makes the process so much smoother:
- Sharp pruning shears or a clean knife: For taking cuttings. A clean cut is key!
- Rooting hormone powder or gel: This is a great booster, though not always strictly necessary.
- Well-draining potting mix: A blend of equal parts perlite, peat moss, and compost is a good starting point.
- Small pots or seed trays: Whatever suits the size of your cuttings. Make sure they have drainage holes.
- Plastic bag or propagation dome: To create a humid environment.
- Watering can with a fine rose: For gentle watering.
- Optional: Heated propagator or heat mat: For consistent bottom warmth, which speeds things up.
Propagation Methods
Here are my tried-and-true methods for coaxing new life from your Diospyros inconstans.
Stem Cuttings
This is my go-to for this plant.
- Select your parent plant: Choose a healthy, vigorous Diospyros inconstans that’s not flowering.
- Take softwood or semi-hardwood cuttings: Look for stems that are flexible but not so soft they’ll flop over. Aim for cuttings about 4-6 inches long. Make a clean cut just below a leaf node – that little bump where the leaf joins the stem. This is where the magic happens for root formation.
- Prepare the cuttings: Remove the lower leaves, leaving just a couple at the very top. This prevents them from rotting once planted. If the leaves are quite large, I’ll often cut them in half to reduce water loss.
- Dip in rooting hormone: If you’re using it, dip the cut end into the rooting hormone, tapping off any excess.
- Plant them: Gently insert the cut end into your prepared potting mix. You can fit several cuttings in one pot, just make sure they aren’t touching each other. Water thoroughly to settle the soil.
- Create humidity: Cover the pots with a clear plastic bag, securing it around the rim with a rubber band, or place them into a propagation dome. Make sure the leaves don’t touch the plastic if possible.
- Find a warm spot: Place the pots in a bright location, but out of direct sunlight. Ideally, use bottom heat.
Water Propagation (with caution)
While I prefer soil for this plant, you can try water.
- Take similar cuttings as described above.
- Place them in a jar or glass of water, ensuring that no leaves are submerged.
- Change the water every few days to keep it fresh and prevent rot.
- Watch for roots: You’ll see tiny white roots emerge. Once they’re about an inch long, it’s time to transplant them into soil. This step requires a bit more delicate handling.
The “Secret Sauce”
Here are a couple of things I’ve learned over the years that really make a difference:
- Bottom Heat is Your Best Friend: This is a game-changer! Even a gentle warmth from a heat mat or propagator really encourages root development. It mimics the conditions a seed would experience in the soil, stimulating roots to grow much faster and more reliably.
- Don’t Rush the Transplant: When propagating from water, wait until those roots are a decent length. Trying to transplant tiny, wispy roots can be incredibly frustrating as they often break off. Patience here pays dividends.
- Air Circulation is Key: While we need humidity to prevent cuttings from drying out, too much stagnant air can lead to fungal issues. If you’re using a plastic bag, lift it daily for a few minutes to allow for some air exchange. This helps prevent that dreaded “mushy stem” syndrome.
Aftercare & Troubleshooting
Once you see roots forming – you might gently tug a cutting, and it will resist – it’s time for a little pampering.
- Acclimatize them: Gradually remove the plastic cover over a week or so to let them get used to normal humidity.
- Water gently: Keep the soil consistently moist but not waterlogged. Water from the bottom if possible, allowing the pot to soak up what it needs.
- Light: Continue to provide bright, indirect light.
- Troubleshooting: The biggest culprit for failure is rot. This usually happens from overwatering or poor drainage. If a cutting turns black and mushy, it’s best to discard it and try again, ensuring your soil is airy and you’re not drowning it. Another sign of trouble is if the leaves completely droop and die without any sign of rooting – this can mean it dried out too quickly or the cutting wasn’t viable.
A Little Patience Goes a Long Way
Growing new plants from cuttings is such a rewarding experience. It connects you more deeply with your plants and brings such satisfaction when you see that first new leaf unfurl on your propagations. Don’t be discouraged if a few don’t make it – gardening is always a learning journey. Embrace the process, enjoy the nurturing, and soon you’ll have more beautiful Diospyros inconstans to share! Happy growing!
Resource:
https://identify.plantnet.org/k-world-flora/species/Diospyros%20inconstans%20Jacq./data