Well hello there, fellow garden enthusiasts! It’s such a joy to be sharing my passion for plants with you today. We’re going to delve into the wonderfully rewarding world of propagating Sorbus sargentiana, that gorgeous Rowan tree with its stunning scarlet berries and lovely foliage.
Why Grow and Propagate Sorbus sargentiana?
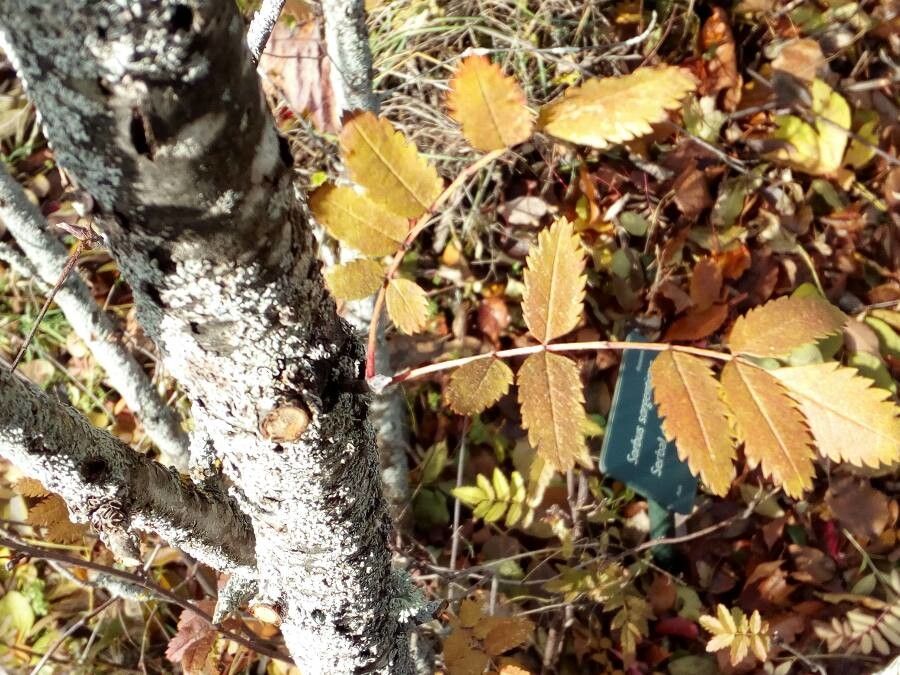
Honestly, there’s something truly magical about a healthy Sorbus sargentiana gracing your garden. The clusters of bright red berries are a magnet for birds and a spectacular autumn display. Plus, watching a tiny cutting transform into a new tree is one of gardening’s greatest triumphs. Now, I’ll be upfront: propagating Sorbus sargentiana from cuttings isn’t the easiest task for an absolute beginner, but with a little know-how and patience, it’s certainly achievable, and oh-so-satisfying!
The Best Time to Start
For the highest success rate, and indeed for almost any woody plant propagation, late spring to early summer is your sweet spot. You’re looking for stems that have grown this season and are semi-hardwood. This means they’re firm but still have a bit of flexibility. They snap cleanly when bent, rather than just kinking. Avoid brand new, “soft” growth, and definitely steer clear of fully lignified, woody stems from last year.
Supplies You’ll Need
Gathering your supplies beforehand makes the whole process much smoother. Here’s what you’ll want to have on hand:
- Sharp Pruning Shears or a Knife: Clean cuts are essential. Sterilize them with rubbing alcohol before you begin.
- Rooting Hormone: A powder or gel will significantly boost your chances of success.
- Propagation Pots or Trays: Small pots (around 3-4 inches) or a seed tray with good drainage.
- Well-Draining Potting Mix: A good quality mix of peat, perlite, and fine bark is ideal. Some gardeners like to add a bit of sand.
- Plastic Bag or Propagation Dome: This creates a humid microclimate around your cuttings.
- Labels: Don’t forget to label your cuttings with the date and variety.
- Watering Can with a Fine Rose: Gentle watering is key.
- Optional: Bottom Heat Mat: This can really encourage root development.
Propagation Methods: Stem Cuttings
The most common and usually most successful method for Sorbus sargentiana is taking semi-hardwood cuttings. Here’s how I do it:
- Take Your Cuttings: In late spring or early summer, select healthy, disease-free stems. Using your sterilized shears, cut sections that are about 6-8 inches long. Make your cut just below a leaf node (where a leaf attaches to the stem).
- Prepare the Cuttings: Carefully remove the lower leaves. You want to leave just one or two pairs of leaves at the top. If the remaining leaves are quite large, I often cut them in half horizontally. This reduces water loss without sacrificing too much leaf surface area for photosynthesis.
- Apply Rooting Hormone: Dip the cut end of each stem into your chosen rooting hormone. Gently tap off any excess.
- Plant Your Cuttings: Fill your pots or trays with the well-draining potting mix. Make a hole in the center of the mix with a pencil or dibber. Insert the cutting into the hole, ensuring the prepared end is firmly in contact with the soil. Firm the soil gently around the base of the cutting.
- Water Gently: Water the soil thoroughly until you see water draining from the bottom of the pot.
- Create Humidity: Cover the pots with a clear plastic bag, making sure the bag doesn’t touch the leaves, or use a propagation dome. Place the pots in a bright location but out of direct, scorching sunlight.
The “Secret Sauce” – Pro Tips
Over the years, I’ve learned a few tricks that make a real difference:
- Bottom Heat is Your Friend: If you can, placing your pots on a gentle bottom heat mat set to around 70-75°F (21-24°C) will significantly speed up root formation. It mimics the warmth of the soil that roots love.
- Don’t Overwater: This is crucial! While cuttings need consistent moisture, soggy soil is the fastest way to rot them. Let the surface of the soil dry out slightly between waterings. You can often tell by the weight of the pot.
- Patience, Patience, Patience! Don’t be tempted to yank on your cuttings to check for roots too soon. It can take anywhere from 6 weeks to several months for Sorbus sargentiana cuttings to root. Resist the urge!
Aftercare & Troubleshooting
Once you start to see new leaf growth emerging from your cuttings – that’s a fantastic sign that roots are forming! You can often gently tug on a cutting and feel a slight resistance if it’s rooted. Keep them in their humid environment for a while longer.
When they have a good root system, you can gradually acclimate them to normal conditions by opening the plastic bag or ventilation slits on your propagator for increasing periods each day. Water consistently but allow the soil to dry slightly.
The most common issue you’ll encounter is rot. If a cutting turns black and mushy, it’s unfortunately a goner. This is usually due to overwatering or poor drainage. If you see any signs of mold, remove the affected cutting immediately and try to improve air circulation.
Keep Growing!
Propagating plants is an exercise in trust, patience, and keen observation. Don’t be discouraged if not every cutting takes. Each attempt teaches you something new. So gather your supplies, get your hands in the soil, and enjoy the magical journey of growing your own beautiful Sorbus sargentiana. Happy gardening!
Resource:
https://identify.plantnet.org/k-world-flora/species/Sorbus%20sargentiana%20Koehne/data