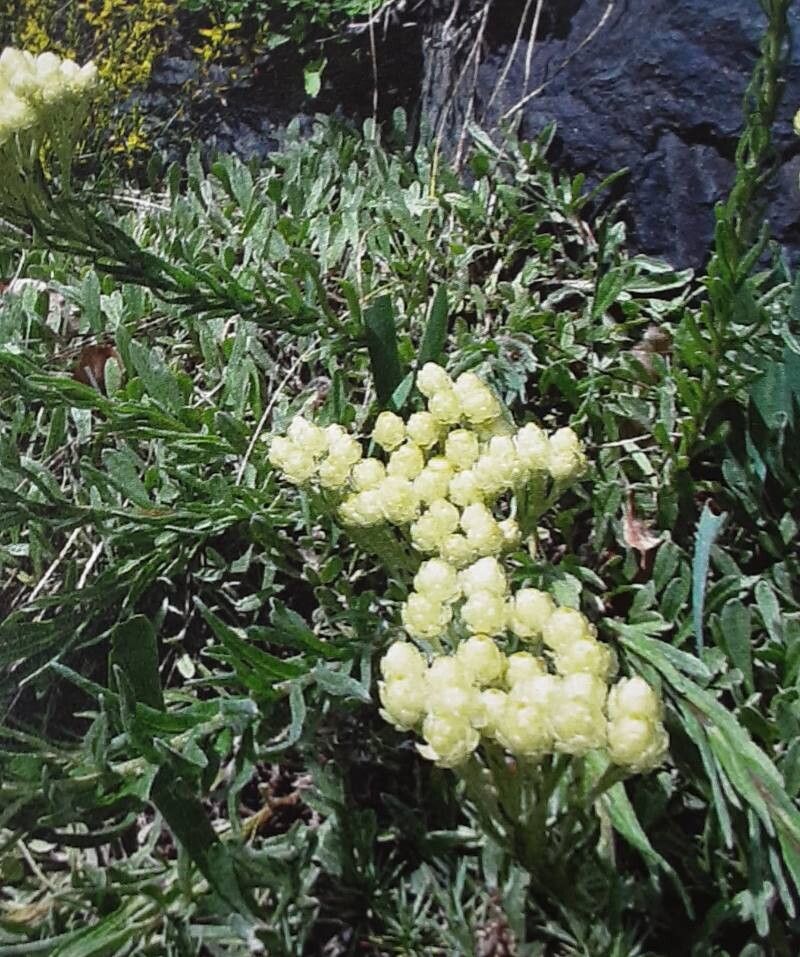
Oh, hello there! Come on in, grab a mug. Let’s chat about one of my absolute favorites: Helichrysum plicatum. You know, the one with those wonderful, papery, everlasting blooms that smell like curry and sunshine? It’s a truly special plant, and getting more of them to grow is such a satisfying endeavor, like planting your own little garden of silver treasures.
Honestly, for most gardeners, Helichrysum plicatum is a fairly easy-peasy plant to propagate. You don’t need to be a seasoned pro to see some success. It’s quite forgiving, which is always a bonus in my book!
The Best Time to Start
For the highest success rate with Helichrysum plicatum, I always recommend starting in late spring or early summer. This is when the plant is actively growing and has plenty of energy to put into forming new roots. You’re looking for semi-hardwood cuttings, which means stems that are no longer brand new and soft but haven’t quite turned woody yet. They should be bendy without snapping easily.
Supplies You’ll Need
You won’t need anything too fancy, thankfully! Here’s what I gather before I begin:
- Sterilized pruning shears or a sharp knife: A clean cut is key to preventing disease.
- Small pots or seed trays: With drainage holes, of course!
- A good quality potting mix: I like to use a light, well-draining mix. A blend of peat moss or coir, perlite, and a little bit of compost works beautifully. You can also buy specific seed-starting or cutting mixes.
- Rooting hormone (optional but recommended): This little powder or gel can really give your cuttings a boost.
- A clear plastic bag or propagation dome: To create a humid environment.
- A small watering can with a fine rose: To water gently.
Propagation Methods
I find stem cuttings to be the most reliable method for Helichrysum plicatum. Here’s how I do it:
- Take Your Cuttings: In late spring or early summer, select healthy, non-flowering stems from a mature plant. Using your sterilized shears, cut lengths of about 4-6 inches.
- Prepare the Cuttings: Remove the lower leaves from the cutting, leaving only a few at the top. If you see any flower buds, pinch them off. This encourages the plant to focus its energy on root development, not flowering.
- Dip in Rooting Hormone (Optional): If you’re using rooting hormone, dip the cut end of the stem into the powder or gel. Tap off any excess.
- Pot Them Up: Fill your small pots or trays with your prepared potting mix. Make a hole in the center of the soil with a pencil or your finger. Gently insert the cut end of the stem into the hole, ensuring the leaves at the top don’t touch the soil surface. Firm the soil gently around the stem.
- Water and Cover: Water the soil gently until it’s evenly moist but not waterlogged. Then, cover the pots with a clear plastic bag or a propagation dome. This will trap humidity around the cuttings, which is crucial for them to root. Make sure the plastic doesn’t touch the leaves.
- Provide Light: Place the pots in a bright location with indirect sunlight. Never place them in direct sun, as this can scorch the delicate cuttings and overheat the plastic cover.
The “Secret Sauce” (Pro Tips)
Here are a couple of little tricks I’ve learned over the years for Helichrysum plicatum:
- Bottom Heat is Your Friend: While not strictly essential, placing your pots on a heated propagator mat can significantly speed up the rooting process. It mimics that perfect lukewarm soil temperature that encourages root growth. You’ll often see roots forming much faster this way.
- Air Circulation is Key: Even though we’re trying to create humidity, you don’t want stagnant, overly wet air. Briefly open the plastic cover or dome for a few minutes each day to allow for some air exchange. This helps prevent fungal issues and rot.
Aftercare & Troubleshooting
Once your cuttings have been potted, monitor the moisture levels regularly. The soil should remain consistently moist but never soggy. You might need to water every few days, depending on the humidity under the cover.
You’ll know your cuttings are rooting when you see new leaf growth or feel a slight resistance when you gently tug on the stem. This usually takes anywhere from 3 to 6 weeks. Once roots have formed, you can gradually remove the plastic cover over a few days to acclimate the new plants to normal humidity.
The most common sign of failure is wilting and browning leaves, followed by the stem turning mushy and falling over. This is usually a sign of overwatering and the onset of rot. If you see this, unfortunately, that cutting is likely lost. Always ensure good drainage and that you aren’t keeping the soil too waterlogged.
A Encouraging Closing
See? It’s not so daunting, is it? The key is patience and observation. Each little cutting is a chance to bring more of that lovely silver foliage and fragrant charm into your garden. Don’t be discouraged if not every cutting takes. Gardening is a journey of learning, and every little sprout is a victory. Happy propagating!
Resource:
https://identify.plantnet.org/k-world-flora/species/Helichrysum%20plicatum%20DC./data