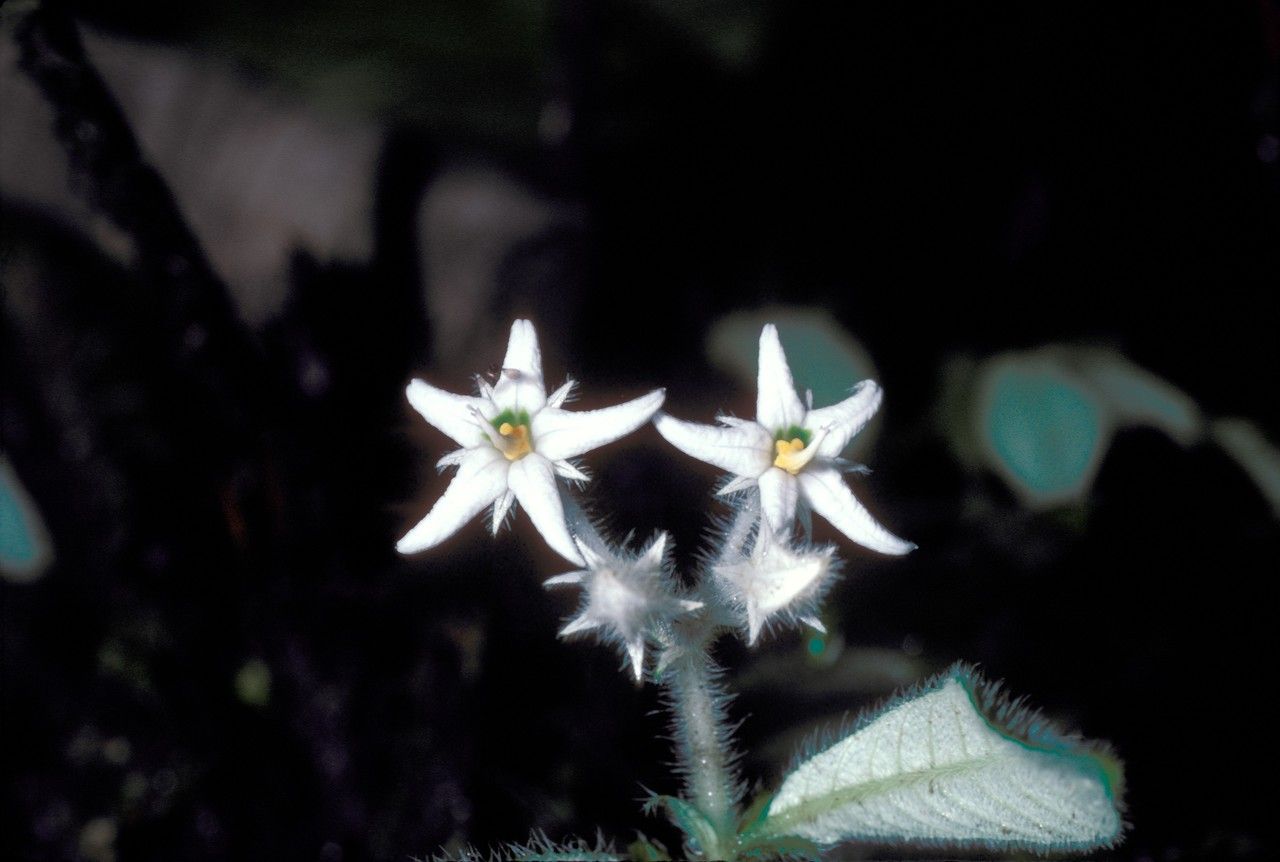
Oh, Argostemma parvifolium! If you’ve ever seen this little gem in a shady corner, its delicate, often velvety leaves just drawing you in, you know the magic. It’s not a plant you see everywhere, which makes it all the more special to have in your own collection. And the best part? Propagating it is a really rewarding experience. It’s not an absolute beginner plant, but with a little patience and these tips, you’ll be well on your way to multiplying these beauties.
The Best Time to Start
Honestly, the sweet spot for propagating Argostemma parvifolium is when it’s actively growing. Think late spring through summer. The plants are full of energy then, and cuttings are much more likely to root and thrive. Avoid trying this when the plant is dormant or under stress from extreme heat or cold.
Supplies You’ll Need
Here’s what I always have on hand when I’m propagating:
- Sharp pruning shears or a clean, sharp knife: For taking clean cuttings. Dull tools crush stems, which is no good for rooting.
- Rooting hormone (optional but recommended): A powdered or gel form can give your cuttings a helpful boost.
- A well-draining potting mix: I like a blend of peat moss or coco coir, perlite, and a bit of orchid bark. This ensures no soggy bottoms!
- Small pots or propagation trays: Clean ones are key to preventing disease.
- A clear plastic bag or humidity dome: To keep things nice and humid for your cuttings.
- A spray bottle: For misting your cuttings.
- Tweezers (optional): Useful for delicately handling small cuttings.
Propagation Methods
Argostemma parvifolium is usually propagated from stem cuttings. It’s straightforward and usually yields good results.
- Take Your Cuttings: On a healthy, actively growing stem, locate a node (where a leaf attaches to the stem). Using your sterilized shears or knife, make a clean cut just below a node. You’re looking for cuttings that are about 2-4 inches long and have at least two to three leaves. Remove the lower leaves so that none emerge below the soil surface. You can even take leaf cuttings, ensuring a small piece of the stem is attached.
- Apply Rooting Hormone (Optional): If you’re using rooting hormone, dip the cut end of the stem into the powder or gel. Gently tap off any excess.
- Plant Your Cuttings: Fill your small pots or trays with your prepared potting mix. Make a small hole with your finger or a pencil. Gently insert the cut end of the stem into the hole, making sure at least one node is buried. Firm the soil gently around the cutting.
- Water and Cover: Water the soil lightly until it’s evenly moist but not waterlogged. Then, cover the pot or tray with a clear plastic bag or a humidity dome. This creates a mini-greenhouse environment essential for successful rooting.
The “Secret Sauce” (Pro Tips)
- Here’s one little trick I learned early on: don’t let the leaves of your cuttings touch the water if you’re using water propagation (though stem cuttings in soil are generally more reliable for Argostemma). If leaves sit in water, they tend to rot.
- For stem cuttings, bottom heat can be a game-changer. Placing your pots on a seedling heat mat (set to a gentle warmth, not hot!) encourages root development from below. It mimics the warmth of spring soil wonderfully.
- When taking cuttings, make sure your parent plant is healthy and well-hydrated. A stressed plant will give you cuttings that are desperate from the start.
Aftercare & Troubleshooting
Once your cuttings are planted and covered, place them in a warm spot with bright, indirect light. Avoid direct sun, which can scorch the delicate leaves.
Check the moisture levels every few days and mist lightly if the soil surface starts to dry out. You want the soil to remain consistently moist but never soggy.
You’ll know your successful when you see new leaf growth or gentle resistance when you tug lightly on the cutting. This usually takes anywhere from 4 to 8 weeks.
The most common sign of trouble is rot. If your stem turns black and mushy, or the leaves start to yellow and drop off rapidly, it’s likely due to too much moisture or poor air circulation. If you see rot, try to salvage any healthy-looking part of the cutting and start again with cleaner tools and a less waterlogged mix. Sometimes, a lack of growth is just patience needed, but if the cuttings look limp and unhappy after a few weeks, they may not have taken.
A Encouraging Closing
Propagating Argostemma parvifolium is a journey, not a race. There will be times you wonder if it’s working, and sometimes a batch just won’t make it. Don’t be discouraged! Every attempt is a learning experience. Celebrate the small victories, be patient with your little green charges, and enjoy the quiet satisfaction of bringing new life into existence. Happy propagating!
Resource:
https://identify.plantnet.org/k-world-flora/species/Argostemma%20parvifolium%20Benn./data