Oh, hello there! Come on in and pull up a chair. I’ve got a fresh pot of coffee brewing. Today, we’re going to talk about something truly special: propagating Lotus ornithopodioides.
Bringing Bird’s-Foot Trefoil to Life
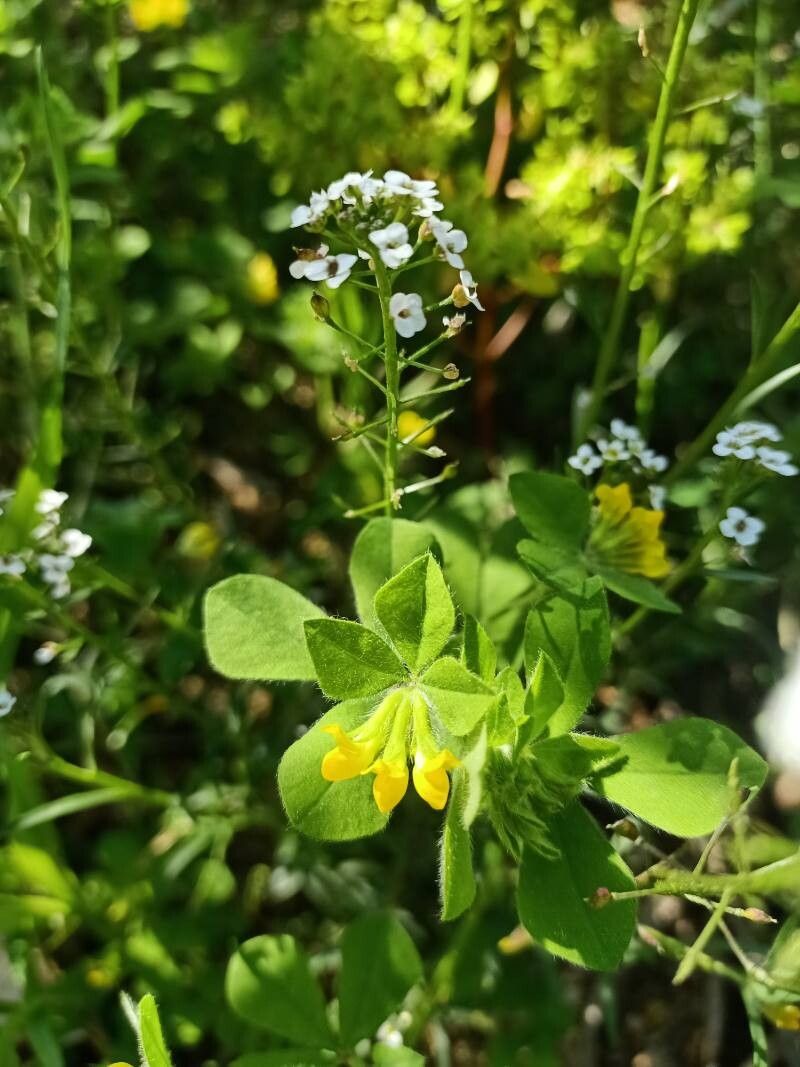
I just adore Lotus ornithopodioides, or Bird’s-Foot Trefoil as it’s affectionately known. Its delicate, pea-like flowers in shades of yellow and orange are a cheerful sight, and it forms a lovely, rambling groundcover that attracts all sorts of beneficial insects. There’s something incredibly satisfying about coaxing new life from an existing plant, and sharing that abundance feels like a gift to yourself and the garden. Now, is it a beginner-friendly plant to propagate? I’d say it’s moderately easy. It’s not as foolproof as, say, a succulent cutting, but with a little attention, you’ll find success.
When to Get Your Hands Dirty
The best time to attempt propagation for Lotus ornithopodioides is generally in late spring or early summer. This is when the plant is actively growing and has plenty of energy to put into developing new roots. You’re looking for healthy, non-flowering stems.
What You’ll Need for Success
Gathering your supplies beforehand always makes the process smoother. Here’s what I recommend:
- Sharp pruning shears or a clean knife: For making clean cuts.
- Rooting hormone (optional but helpful): A powder or gel to encourage root development.
- Small pots or seed trays: With good drainage holes.
- A well-draining potting mix: I like a blend of perlite, peat moss, and coarse sand. You can also use a commercially available seed-starting mix.
- A spray bottle: For misting.
- A clear plastic bag or propagation dome: To create a humid environment.
- Water: For watering and misting.
My Favorite Ways to Grow More Trefoil
I’ve found a couple of methods work best for this lovely plant.
Stem Cuttings: The Reliable Go-To
This is my tried-and-true method for Lotus ornithopodioides.
- Select your stems: Look for healthy, new growth that is about 3-4 inches long. Avoid any stems that are flowering or have woody sections.
- Make a clean cut: Using your sharp shears, make a clean cut just below a leaf node (where a leaf attaches to the stem).
- Prepare the cutting: Gently remove the lower leaves from the stem, leaving just a couple at the top. If you’re using rooting hormone, dip the cut end into the powder or gel, tapping off any excess.
- Plant your cuttings: Fill your small pots or trays with your well-draining mix. Make a small hole in the soil with a pencil or your finger, and gently insert the cutting, ensuring the bottom leaf node is buried. Firm the soil gently around the stem.
- Water and cover: Water the cuttings thoroughly until water drains from the bottom. Then, cover the pot with a clear plastic bag or propagation dome to create a humid mini-greenhouse.
Water Propagation: A Peek at Progress
While stem cuttings in soil are my preference, you can also try water propagation for a visual treat.
- Prepare your cuttings: Follow steps 1 and 2 above for selecting and cutting stems.
- Place in water: Put the cuttings in a clean jar or vase filled with clean water. Crucially, ensure no leaves are submerged in the water. Leaves left in the water will rot and can take down your cutting with them.
- Change water regularly: Change the water every few days to keep it fresh.
- Wait for roots: Be patient! You should start to see tiny white roots emerging from the nodes after a few weeks. Once the roots are about an inch long, you can transplant them into pots with soil, treating them as you would the cuttings from the first method.
The “Secret Sauce” from My Garden
Here are a few little tricks I’ve learned over the years that can make a big difference:
- Bottom Heat is Your Friend: Propagating plants often benefit from gentle warmth from below. If you have a heat mat for seedlings, pop your pots on it. It really speeds up root development.
- Don’t Over-Water: While humidity is key, soggy soil is the enemy of new cuttings. Let the top of the soil dry out slightly between waterings. A good rule of thumb is to check with your finger – if it feels dry an inch down, it’s time to water.
- Be Gentle with Potting: When you plant your cuttings (whether in soil initially or transplanting from water), handle them with the utmost care. Those tiny new roots are fragile.
Waiting Game & What to Look For
Once your cuttings have developed roots, it’s time for a little TLC.
- Acclimatize Gradually: If you used a plastic bag or dome, start by opening it for a few hours each day, gradually increasing the time over a week. This helps the new plant adjust to normal humidity.
- Move to Brighter Light: When the cuttings start showing new leaf growth, you know they’ve rooted. You can then move them to a brighter location, but avoid intense, direct sun initially.
- Signs of Trouble: The most common issue is rot, which usually appears as a black, mushy stem. This is often a sign of too much moisture and poor air circulation. If you see this, unfortunately, that cutting is likely lost. A lack of new growth after several weeks might mean the cutting didn’t take, but don’t be discouraged.
Keep Planting, Keep Growing!
Propagating plants is a journey, and like any good journey, it requires a bit of patience. Don’t be disheartened if not every cutting makes it. Each attempt teaches you something new. Just keep experimenting, keep observing, and most importantly, enjoy the wonderful process of bringing more beauty into your garden. Happy planting!
Resource:
https://identify.plantnet.org/k-world-flora/species/Lotus%20ornithopodioides%20L./data