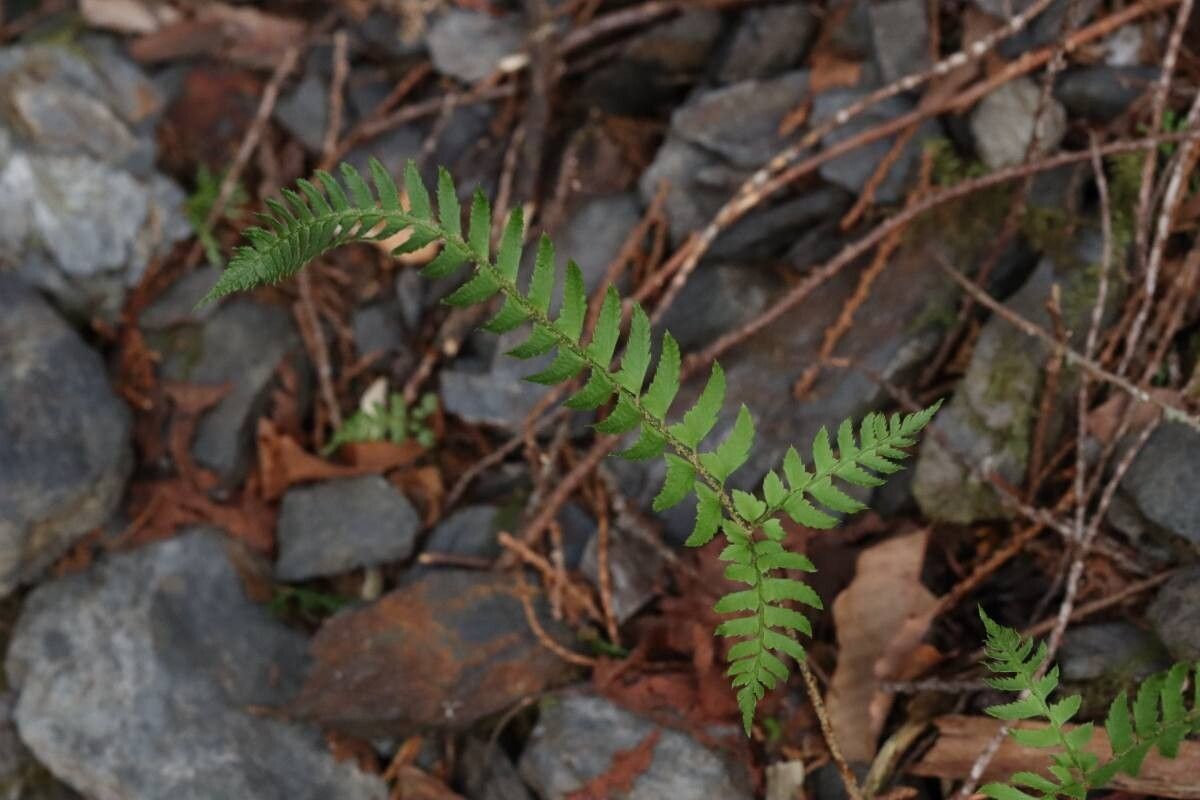
Oh, hello there! Come on in, grab a mug of your favorite brew. I’m so excited to chat with you today about a fern that truly steals my heart: Polystichum tripteron. You might know it as the Three-Winged Holly Fern, and trust me, it’s a beauty. Its elegant, upright fronds have this wonderful architectural quality, bringing a touch of the wild to any shady spot. And the rewarding part? Watching those tiny new plants unfurl, knowing you coaxed them to life yourself, is just pure garden magic.
Now, is it a walk in the park for a brand-new gardener? I’d say it’s more of a gentle stroll. Polystichum tripteron isn’t the most finicky fern out there, but it does appreciate a bit of know-how and patience. But don’t let that deter you! With a few key steps, you’ll be well on your way.
The Best Time to Start
For Polystichum tripteron, the prime time to get propagating is when the plant is actively growing, which usually means late spring through early summer. You’ll see those lovely new fiddleheads starting to unfurl then. This is when the plant has the most energy to dedicate to creating new life. Trying to propagate when the plant is dormant just won’t yield the same enthusiastic results.
Supplies You’ll Need
Gathering your tools beforehand makes the whole process so much smoother. Here’s what I always have on hand:
- Sharp, clean pruning shears or a sharp knife: For making precise cuts.
- Sterile potting mix: A good blend for ferns often includes peat moss, perlite, and a bit of compost. You want something that drains well but also holds some moisture. A specialized fern mix is also a fine choice.
- Small pots or trays: Clean ones are essential to prevent disease. I love using small terracotta pots for their breathability.
- Watering can with a fine rose or spray bottle: For gentle watering.
- Optional: Rooting hormone: While not always strictly necessary for Polystichum tripteron, it can give things a little boost. Look for one formulated for cuttings.
- Labels and a marker: To keep track of what you’ve planted and when!
Propagation Methods
Polystichum tripteron is primarily propagated through division. It’s the most straightforward and reliable method for this particular fern.
Division: Sharing the Love
This is where you gently split a mature, healthy plant into smaller sections, each with its own roots and shoots.
- Gentle Extraction: First, carefully remove the entire Polystichum tripteron plant from its pot. If it’s in the ground, gently dig around it to loosen the root ball.
- Clean the Roots: Gently shake off excess soil from the root ball. You want to be able to see the structure of the roots and where the rhizomes (the thick, horizontal stems) are. A soft brush can be helpful here.
- The Big Split: Now for the delicate part. Using your hands or a clean knife, carefully separate the plant into smaller sections. Each section should have at least one healthy clump of roots and a few fronds or developing fiddleheads. If the roots are very intertwined, a gentle teasing apart is best. Don’t be afraid to use that knife if needed, but make sure it’s clean!
- Potting Up: Prepare your clean pots with your prepared fern potting mix. Plant each division so the top of the root ball is just at the soil surface. You don’t want to bury the crown of the fern too deeply.
- Water It In: Water each new pot thoroughly until water runs from the drainage holes. This helps settle the soil around the roots.
The “Secret Sauce” (Pro Tips)
You know, after all these years, I’ve picked up a few little tricks that seem to make a world of difference.
- Don’t Over-Water, But Keep it Consistently Moist: Ferns love moisture, but they hate soggy feet. After the initial watering, let the surface of the soil dry out just a tiny bit before watering again. Think “damp cloth,” not “swamp.”
- Humidity is Your Friend: Polystichum tripteron thrives in humid conditions. After you’ve divided and potted them, group the pots together in a shady spot outdoors or in a humid corner indoors. You can even lightly mist them daily, especially if the air is dry. This mimics their natural woodland environment.
- Patience is a Virtue (and a Fertilizer): Don’t expect instant miracles. These young plants need time to establish. I resist the urge to fertilize right away. Wait until you see clear signs of new frond growth (those wonderful fiddleheads unfurling) before considering a very dilute, balanced liquid fertilizer, perhaps once a month through the growing season.
Aftercare & Troubleshooting
Once your new divisions are tucked into their pots, the care is pretty straightforward. Keep them in a shady, protected location. Avoid direct sunlight at all costs – it will scorch those delicate new fronds. Water as I mentioned, keeping them consistently moist but not waterlogged.
What if things go wrong? The most common culprit is rot. If you see fronds turning yellow and mushy, or the crown of the fern starts to look dark and soft, it’s usually a sign of too much moisture and poor air circulation. If you suspect rot, gently lift the plant and check the roots. If they’re brown and slimy, the plant is likely lost. You might be able to salvage a healthy piece if you catch it early.
Another issue can be drying out. If the fronds start to look crispy and brown, it means they’re not getting enough water or humidity. Ensure they are in a shady spot and that you’re watering regularly.
A Encouraging Closing
Growing new plants from an old favorite is one of the most rewarding aspects of gardening. There’s a special kind of joy that comes from nurturing a tiny piece of your beloved Polystichum tripteron into a whole new plant. So don’t be discouraged if your first attempt isn’t perfect. Every gardener has had their share of little mishaps! Just keep at it, observe your plants, and enjoy the process. Happy growing!
Resource:
https://identify.plantnet.org/k-world-flora/species/Polystichum%20tripteron%20(Kunze)%20C.Presl/data