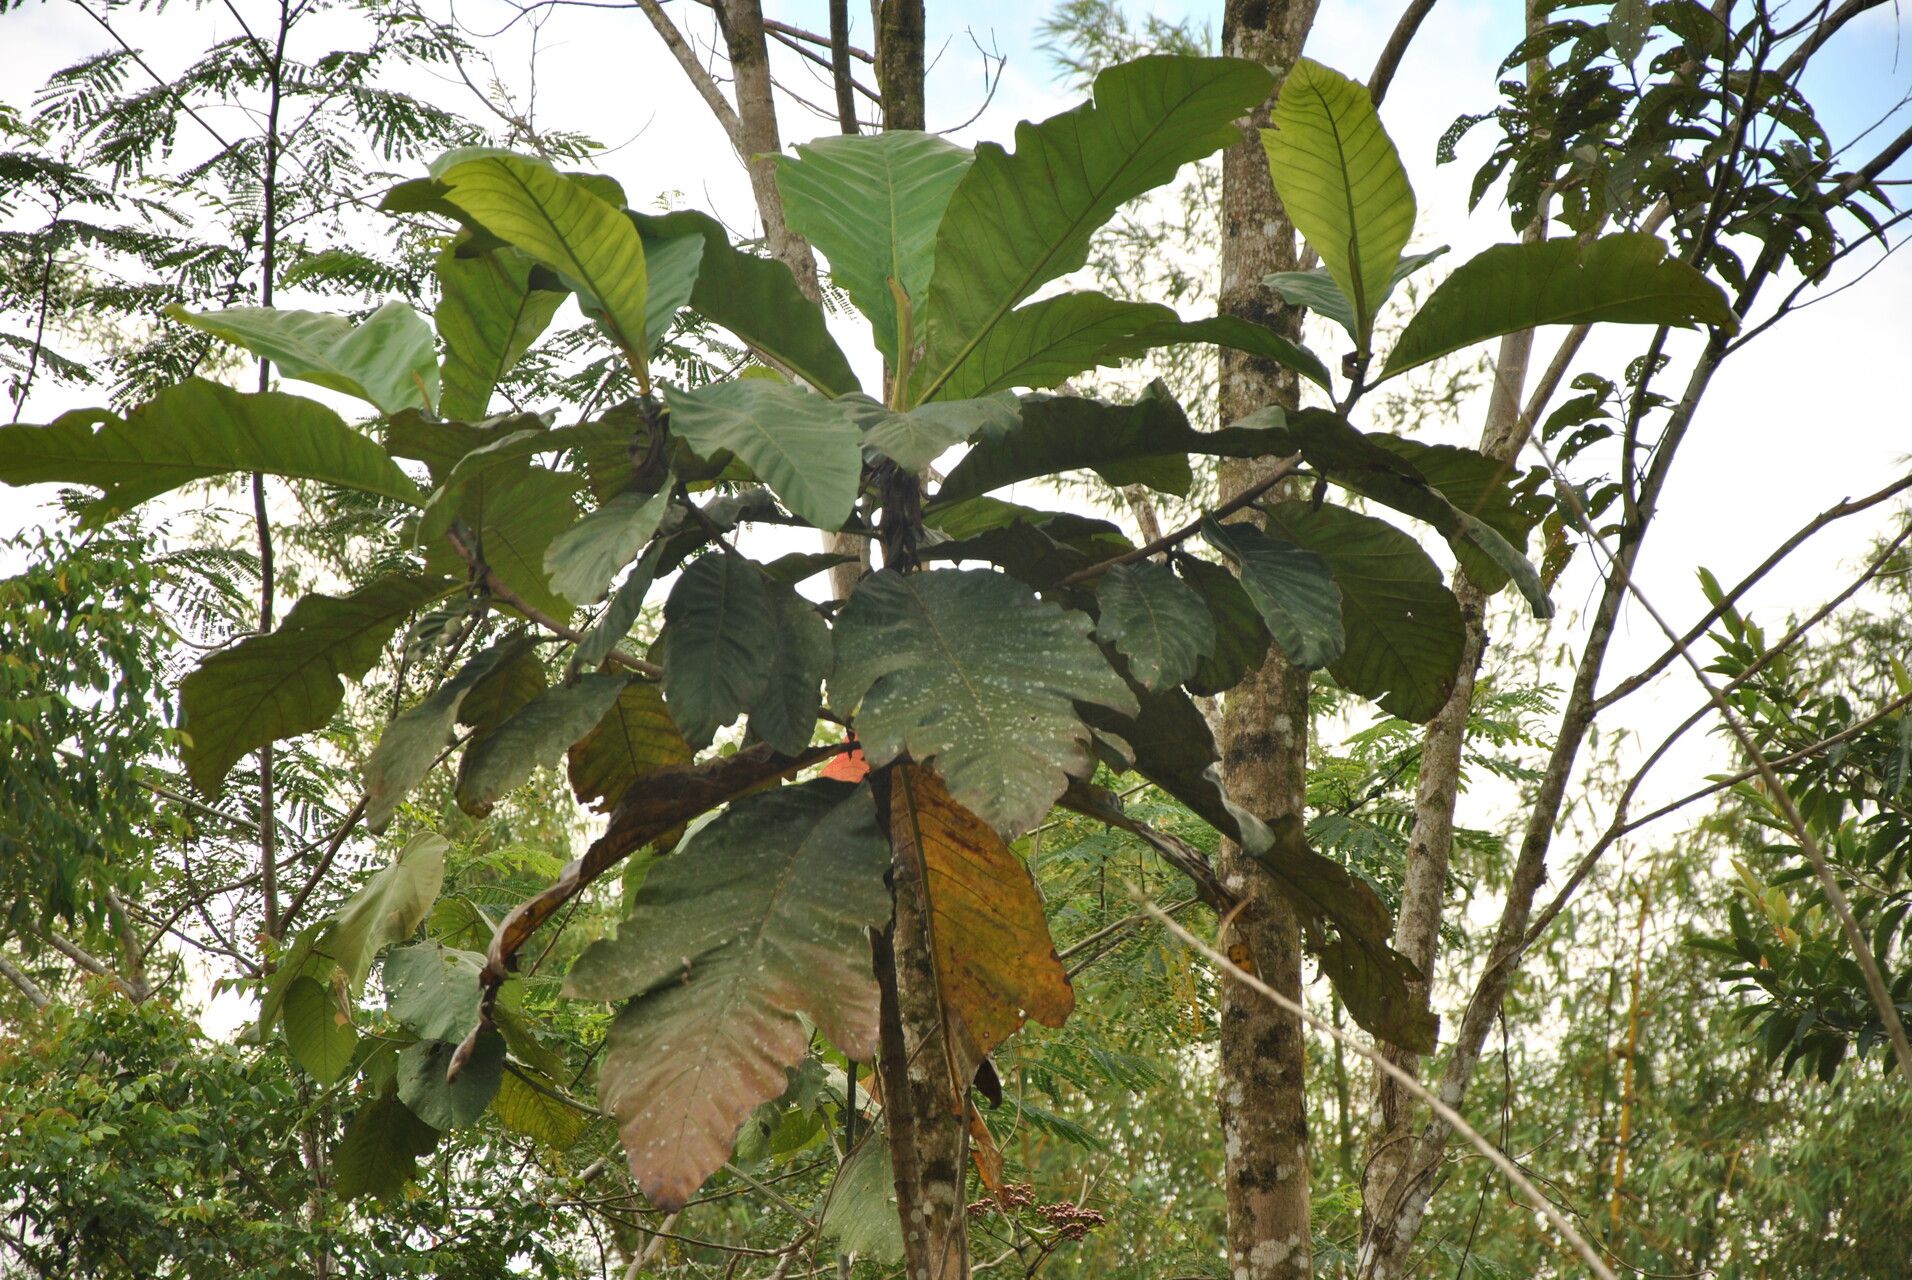
Ah, Artocarpus elasticus! What a fantastic plant to get to know. You know, the first time I saw one, I was captivated by its lush, glossy leaves and the promise of that truly tropical vibe. It’s the kind of plant that can transport you right to a sun-drenched paradise, even if you’re just enjoying it on your patio. And the best part? Successfully propagating it yourself is incredibly rewarding. It’s a feeling of accomplishment that just can’t be beat. Now, is it a walk in the park for a complete beginner? Honestly, it’s a little more involved than, say, a spider plant, but with a bit of care and attention, it’s absolutely achievable. Don’t let that discourage you!
The Best Time to Start
For Artocarpus elasticus, spring and early summer are your golden windows. This is when the plant is actively growing and has plenty of energy to put into developing new roots. Look for healthy, semi-hardwood cuttings. These are shoots that are no longer brand new and flimsy, but also not old and woody. They should be firm but still have a bit of flexibility to them. Avoid taking cuttings from flowering or fruiting stems, as the plant’s energy is focused elsewhere then.
Supplies You’ll Need
Here’s what I keep on hand when I’m propagating:
- Sharp, clean pruning shears or a grafting knife: Essential for making clean cuts that heal well.
- Rooting hormone powder or gel: This is a real game-changer for encouraging root development.
- Well-draining potting mix: I love a blend of peat moss, perlite, and a bit of coarse sand. You want it to hold moisture but drain quickly.
- Small pots or seed trays: Clean ones are a must to prevent disease.
- Clear plastic bags or a propagation dome: To create a humid environment for the cuttings.
- A spray bottle: For gentle misting.
- Optional: Heating mat: This can significantly speed up rooting in cooler conditions.
Propagation Methods
I find stem cuttings to be the most reliable method for Artocarpus elasticus.
- Select your cutting: Look for a healthy stem that’s about 6-8 inches long. Make your cut just below a leaf node (where a leaf attaches to the stem).
- Prepare the cutting: Carefully remove the lower leaves, leaving just a few at the top. If the remaining leaves are very large, you can even cut them in half horizontally to reduce water loss.
- Apply rooting hormone: Dip the cut end into rooting hormone, tapping off any excess.
- Plant your cutting: Make a hole in your prepared potting mix with a pencil or your finger, then gently insert the cutting, ensuring the rooting hormone remains on the cut end. Firm the soil around it.
- Create humidity: Water the soil lightly. Then, cover the pot with a clear plastic bag or place it under a propagation dome. Make sure the plastic doesn’t touch the leaves.
- Provide warmth and light: Place the pot in a bright, indirect light location. If you have a heating mat, set it to a gentle warmth.
The “Secret Sauce” (Pro Tips)
Over the years, I’ve learned a few little tricks that seem to make all the difference:
- Don’t let the leaves touch the water: When I’m misting or watering, I’m always mindful that if the leaves sit in water for too long, they’re much more prone to rot. A good parent plant helps, but a little care goes a long way.
- Bottom heat is your friend: Especially if your home is on the cooler side, a heating mat placed under your propagation tray is a game-changer. It mimics the warmth of spring soil and really encourages those roots to get going.
- The “Wiggle Test”: Once you think your cutting might be rooted, a gentle tug is your best indicator before trying to transplant. If there’s a bit of resistance, you’ve likely got roots!
Aftercare & Troubleshooting
Once you see new leaf growth or feel that resistance from the “wiggle test,” it’s a sign roots are forming! Gradually acclimate your new plant to less humid conditions by opening the plastic bag or dome a little more each day over a week. Continue to water when the top inch of soil feels dry.
The most common issue you might encounter is rot. If your cutting wilts significantly, turns black and mushy, or the leaves fall off prematurely, it’s usually a sign of too much moisture and not enough drainage, or possibly a fungal issue. In this case, sadly, it’s best to discard the cutting and start again with fresh, sterile materials and a better-draining mix. Prevention is key here!
A Encouraging Closing
Propagating Artocarpus elasticus is a journey, and like any good gardening project, it requires a little patience and a willingness to learn. Don’t be discouraged if your first attempt isn’t a runaway success. Each try teaches you something new about your plant and your environment. Just keep at it, trust the process, and enjoy the incredible satisfaction of nurturing life from a simple cutting. Happy propagating!
Resource: