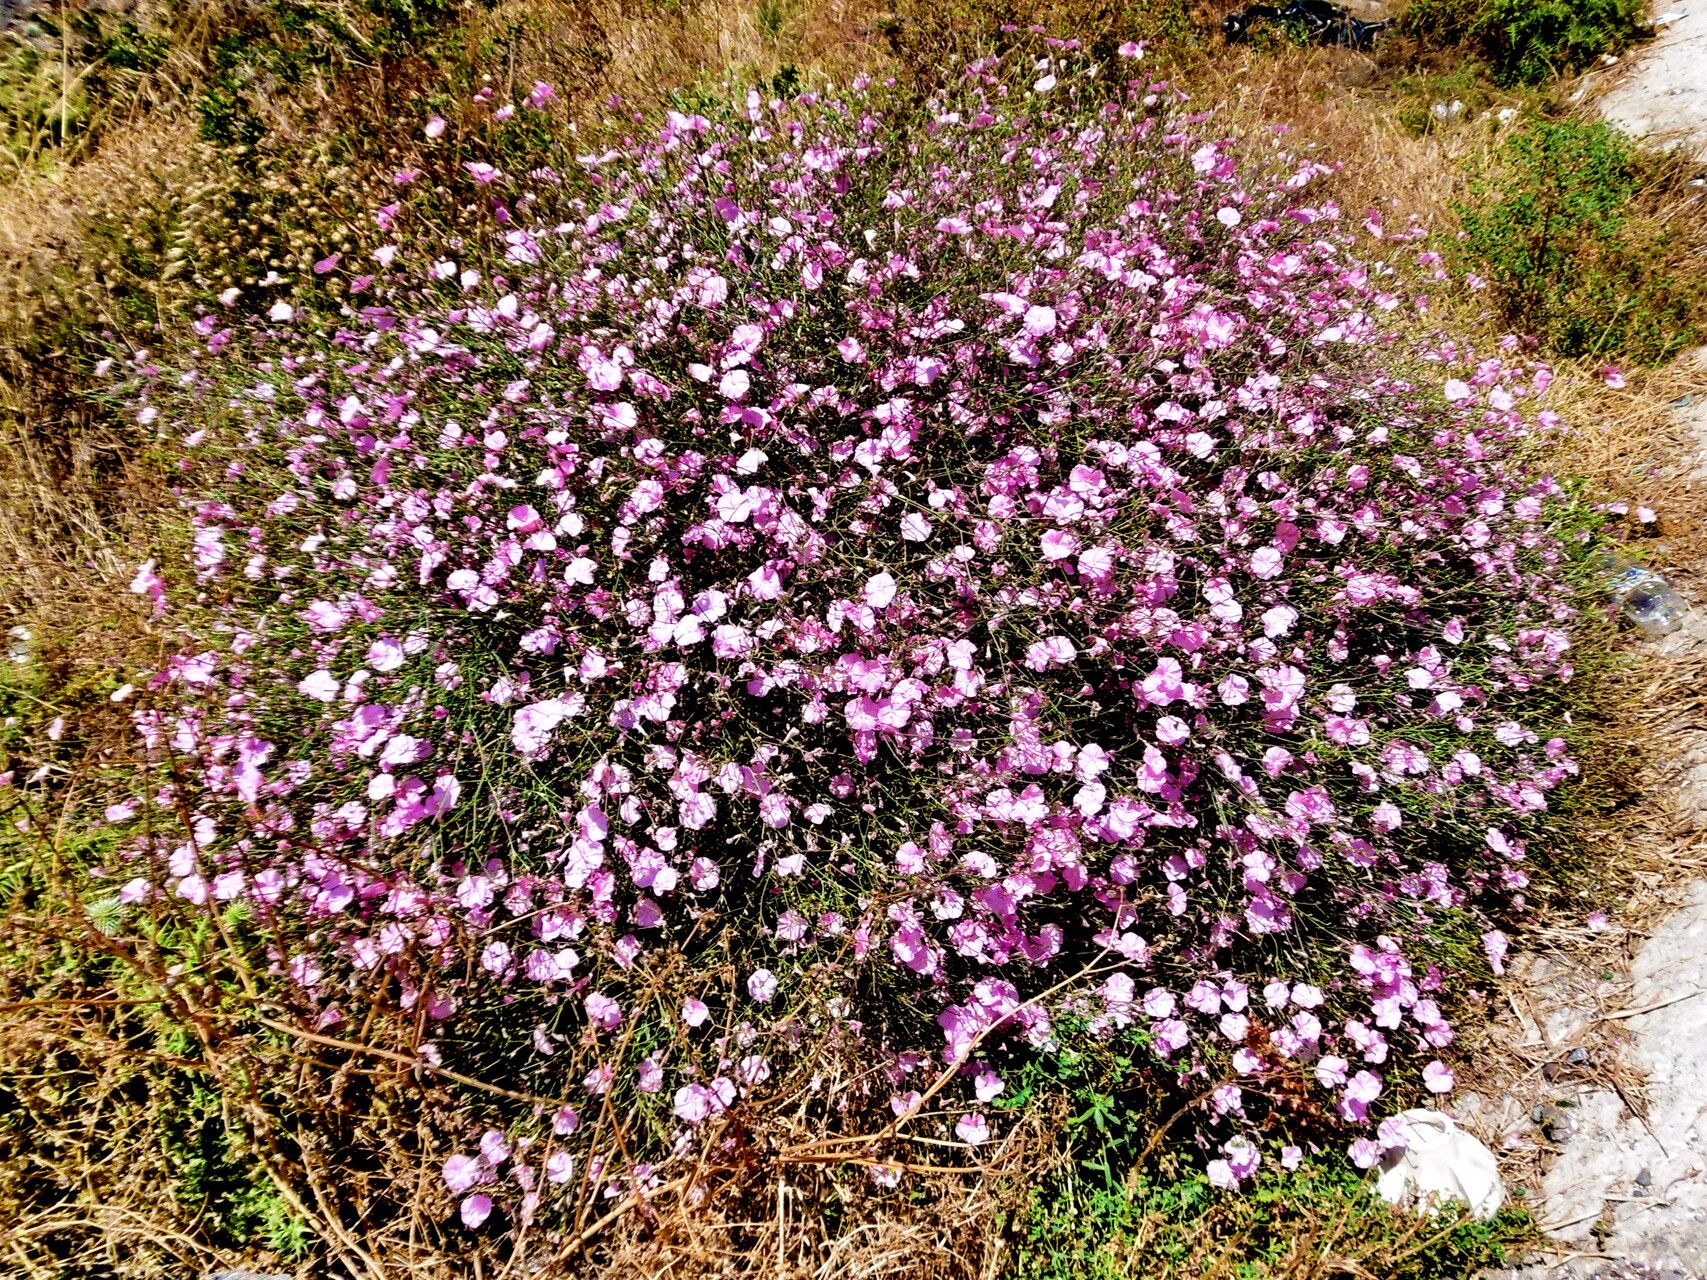
Ah, Convolvulus dorycnium! You know, the one with those lovely, silvery-grey leaves and delicate white flowers that flutter like little butterflies in the breeze. It brings such a touch of grace to any garden. If you’re looking for a plant that’s a joy to grow and wonderfully rewarding to share, this is definitely one to consider. And the good news? Propagating it is a breeze, even for those just starting their gardening journey. I’ve had so much success with it over the years, and I know you will too.
The Best Time to Start
My favorite time to get new Convolvulus dorycnium plants going is in late spring or early summer. This is when the plant is really in its stride, actively growing, and full of vigor. You’ll find that cuttings taken during this period are more robust and have a better chance of rooting quickly. Aim for stems that are firm but not woody—think of it like a pencil in thickness.
Supplies You’ll Need
Before we get our hands dirty, let’s gather our tools:
- Sharp pruning shears or a clean, sharp knife: For making nice, clean cuts.
- Seed-starting mix or a well-draining potting mix: A mix with perlite or coarse sand is perfect.
- Small pots or trays: With drainage holes, of course!
- Rooting hormone (optional but recommended): A little boost can make a big difference.
- A clear plastic bag or a propagator lid: To create a humid environment.
- Water: For moistening the soil and for water propagation.
- Labels and a marker: To keep track of your precious new babies.
Propagation Methods
Convolvulus dorycnium is a champion for propagation, and I find stem cuttings to be my absolute go-to.
Stem Cuttings: My Top Pick
- Take your cuttings: In late spring or early summer, select a healthy stem. Using your sharp shears, cut a piece about 4-6 inches long. Make the cut just below a leaf node (where a leaf attaches to the stem).
- Prepare the cuttings: Gently remove the lower leaves from the cutting, leaving just a couple of sets at the top. If your leaves are quite large, you can even snip them in half to reduce water loss.
- Apply rooting hormone (if using): Dip the cut end of the stem into your rooting hormone powder or gel. Tap off any excess.
- Pot them up: Fill your small pots with your prepared, moistened potting mix. Make a small hole in the center of the soil with your finger or a pencil.
- Insert the cuttings: Gently place the cut end of a stem cutting into the hole, pushing down until the soil firms around it, supporting the cutting. You can fit several cuttings into one pot, just make sure they aren’t touching each other too much.
- Water gently: Give the soil a light watering to settle it around the cuttings.
- Create humidity: Cover the pot loosely with a clear plastic bag or use a propagator lid. This traps moisture and helps the cuttings stay hydrated. Pop it in a bright spot, but avoid direct, scorching sun.
Water Propagation (for the impatient!)
If you’re feeling a bit eager, you can try water propagation, though I find cuttings almost always do better in soil.
- Prepare your cuttings as described above (step 1 and 2).
- Place the cuttings in a clean glass or jar filled with fresh water.
- Crucially, ensure no leaves are submerged in the water. This is where rot can set in quickly!
- Place the jar in bright, indirect light.
- Change the water every few days to keep it fresh. You should see tiny roots emerge from the nodes within a few weeks.
- Once the roots are about an inch long, carefully transplant them into pots with potting mix, treating them as you would a rooted cutting.
The “Secret Sauce” (Pro Tips)
Here are a couple of little tricks I learned along the way that really boost success:
- Bottom heat is your friend: If you have a little seedling heat mat, placing your pots on it can really speed up the rooting process. It mimics the warmth of spring soil and encourages those roots to really get going.
- Don’t overwater the soil: It’s tempting to keep cuttings super wet, but you want that soil to be consistently moist, not soggy. Soggy soil is a one-way ticket to rot, and that’s a heartbreak no one needs. Let the very top surface dry out slightly between waterings.
Aftercare & Troubleshooting
Once you see new leaf growth on your cuttings, that’s your sign! It means roots are forming. At this point, you can carefully remove the plastic bag or propagator lid, gradually acclimatizing them to less humid air over a few days. Keep them in bright, indirect light and continue to water when the top inch of soil feels dry.
The most common problem you might encounter is rot. If a cutting turns black and mushy, it’s usually a sign of too much moisture and not enough air circulation. If you see this, trim away the affected parts, ensure you have good drainage, and water more sparingly. Sometimes, it’s just a lesson learned, and you try again with fresh cuttings!
Happy Propagating!
It’s such a joy to watch these little cuttings transform into thriving plants. Be patient with them; gardening is a journey of observation and a gentle touch. Soon you’ll have a whole collection of silvery-leaved beauties to plant out or to give to friends. Enjoy the process, and happy growing!
Resource:
https://identify.plantnet.org/k-world-flora/species/Convolvulus%20dorycnium%20L./data