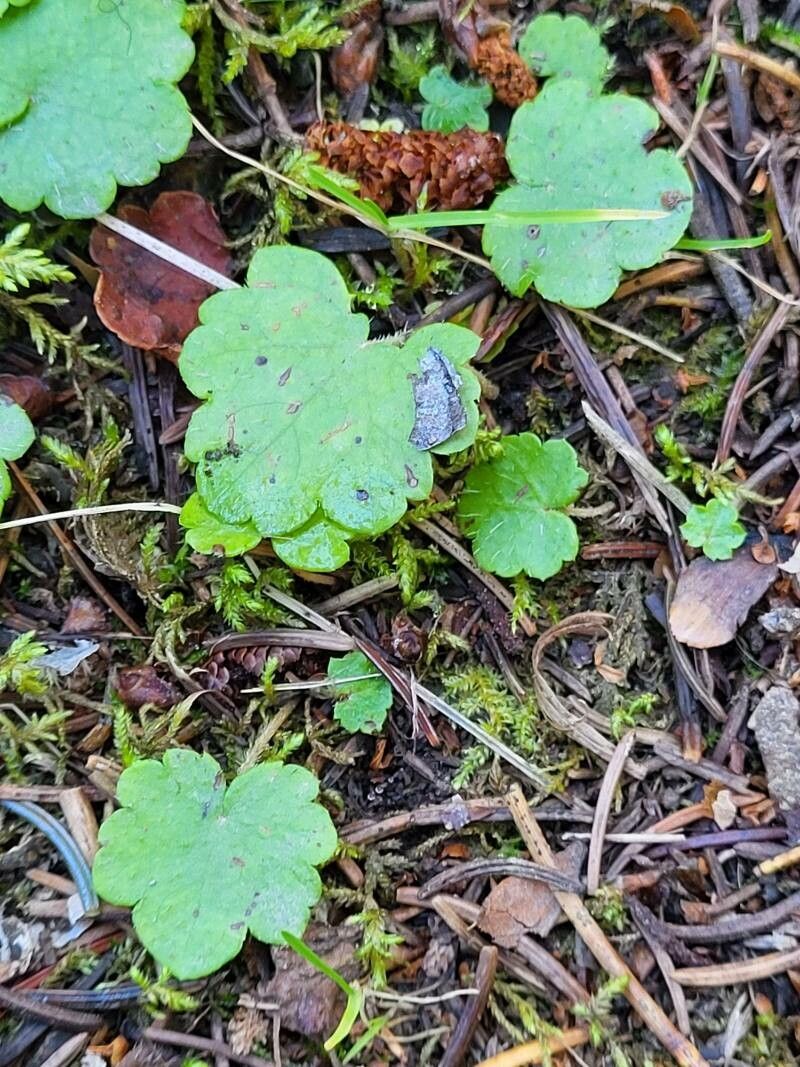
Oh friends, let me tell you about a little gem that’s been stealing my heart for years: Mitella nuda. Also known as Naked Miterwort or Bishop’s Cap, this woodland native is just exquisite. Its delicate, lacy foliage creates a beautiful carpet, and the tiny, star-shaped flowers that emerge in spring are simply enchanting. For me, the real magic comes from nurturing these beauties from tiny beginnings. Propagating Mitella nuda is a deeply rewarding experience, and I’m thrilled to share how I do it with you. Now, is it a beginner-friendly plant to propagate? Honestly, it can be a bit of a whisperer, requiring a gentle touch and a keen eye. But with a little guidance, you absolutely can succeed!
The Best Time to Start
My go-to time for propagating Mitella nuda is during its active growing season, typically in late spring to early summer. This is when the plant is full of vigor, and new shoots are readily available and eager to root. You want to catch it before it gets too stressed by the summer heat or goes into dormancy. Look for healthy, non-flowering stems that are about 3-4 inches long.
Supplies You’ll Need
Gathering your supplies beforehand makes the whole process so much smoother. Here’s what I always have on hand:
- Sharp Pruning Shears or a Clean Knife: For making clean cuts.
- Potting Mix: A well-draining mix is crucial. I like a blend of peat moss (or coco coir), perlite, and a bit of compost. Aim for something light and airy.
- Small Pots or Trays: Clean containers, about 3-4 inches deep.
- Rooting Hormone (Optional but Recommended): A powder or gel form can give cuttings a helpful boost.
- Plastic Bags or a Mini Greenhouse: To create a humid environment.
- Watering Can with a Fine Rose: For gentle watering.
- Labels: To keep track of your projects!
Propagation Methods
Mitella nuda is primarily propagated by stem cuttings and division.
Stem Cuttings
This is my favorite method for increasing my collection.
- Take Your Cuttings: In late spring or early summer, select healthy, non-flowering stems. Using your clean shears or knife, make a clean cut just below a leaf node. A leaf node is that little bump where leaves emerge from the stem. Cuttings should be about 3-4 inches long.
- Prepare the Cuttings: Gently remove the lower leaves, leaving only the top two or three. If you’re using rooting hormone, dip the cut end into the hormone, tapping off any excess.
- Plant Your Cuttings: Fill your small pots with your prepared potting mix. Make a small hole in the center with a pencil or dowel. Gently insert the calloused end of your cutting into the hole, ensuring that at least one leaf node is buried beneath the soil surface. Firm the soil gently around the stem.
- Water and Cover: Water the soil thoroughly but gently. Then, cover the pot with a clear plastic bag or place it in a mini greenhouse. This creates the high humidity young cuttings need to thrive.
Division
This is a great way to manage larger, established clumps and is quite successful.
- Divide in Early Spring: As soon as the soil is workable and before new growth really takes off, you can divide your Mitella nuda.
- Gently Excavate: Carefully dig up the entire plant.
- Separate the Clumps: Gently tease the root ball apart with your fingers or use your knife to carefully cut through any dense root masses. You’re looking for sections that have both roots and some healthy foliage. Aim for divisions with at least 2-3 main stems and a good chunk of root.
- Replant Immediately: Replant the divisions back into your garden or into pots filled with fresh potting mix, ensuring they are at the same depth they were previously growing. Water them well.
The “Secret Sauce” (Pro Tips)
Here are a few things I’ve learned over the years that really make a difference:
- Don’t Let Foliage Touch the Water: If you opt for water propagation (which I find a bit trickier with Mitella nuda due to its delicate nature, but some try it), make sure absolutely no leaves are submerged in the water. They will rot quickly.
- Bottom Heat is Your Friend: For stem cuttings, placing your pots on a warm heating mat can significantly speed up root development. It mimics that lovely spring warmth they crave.
- Patience is a Virtue: Mitella nuda is not the fastest rooter. Don’t be discouraged if you don’t see new growth immediately. Keep them consistently moist but not soggy, and let them do their thing.
Aftercare & Troubleshooting
Once your cuttings have developed roots (you’ll see new growth appearing, or you can gently tug and feel resistance), it’s time to transition them.
- Acclimatize: Slowly introduce your new plants to lower humidity by gradually opening the plastic bag over a few days. Once they seem happy without the bag, you can remove it.
- Watering: Continue to water them regularly, allowing the top inch of soil to dry out slightly between waterings.
- Transplanting: Once they have a robust root system and are growing well, you can transplant them to their permanent garden spot or to larger pots.
The most common sign of trouble is rot. If your cutting suddenly turns mushy or black, it’s usually a sign of too much moisture and not enough air circulation. If you see this, sadly, it’s best to discard the affected cutting. Overwatering is the biggest culprit here. Ensure your potting mix is well-draining and that your pots have drainage holes.
A Encouraging Closing
Propagating Mitella nuda is a journey of observation and patience. It’s about connecting with the rhythm of the plant and the seasons. Don’t be afraid to experiment, and remember that every gardener has had failures! Celebrate your successes, learn from your challenges, and most importantly, enjoy the quiet joy of watching new life unfurl. Happy propagating!
Resource:
https://identify.plantnet.org/k-world-flora/species/Mitella%20nuda%20L./data