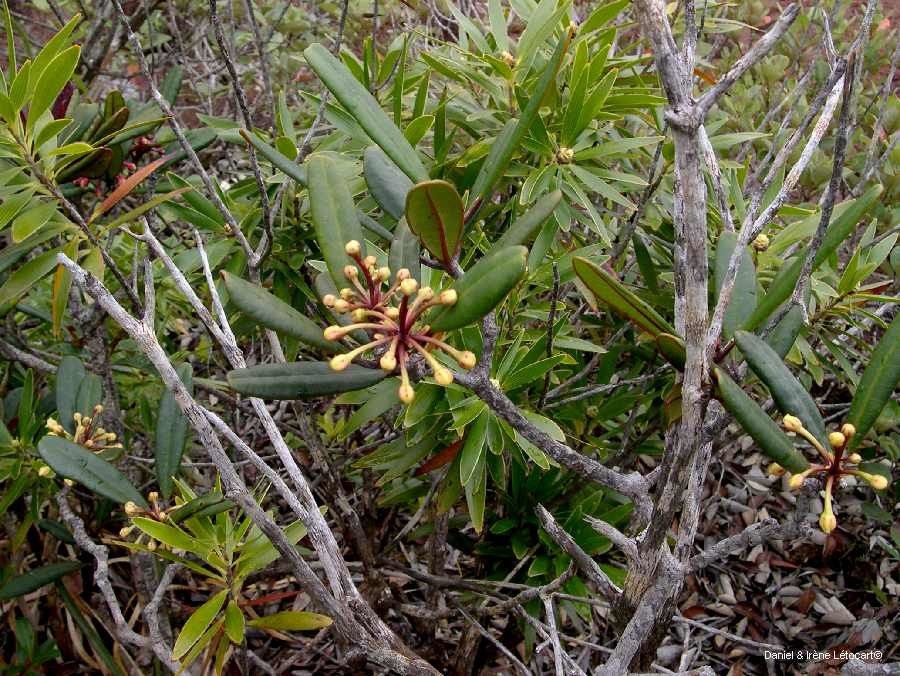
Ah, Baloghia brongniartii! What a beauty. Its vibrant foliage often catches the eye, and for good reason. This tree, with its stunning leaves and elegant habit, brings a touch of the tropics to many gardens. For me, growing more of these beauties from cuttings is incredibly satisfying. It’s a wonderful way to share the joy of gardening and to ensure these lovely plants continue to thrive. Now, are they a walk in the park for a complete beginner? I’d say they’re moderately easy, but with a little attention to detail, you’ll be successful in no time.
The Best Time to Start
Honestly, my best luck with propagating Baloghia brongniartii comes when I take cuttings in late spring or early summer. This is when the plant is actively growing. You’re looking for stems that are firm and mature, but not woody. Think of them like a pencil in thickness – that’s usually the sweet spot. Avoid taking cuttings from new, floppy growth or from very old, hard branches.
Supplies You’ll Need
Before we get our hands dirty, let’s gather our tools:
- Sharp pruning shears or a clean knife: Always sterilize them with rubbing alcohol between cuts to prevent disease.
- Rooting hormone (optional but recommended): A good quality powder or gel will significantly boost your success rate.
- A well-draining potting mix: I like to use a blend of equal parts perlite, coco coir, and a bit of coarse sand. If you’re buying a mix, a cactus or succulent mix is a good base.
- Small pots or propagation trays: Clean ones are a must!
- A clear plastic bag or propagation dome: This creates a mini-greenhouse effect.
- Bottom heat (optional but highly beneficial): A seedling heat mat will speed up rooting considerably.
- Watering can with a fine rose or a spray bottle: Gentle watering is key.
Propagation Methods: Stem Cuttings
This is my go-to method for Baloghia brongniartii. Here’s how I do it:
- Select Your Cuttings: Find healthy stems that are about 4-6 inches long. Look for nodes (where leaves emerge) – this is where roots will form.
- Make the Cut: Using your sterilized shears, make a clean cut just below a leaf node. Remove the lower leaves, leaving only the top few at the very tip.
- Apply Rooting Hormone: Dip the cut end of the stem into your rooting hormone, tapping off any excess.
- Prepare the Pot: Fill your clean pot with the well-draining potting mix, moistening it slightly.
- Plant the Cutting: Make a hole in the soil with a pencil or your finger. Gently insert the cut end of the stem into the hole, ensuring at least one leaf node is buried. Firm the soil around the stem.
- Water Gently: Water the potting mix thoroughly but gently. You don’t want to dislodge the cutting.
- Create a Humid Environment: Place the pot inside a clear plastic bag or cover it with a propagation dome. Make sure the leaves don’t touch the sides of the bag/dome if possible. If you don’t have a dome, you can use a plastic bag supported by stakes.
- Provide Light and Heat: Place the pot in a bright spot with indirect light. If you have a heat mat, place the pot on top of it. This is where your optional bottom heat really shines!
The “Secret Sauce” (Pro Tips)
Here are a couple of things I’ve learned over the years that make a difference:
- Scrape and Seal: Sometimes, for slightly tougher stems, I’ll gently scrape a thin sliver of bark from one side of the bottom inch of the cutting. This exposes more surface area for the rooting hormone to work its magic.
- A Little Wettable Sulfur: If you’re concerned about fungal issues, especially in humid conditions, a light dusting of wettable sulfur on the cut end after the rooting hormone can offer a bit of protection. Just a tiny amount!
- Patience is Key! Don’t be tempted to pull your cuttings out too soon to check for roots. That’s the fastest way to damage developing rootlets.
Aftercare & Troubleshooting
Once you see new leaves starting to emerge, that’s a good sign. You can also gently tug on the cutting – if there’s resistance, it means roots have formed.
- Gradual Acclimatization: Over the next week or two, gradually open the plastic bag or dome for increasing periods each day. This helps the new plant adjust to normal humidity levels.
- Potting Up: Once the cutting has a good root system and is no longer fragile, you can pot it up into a slightly larger pot with its regular potting mix.
- Common Issues: The biggest enemy is rot. This usually happens from being too wet, poor drainage, or lack of air circulation. If you see your cutting turning mushy or black, it’s likely rot. Unfortunately, there’s not much to do once it starts. Prevention through good drainage and not overwatering is crucial! Yellowing leaves can sometimes indicate it needs a bit more light, or occasionally, it’s just the plant shedding older leaves.
A Warm Closing
Growing plants from cuttings is a horticultural adventure, and the rewards are so worth it. Don’t get discouraged if your first few attempts aren’t perfect. Each time you try, you’ll learn something new. Be patient, observe your cuttings, and enjoy the process of nurturing new life. Happy propagating!
Resource:
https://identify.plantnet.org/k-world-flora/species/Baloghia%20brongniartii%20(Baill.)%20Pax/data