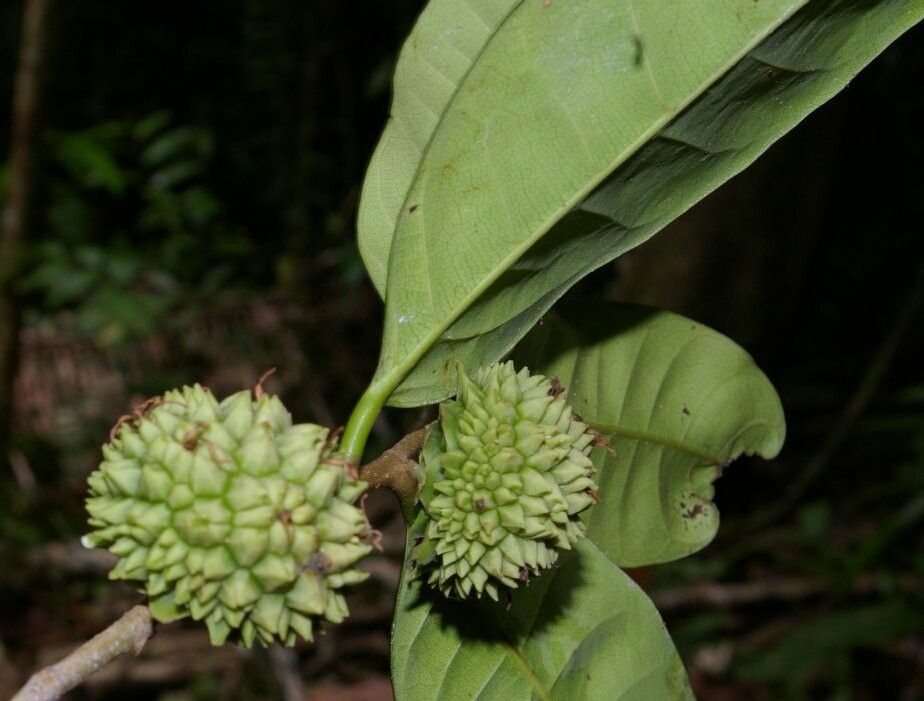
Oh, hello there! Grab a mug, and let’s chat about a truly special plant: Naucleopsis glabra. You might know it by its common name, the Brazilian Oak, though it’s not a true oak at all! Its glossy, deep green leaves are just stunning, and the way it grows, often with a lovely sculptural form, makes it a real statement piece in any home or garden. If you’re looking to expand your collection or share this beauty with friends, propagating Naucleopsis glabra is a wonderfully rewarding endeavor. Now, I won’t sugarcoat it: for absolute beginners, it can be a tad challenging. But with a little patience and the right approach, you’ll be well on your way to success.
The Best Time to Start
My favorite time to get my hands dirty with Naucleopsis propagation is in late spring or early summer. This is when the plant is in its most active growth phase, often referred to as “softwood” or “semi-hardwood” stage. The new growth is pliable enough to root, but has developed a bit of structure, giving it a better chance of survival. Aim for stems that are flexible but not so soft that they bend easily.
Supplies You’ll Need
Before we dive in, let’s gather our tools. Think of this as your personal propagation toolkit!
- Sharp Pruning Shears or a Clean Knife: For making clean cuts.
- Rooting Hormone: A powder or gel. This is your best friend for encouraging root development.
- A Well-Draining Potting Mix: I like a blend of 50% perlite and 50% seed starting mix or potting soil. You want it to drain like a sieve!
- Small Pots or Propagating Trays: Clean, with drainage holes.
- Clear Plastic Bag or Humidity Dome: To create a mini greenhouse effect.
- Water: For misting.
- Optional: Bottom Heat Mat: Especially helpful in cooler environments.
Propagation Methods
We’ll focus on the most reliable method for Naucleopsis glabra: stem cuttings.
- Take Your Cuttings: Find a healthy stem on your mature plant. Using your sharp shears or knife, make a clean cut just below a leaf node. A leaf node is that little bump where a leaf grows from the stem. Try to take cuttings that are about 4-6 inches long. Remove the lower leaves, leaving just two or three at the top. This helps the cutting focus its energy on rooting, not on supporting a lot of foliage that will dehydrate.
- Prepare the Cutting: Gently dip the cut end of the stem into your rooting hormone. Tap off any excess. You want a nice, even coating.
- Plant Your Cuttings: Fill your small pots with your well-draining potting mix. Make a small hole in the center with your finger or a pencil. Carefully insert the prepared cutting into the hole, making sure the leaf nodes are buried beneath the soil surface. Gently firm the soil around the stem.
- Create a Humid Environment: Water the potting mix thoroughly until you see water drain from the bottom. Now, here’s the crucial step: cover the pot with a clear plastic bag or a humidity dome. This will trap moisture and create the humid environment your cuttings need to not dry out while they’re trying to root. If using a plastic bag, you can secure it with a rubber band.
The “Secret Sauce” (Pro Tips)
Here are a few tricks I’ve learned over the years that can really make a difference for these finicky plants.
- Don’t Overcrowd: Give your cuttings breathing room! If you’re using a propagating tray, make sure each cutting has its own little space. Overcrowding can lead to fungal issues.
- Bottom Heat is Your Friend: If your home is on the cooler side, a gentle bottom heat mat can significantly speed up the rooting process. It mimics the warmth of the soil in the tropics, encouraging those roots to get going. Just make sure it’s not too hot – you don’t want to cook your cuttings!
- Misting is Key, But Don’t Drench: While you want to keep the humidity high inside your plastic bag or dome, avoid letting water pool on the leaves. This can encourage rot. A light misting every few days within the enclosed environment is usually plenty.
Aftercare & Troubleshooting
Once you’ve set up your cuttings, the waiting game begins! Keep the pots in a bright location, but out of direct sunlight. Direct sun can overheat the cuttings and wilt them quickly. Check on them regularly. After a few weeks, you should start to see signs of new growth. The real sign of success, however, is when you gently tug on a cutting and feel resistance. That means roots have formed!
If you notice that your cuttings are turning black, becoming mushy, or just shriveling up, it’s usually a sign of rot. This is often caused by too much moisture and not enough air circulation. Don’t despair if a few don’t make it; it’s part of the learning process! You might need to adjust your watering schedule or ensure better drainage. Sometimes, a cutting just doesn’t have what it takes, and that’s okay.
A Encouraging Closing
Propagating plants is a journey, and Naucleopsis glabra is a beautiful plant to practice on. Be patient with yourself and your little cuttings. Each one that roots is a triumph! Enjoy the process, celebrate your successes, and learn from any setbacks. Happy propagating!
Resource: