Hello fellow garden enthusiasts! Today, I want to talk about a plant that has brought so much joy to my life and my garden beds over the years: Espejoa mexicana. If you’re looking for a plant that offers vibrant color and a bit of an exotic flair, this is it. And the best part? You can easily propagate it yourself, bringing more of that magic into your home and garden.
Why Espejoa mexicana is Such a Gem
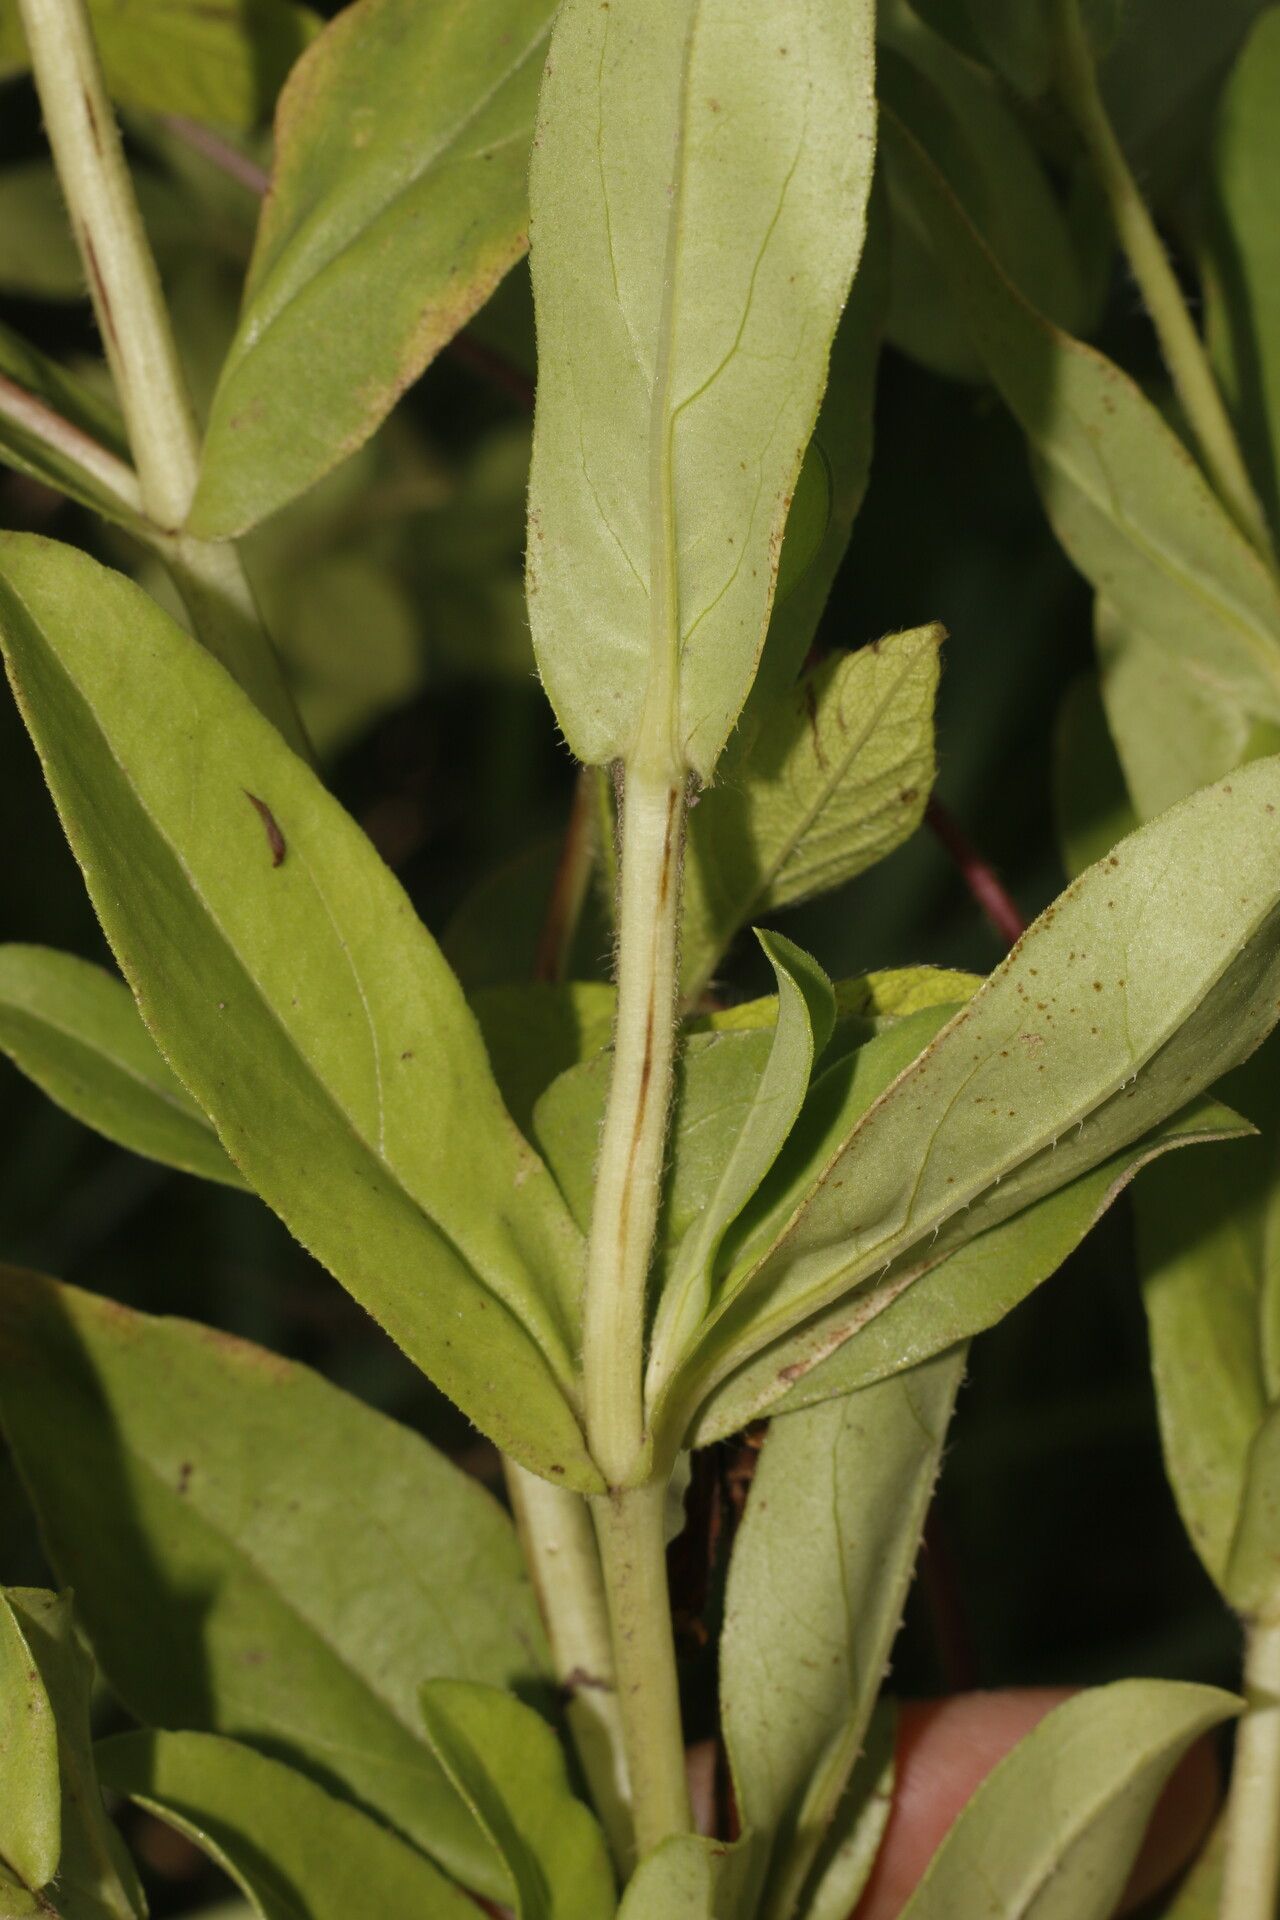
Seriously, these plants are showstoppers. Their striking foliage, often in shades of deep burgundy or even a vibrant green with interesting patterns, adds so much character. Plus, if you’re lucky, they’ll grace you with a flush of beautiful blooms. For me, propagating plants like this offers a connection to nature and a deep satisfaction when you see a tiny cutting transform into a thriving new specimen. Now, as for beginners, I’d say Espejoa mexicana is moderately easy to propagate. It’s not as hands-off as a succulent, but with a little attention, you’ll find success.
The Best Time to Start
When it comes to Espejoa mexicana, spring and early summer are your golden ticket. This is when the plant is in its most active growth phase. Think of it as the plant’s energetic peak – it’s ready to put its energy into making new roots and shoots. Starting your propagation efforts when the days are getting longer and the temperatures are warming up gives your cuttings the best chance to establish themselves quickly.
Supplies You’ll Need
Gathering your tools beforehand makes the whole process much smoother. You don’t need anything too fancy, just the right essentials:
- Sharp Pruning Shears or a Clean Knife: A clean cut is crucial.
- Rooting Hormone (Optional but Recommended): This can give your cuttings a nice boost.
- Potting Mix: A well-draining mix is key. I like a blend of peat moss, perlite, and a bit of coco coir.
- Small Pots or Seed Starting Trays: With drainage holes, of course!
- Watering Can with a Fine Rose: For gentle watering.
- Clear Plastic Bags or a Mini Greenhouse: To create a humid environment.
- Perlite or Coarse Sand: To add to your potting mix for even better drainage.
Propagation Methods: My Go-To Techniques
There are a couple of ways to bring new Espejoa mexicana plants to life, and both can be very rewarding.
Stem Cuttings: The Classic Approach
This is my favorite and often the most successful method for Espejoa mexicana.
- Take Your Cuttings: On a mild, overcast day (if possible), select healthy, non-flowering stems from your mature plant. Use your clean pruners to snip off pieces that are about 4-6 inches long. Make your cut just below a leaf node (where a leaf attaches to the stem).
- Prepare the Cuttings: Gently remove the lower leaves from the bottom inch or two of each cutting. This prevents them from rotting in the soil. If the leaves are very large, you can even cut them in half to reduce water loss.
- Apply Rooting Hormone (Optional): Dip the cut end of each stem into your rooting hormone powder or gel. Tap off any excess.
- Plant Them Up: Fill your small pots or trays with your moist potting mix. Make a small hole in the center of each with your finger or a pencil.
- Insert the Cuttings: Carefully place the prepared cuttings into the holes, ensuring the leaf nodes are below the soil surface. Gently firm the soil around the base of each cutting.
- Create Humidity: Water the soil gently. Then, cover the pots with a clear plastic bag or place them in a mini greenhouse. This traps moisture and mimics the humid environment cuttings love. Poke a few small holes in the plastic if you’re worried about too much condensation.
Water Propagation: A Visual Treat
Watching roots emerge in water is so satisfying!
- Select and Prepare Cuttings: Follow steps 1 and 2 from the stem cuttings method.
- Place in Water: Find a clean jar or glass. Fill it with fresh, room-temperature water. Place your prepared cuttings into the water, making sure no leaves are submerged. The nodes where you removed leaves should be the parts submerged.
- Change the Water: Change the water every few days to keep it fresh and prevent bacterial growth.
- Find a Good Spot: Place the jar in a bright spot with indirect light. Avoid direct sun, which can scorch the delicate cuttings.
The “Secret Sauce” (Pro Tips)
After years of tinkering in the garden, I’ve learned a few tricks that can really make a difference:
- Warmth is Your Friend: Espejoa mexicana loves a bit of warmth to encourage root development. Using a heating mat placed under your pots or trays can significantly speed up the rooting process, especially if your home tends to be on the cooler side. You can find small, affordable ones online or at garden centers.
- Don’t Overwater, But Keep it Consistently Moist: This is a delicate balance. You want the soil to be consistently moist, but never waterlogged. Too much water and your cuttings will rot; too little, and they’ll dry out. It’s why checking the soil moisture regularly is so important.
- Air Circulation is Key: While humidity is essential, stagnant air can lead to fungal issues. If you’re using a plastic bag, open it up for a few minutes each day to allow for some fresh airflow. This helps prevent rot and encourages stronger growth.
Aftercare & Troubleshooting
Once you start seeing tiny white roots peeking out from the drainage holes or emerging in the water, it’s time to celebrate!
- Transplanting Cuttings: For stem cuttings that have rooted, you’ll know they’re ready to be transplanted when they have a good root system. Gently pot them into their own small containers using your well-draining potting mix. Water them thoroughly.
- Transitioning Water-Propagated Cuttings: Once the roots are about an inch long, carefully transfer the rooted cuttings into pots with soil as described above. The shock of moving from water to soil can be a bit of a hurdle, so handle them gently.
- The Dreaded Rot: The most common sign of failure is rot. If your cutting turns mushy, black, or has a foul smell, it’s likely rotted. This usually happens due to overwatering or poor air circulation. You might need to start again with fresh cuttings and adjust your watering or ventilation.
- Wilting: If your cuttings are wilting, it could be a sign they are drying out, or they simply haven’t rooted yet. Ensure they have adequate humidity and consistent moisture. Don’t give up too quickly!
Happy Propagating!
Watching a tiny piece of a plant transform into something new is truly magical. Be patient with your Espejoa mexicana cuttings. Not every single one will make it, and that’s okay! Gardening is a journey of learning and experimentation. Enjoy the process, celebrate your successes, and don’t be afraid to get your hands dirty. Happy growing!
Resource:
https://identify.plantnet.org/k-world-flora/species/Espejoa%20mexicana%20DC./data