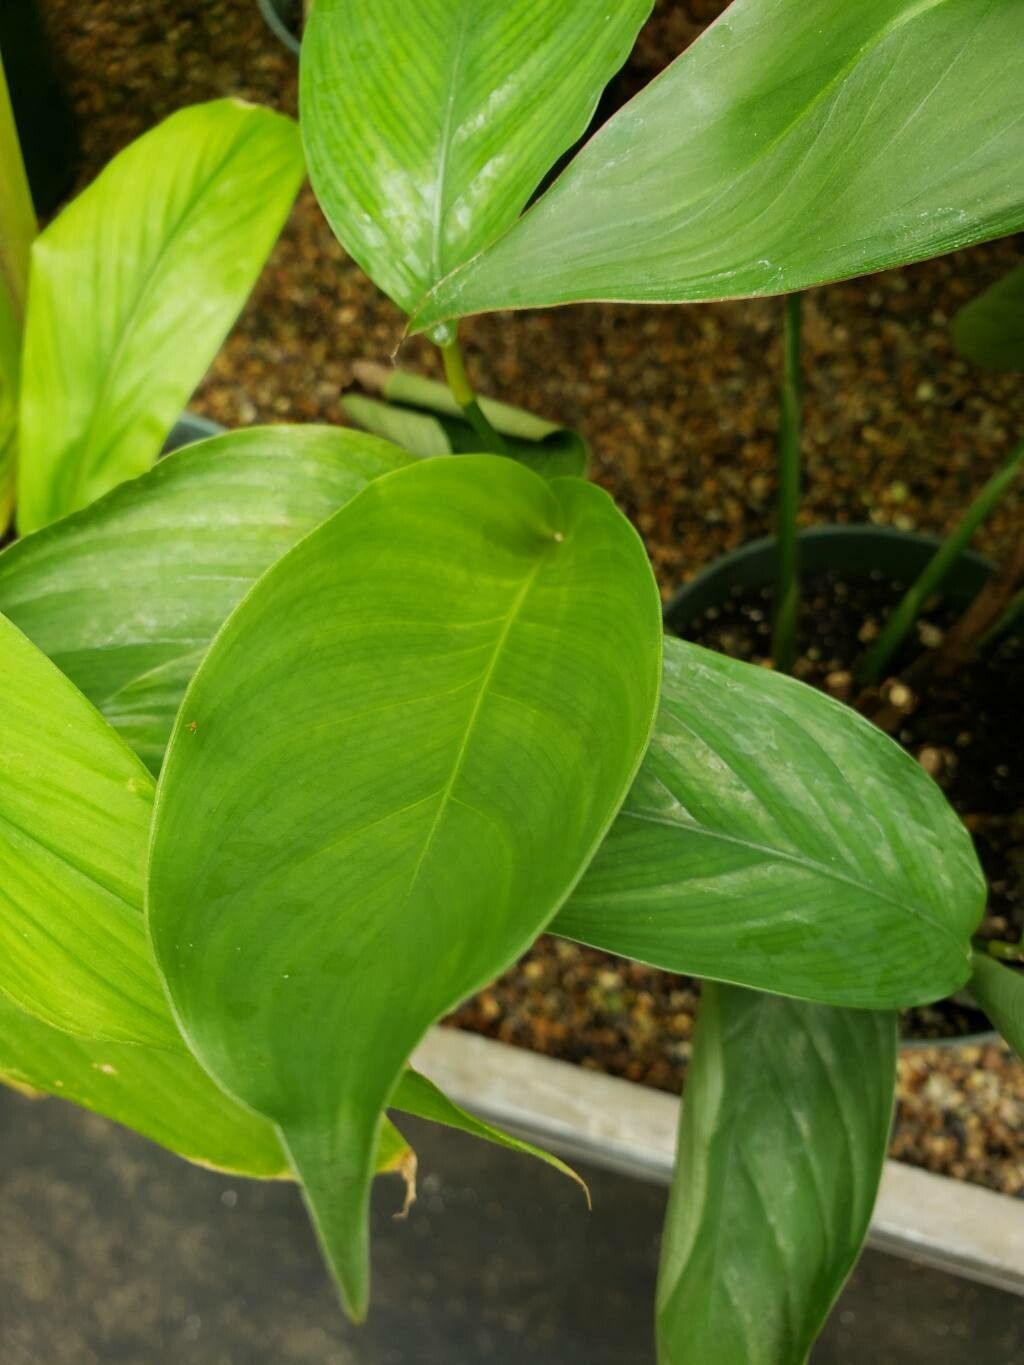
Hello, fellow garden enthusiasts! If you’ve ever admired the striking foliage of Phrynium imbricatum, you know it’s a real showstopper. Those beautifully patterned leaves add such a touch of the exotic to any space, bringing a bit of the tropics right into our homes. And the joy of nurturing a new plant from a tiny piece of its parent? That’s simply unmatched!
Now, about Phrynium. Is it a walk in the park for a complete beginner? I’d say it can be a little more challenging than, say, a pothos, but definitely achievable with a bit of care and attention. Don’t let that deter you; the reward of seeing your own Phrynium flourish is well worth the effort.
The Best Time to Start
For Phrynium imbricatum, the sweet spot for propagation is during its active growing season. Think late spring through summer. This is when the plant has the most energy to put into developing new roots and shoots. Starting when it’s happy and growing vigorously just gives your new babies the best possible head start.
Supplies You’ll Need
Gathering your tools before you begin will make the whole process smoother. Here’s what you’ll want to have on hand:
- Sharp pruning shears or a clean knife: For making clean cuts.
- Well-draining potting mix: I like a blend of equal parts potting soil, perlite, and coco coir. This gives good aeration.
- Small pots or containers: Yogurt cups with drainage holes work great in a pinch!
- Rooting hormone (optional but recommended): A little sprinkle can really encourage root development.
- Clear plastic bag or a humidity dome: To maintain a humid environment for your cuttings.
- Watering can or spray bottle: For gentle watering.
Propagation Methods
Phrynium imbricatum is most commonly propagated by division, which is my favorite and often the most successful method.
1. Division:
This is best done when you’re repotting your main plant, or when you see it’s getting a bit crowded.
- Gently remove the mother plant from its pot. Be a bit careful with the roots.
- Inspect the base of the plant. You’re looking for distinct sections or crowns where roots and shoots are already growing together.
- Using your clean shears or knife, carefully separate a healthy section. Aim to get a good portion of roots attached to each division. Don’t be afraid to gently tease the roots apart if needed, but try to minimize root damage.
- If you’re a bit nervous about root disturbance, you can also take stem cuttings (though division is generally more foolproof with Phrynium). For stem cuttings, select a healthy stem with at least two nodes (the points where leaves emerge). Cut just below a node. You can then dip the cut end in rooting hormone.
2. Planting Your Divisions or Cuttings:
- Fill your small pots with your prepared potting mix.
- Make a small hole in the center of the soil.
- Gently place your division or cutting into the hole. Ensure the roots are spread out a bit if possible. For stem cuttings, make sure at least one node is below the soil surface.
- Firm the soil gently around the base.
- Water thoroughly but gently until water drains from the bottom.
The “Secret Sauce” (Pro Tips)
Here are a couple of little tricks that have served me well over the years:
- Don’t let the leaves touch the water when misting or watering. If your cuttings are in a pebble tray or you mist them frequently to keep humidity up, try to ensure the leaves themselves stay relatively dry. Excess moisture on the foliage can lead to rot, which is the silent killer of new cuttings.
- Bottom heat is your friend! If you have a seedling heat mat, placing your pots on it can make a world of difference. It encourages root growth from below, giving your cuttings a much-needed boost, especially if your room is a bit cool.
Aftercare & Troubleshooting
Once your divisions or cuttings are potted up, they need a bit of TLC to establish themselves.
- Keep them in bright, indirect light. No harsh direct sun, which can scorch young leaves.
- Maintain high humidity. This is crucial! Tent a clear plastic bag over the pot, or use a humidity dome. Make sure to open it daily for a few minutes to allow for air circulation and prevent fungal issues.
- Keep the soil consistently moist but not waterlogged. It should feel like a wrung-out sponge. Don’t let it dry out completely.
Now, what if things don’t go according to plan? The most common issue you’ll encounter is rot. If you see your cutting turning mushy or developing black, slimy spots, it’s likely rot. This usually happens from too much moisture and poor air circulation. If you spot rot, act fast. You might be able to salvage a healthy part of the stem if you catch it early, but often, sadly, it’s best to compost it and start again, focusing on that humidity management and a slightly less soggy soil. Another sign that things are progressing well is new leaf growth, no matter how small, which is a fantastic indicator your roots are taking hold!
A Little Patience Goes a Long Way
Propagating plants is a beautiful dance with nature, and sometimes nature takes its time. Be patient with your new Phrynium imbricatum babies. Watch for those first signs of new growth, and celebrate every little victory. It’s a process filled with learning and discovery, and before you know it, you’ll have a whole collection of these gorgeous plants to share. Happy growing!
Resource:
https://identify.plantnet.org/k-world-flora/species/Phrynium%20imbricatum%20Roxb./data