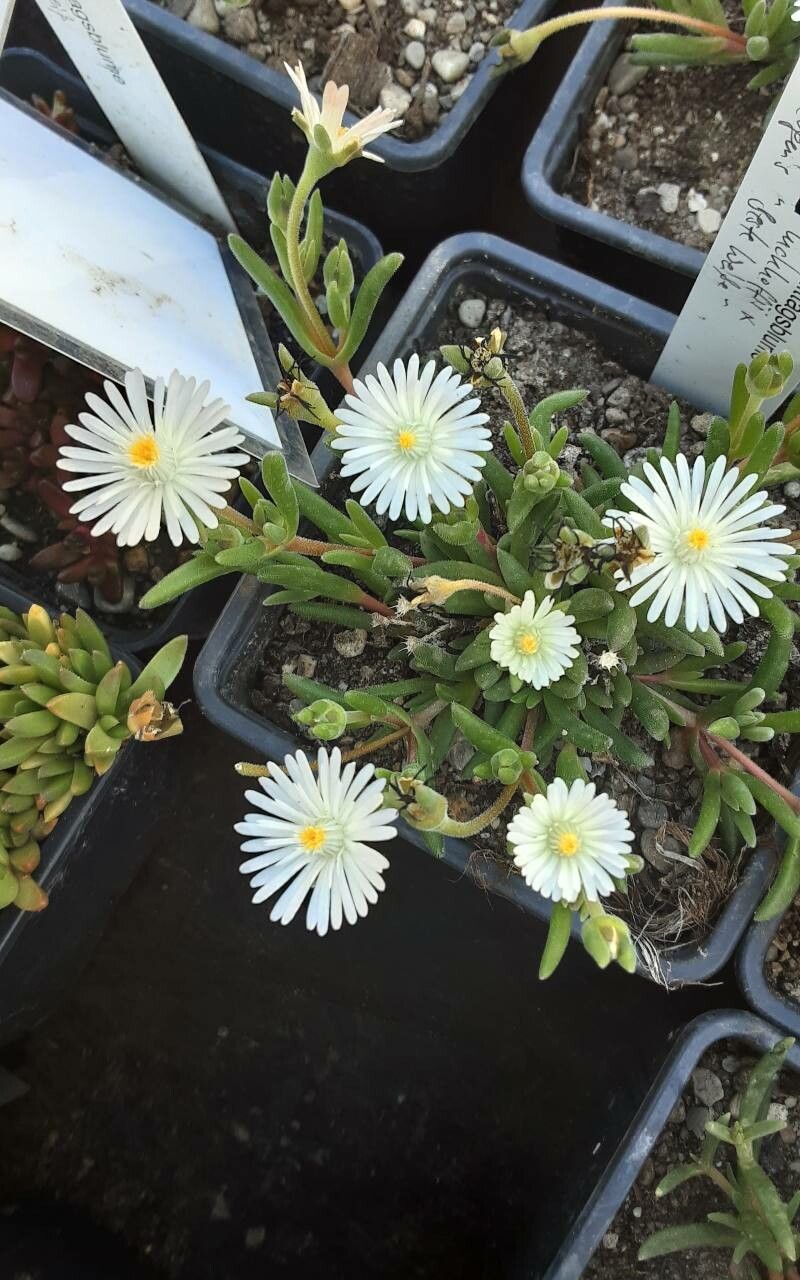
Oh, hello there! Grab a mug of your favorite brew, and let’s chat about coaxing more of those gorgeous Delosperma luckhoffii into existence. You know, the ones with those vibrant, jewel-toned flowers that just make your heart sing? Growing them from scratch is such a thrill, a real reward for a little patience and a bit of know-how. And the good news? For Delosperma luckhoffii, it’s actually quite a beginner-friendly plant to propagate. You’ll be gifting new little beauties in no time!
The Best Time to Start
When it comes to getting the most bang for your propagation buck, late spring through early summer is really your sweet spot. This is when my Delosperma is really revving up its growth engine after the cooler months. You want to work with healthy, actively growing stems. Avoid trying to propagate from plants that are stressed from drought or extreme heat.
Supplies You’ll Need
Here’s what I like to have on hand before I dive in:
- Sharp pruning shears or a clean craft knife: For making precise, clean cuts.
- Cuttings: Healthy pieces of stem from your existing plant.
- Well-draining potting mix: A succulent/cactus mix is perfect, or you can make your own by mixing equal parts potting soil and perlite or coarse sand.
- Small pots or trays: With drainage holes, of course!
- Rooting hormone (optional but helpful): A powder or gel will encourage faster root development.
- Watering can with a fine rose or spray bottle: For gentle watering.
- Labels or markers: To keep track of what and when you planted.
Propagation Methods
Two methods work wonderfully for Delosperma luckhoffii, and they’re both pretty straightforward.
Stem Cuttings
This is my go-to for these hardy succulents.
- Take your cuttings: Look for a healthy, non-flowering stem that’s about 3-4 inches long. Using your sharp shears or knife, make a clean cut just below a leaf node (where a leaf attaches to the stem).
- Prepare the cuttings: Gently remove the lower leaves from the bottom inch or so of the stem. This prevents them from rotting when planted.
- Allow them to callous: This step is crucial! Place the cuttings on a dry surface in a well-ventilated area, out of direct sun, for a day or two. This allows the cut end to dry and form a protective callus. This really helps prevent rot.
- Apply rooting hormone (optional): If you’re using rooting hormone, dip the calloused end into the powder or gel. Tap off any excess.
- Plant your cuttings: Fill your small pots with your well-draining mix. Make a small hole with your finger or a pencil. Gently insert the calloused end of the cutting into the soil, ensuring the leaf nodes are buried.
- Water sparingly: Give them a light watering, just enough to moisten the soil. Don’t saturate it.
Water Propagation
This method can be really satisfying as you can watch the roots develop!
- Prepare your cuttings: Follow steps 1 and 2 above for taking and preparing cuttings.
- Place in water: Find a clean jar or vase and fill it with fresh, room-temperature water. Submerge the lower, leafless portion of the stem. Crucially, make sure none of the leaves are touching the water. This is a big one for preventing rot!
- Find a bright spot: Place the jar in a bright location, but out of direct, harsh sunlight.
- Change the water regularly: Change the water every few days to keep it fresh and oxygenated.
The “Secret Sauce” (Pro Tips)
Here are a few little tricks I’ve picked up over the years:
- Don’t let those leaves touch the water! I’ll say it again for the water propagation method. Any leaf submerged will inevitably start to rot, and that can spread and kill your cutting before it even has a chance to root. Nip them off cleanly.
- Bottom heat is your friend: If you’re keen for extra speedy results, especially if the weather is a bit cooler, popping your pots on a heated propagation mat can make a world of difference. It mimics the warmth of spring and encourages those roots to get going.
- Mist with intention: Once your cuttings are in the soil, a light misting every few days is usually enough to provide humidity without waterlogging the soil. You don’t want them sitting in soggy conditions.
Aftercare & Troubleshooting
Once you see tiny white roots peeking out from the drainage holes or developing on your water-propagated cuttings, it’s time for a little extra care.
- For soil-propagated cuttings: Continue to water sparingly when the top inch of soil feels dry. You can gradually introduce them to a bit more light. Once they feel like they have a good grip on the soil (give them a gentle tug – if there’s resistance, they’re rooted!), they’re ready to be treated like a small, established plant. You can transplant them into their own slightly larger pots once they’ve grown a bit.
- For water-propagated cuttings: When the roots are about an inch long, it’s time to transition them to soil. Follow the steps for planting soil cuttings above. Keep the soil lightly moist for the first week or two as they adapt.
The most common problem you might face is rot. If a cutting turns mushy and black, it’s usually a sign of too much moisture or not enough air circulation. Don’t be disheartened! Just discard the rotted bits and try again, perhaps with less water or better drainage.
A Little Patience Goes a Long Way
So there you have it! Propagating Delosperma luckhoffii is a fulfilling way to expand your collection. Be patient with your little cuttings, observe them, and enjoy the process of watching new life emerge. Happy gardening!
Resource:
https://identify.plantnet.org/k-world-flora/species/Delosperma%20luckhoffii%20L.Bolus/data