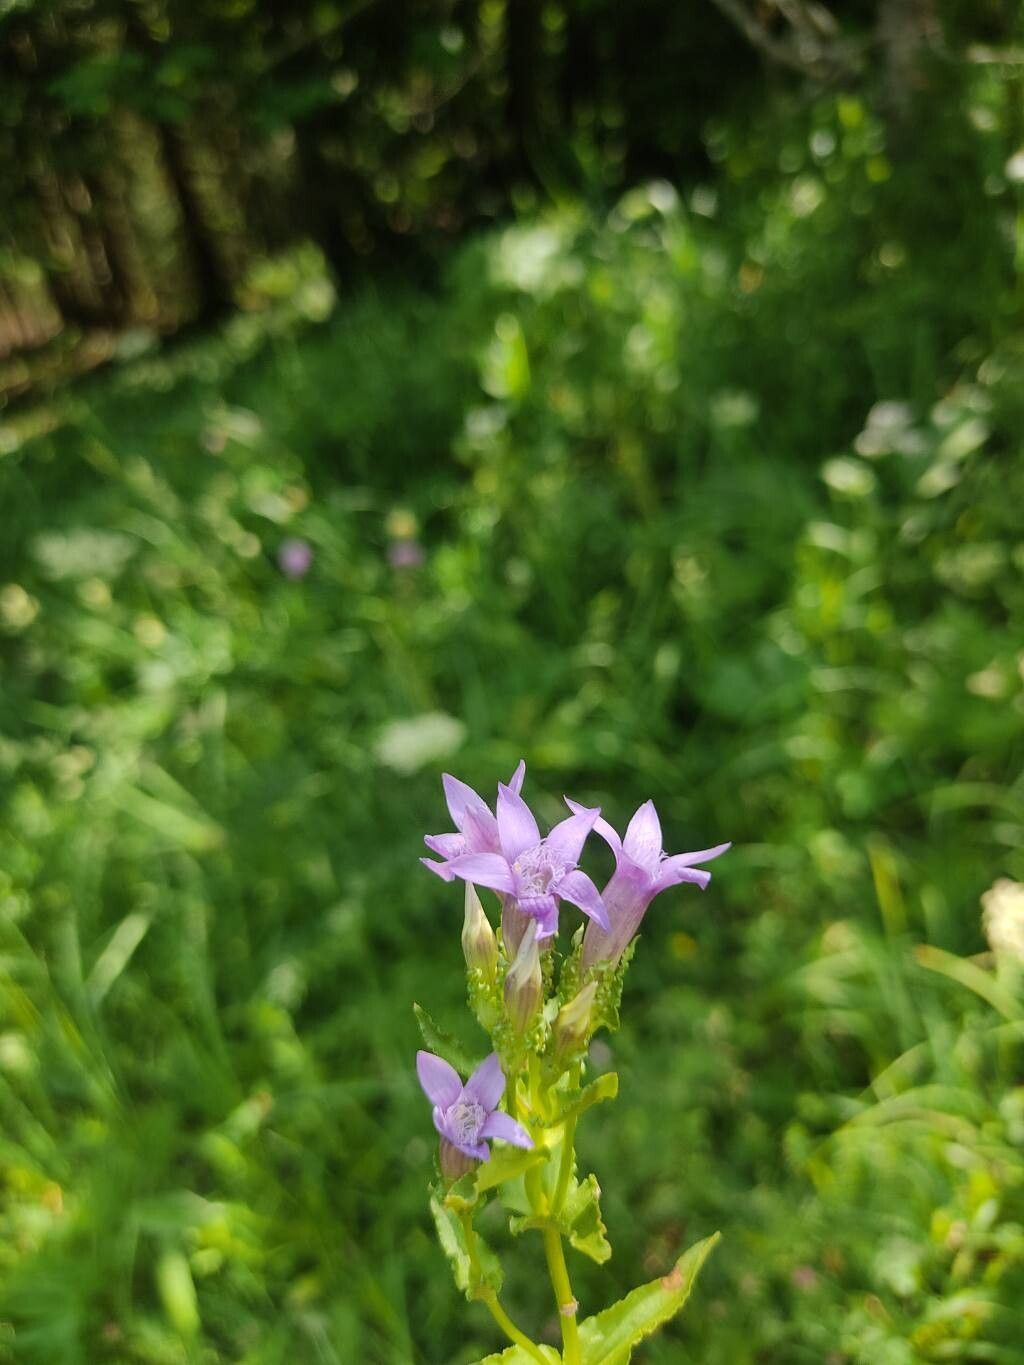
Ah, Gentianella crispata! If you’ve ever admired those delicate, often vibrant blue blooms gracing a rocky slope or a well-drained garden bed, you know exactly why this little gem is so captivating. Their intricate, ruffled petals have a way of drawing you in, don’t they? And the great news is, with a little effort, you can bring more of that beauty into your own garden by propagating them.
Now, I won’t sugarcoat it – Gentianella crispata isn’t the absolute easiest plant for a total beginner to propagate. It has a few specific needs, but don’t let that deter you! With a bit of care and attention, it’s entirely achievable and oh-so-rewarding to watch those tiny beginnings grow into mature plants.
The Best Time to Start
For Gentianella crispata, late spring to early summer is generally your sweet spot. This is when the plant is actively growing and has plenty of energy to support new root development. You’ll want to work with healthy, non-flowering stems. Waiting until after the main bloom is also an option, but you might find the stems a bit firmer and potentially harder to root then.
Supplies You’ll Need
Here’s what I always have on hand when I’m ready to get some Gentianella crispata going:
- Sharp, sterile pruning shears or a razor blade: Cleanliness is key to preventing disease!
- Rooting hormone (optional but recommended): A good quality rooting powder or gel can give your cuttings a significant boost.
- A well-draining potting mix: I usually lean towards a mix of about 50% perlite and 50% peat moss or coco coir. You want excellent aeration.
- Small pots or seed trays with drainage holes: Cleanliness matters here too.
- Clear plastic bags or a propagation dome: To maintain humidity.
- A spray bottle filled with clean water: For gentle misting.
- Labels and a marker: So you don’t forget what you’ve planted where!
Propagation Methods
I find stem cuttings to be the most reliable way to propagate Gentianella crispata. Here’s how I do it:
- Select your parent plant: Choose a healthy, vigorous plant that isn’t flowering.
- Take your cuttings: Using your sharp, sterile shears, take tip cuttings that are about 3-4 inches long. Make the cut just below a leaf node (where the leaf meets the stem) – this is where roots are most likely to form.
- Remove lower leaves: Gently strip off the leaves from the bottom half of the cutting. This prevents them from decaying in the soil and encourages root growth from the node.
- Apply rooting hormone (optional): Dip the cut end of the stem into your rooting hormone, tapping off any excess.
- Prepare your pots: Fill your clean pots with your well-draining potting mix. Moisten the mix thoroughly but don’t make it waterlogged.
- Plant the cuttings: Make a small hole in the soil with your finger or a pencil. Insert the cut end of the stem into the hole and gently firm the soil around it.
- Water gently: Give the soil another light watering to settle it around the cutting.
- Create a humid environment: Cover the pots with a clear plastic bag, a propagator lid, or even create a mini-greenhouse effect by placing them inside a larger clear plastic bag. Make sure the leaves aren’t touching the sides of the bag if possible.
- Provide indirect light: Place your cuttings in a bright spot that receives indirect sunlight. Direct sun will scorch those tender cuttings.
The “Secret Sauce” (Pro Tips)
- The magic of a clean cut: Seriously, don’t skimp on sterilizing your tools. A clean cut heals faster and is less susceptible to fungal infections, which is a Gentianella’s worst nightmare.
- Bottom heat, when possible: If you have a heat mat, placing your pots on it can significantly speed up root development. Gentianella likes things a bit warm from below, especially when they’re trying to establish themselves.
- Don’t mist the foliage excessively: While humidity is crucial, constantly spraying the leaves can actually encourage fungal diseases. Misting the soil surface or ensuring the propagator lid creates condensation is often enough.
Aftercare & Troubleshooting
Once your cuttings look like they’re starting to grow – you might see new tiny leaves emerging – it’s time to gradually acclimate them to normal humidity. Start by opening the plastic bag for a few hours each day, slowly increasing the time over a week or two.
When you see good root development (you can test this gently by giving the cutting a tiny tug; if there’s resistance, roots have formed), you can transplant them into their own small pots. Continue to keep them in bright, indirect light and water when the top inch of soil feels dry.
The biggest challenge you’ll face is rot. If a cutting turns black and mushy, it’s a sign of too much moisture and not enough air circulation. This is why that free-draining mix and that well-ventilated environment are so vital. If you spot a stem that’s going bad, remove it immediately to prevent it from spreading to other cuttings.
A Encouraging Closing
Propagating Gentianella crispata is a journey, and like all good gardening endeavors, it requires a bit of patience. Don’t get discouraged if not every cutting makes it. Observe, learn, and celebrate those precious new plants that do take root. The satisfaction of growing these delicate beauties from a simple stem cutting is truly a gardener’s delight. Happy propagating!
Resource:
https://identify.plantnet.org/k-world-flora/species/Gentianella%20crispata%20(Vis.)%20Holub/data