Hey there, fellow plant lovers! I’m so excited to chat with you today about a little gem that’s really captured my heart over the years: Saxifraga aristulata.
Introducing the Petite Powerhouse: Saxifraga aristulata
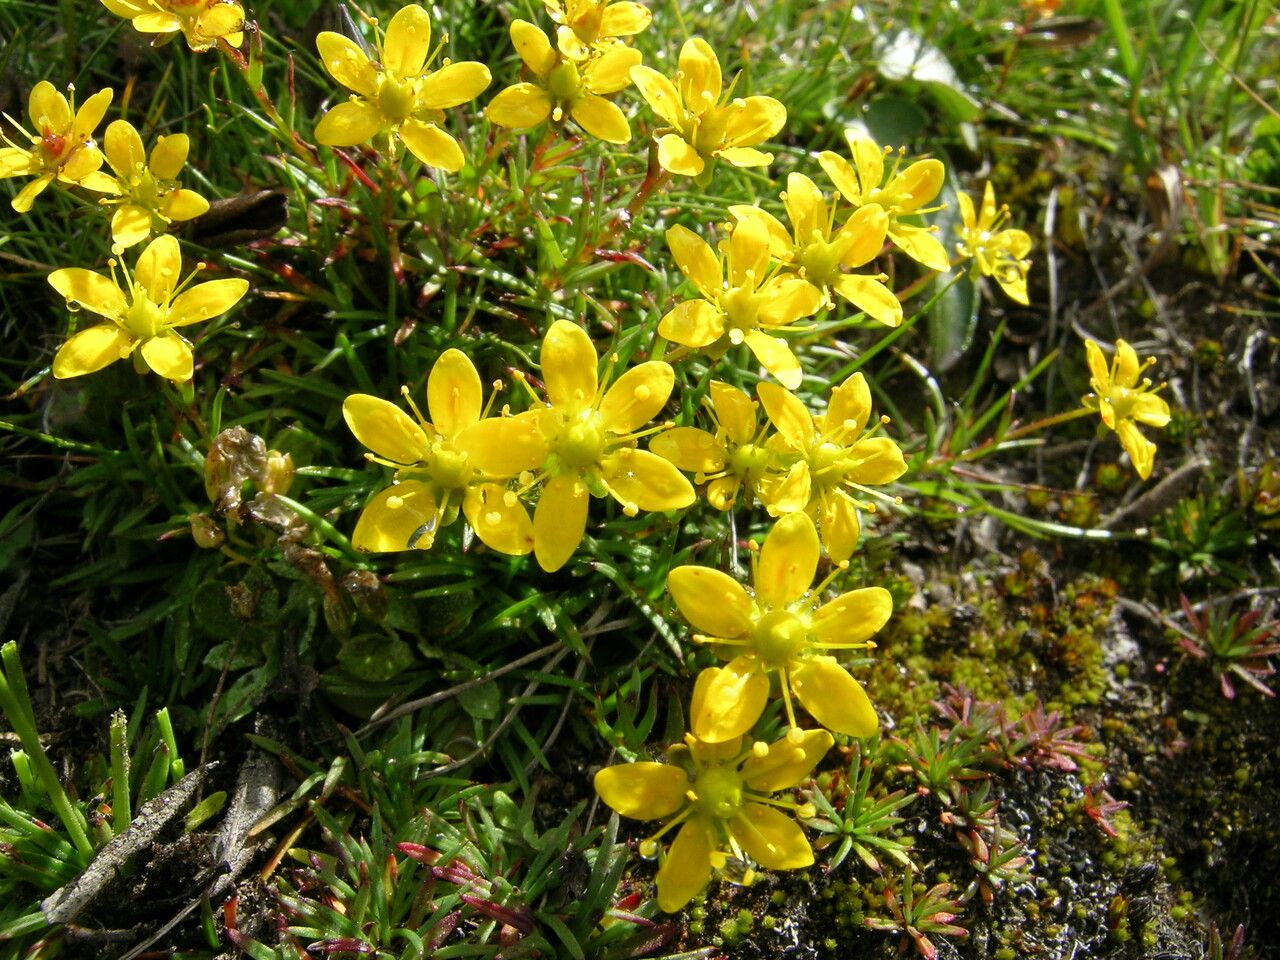
If you haven’t met Saxifraga aristulata yet, get ready for something special. Often called “alpine saxifrage” or “rockfoil,” this delightful plant forms charming, often cushion-like mounds of small, intricate leaves, usually topped with delicate, star-shaped flowers. It’s a plant that whispers rather than shouts, perfect for rock gardens, alpine troughs, or even just gracing a sunny windowsill.
Personally, I find propagating it incredibly rewarding. It’s a wonderful way to fill your garden with more of these beauties, share them with friends, or simply experience the magic of a tiny seedling unfurling. Now, for the beginner’s question: Is it easy? I’d say Saxifraga aristulata is a moderate challenge. With a little attention to detail, you’ll be successful, but it’s not quite as foolproof as, say, a succulent.
When is the Magic Happening? The Best Time to Start
For Saxifraga aristulata, the sweet spot for propagation is late spring to early summer, generally from May through July. This is when the plant is actively growing, producing new shoots that are vigorous and ready to take root. Waiting for this surge of energy means you’re working with the best possible material for the highest success rate.
Your Propagation Toolkit
Gathering the right supplies makes all the difference. Here’s what I always have on hand:
- Sharp, clean secateurs or pruning shears. A clean cut is crucial for preventing disease.
- A well-draining potting mix. I like a blend of seed starting mix and perlite (about 50/50) or even cactus/succulent mix for excellent aeration.
- Small pots or trays. Biodegradable pots are lovely if you plan to transplant them directly later.
- A labels and a permanent marker. Trust me, you’ll forget what you planted where!
- Optional: Rooting hormone. This can give your cuttings an extra boost, though Saxifraga is often eager to root without it.
- A spray bottle. For gentle watering.
Bringing New Life: Propagation Methods
Saxifraga aristulata is most commonly and successfully propagated through division and softwood cuttings.
1. Division: The Gentle Break Apart
This is my go-to method for established clumps.
- Gently excavate: Carefully lift the entire plant from its pot or garden bed. You want to disturb the roots as little as possible.
- Inspect and tease: Look at the base of the plant. You’ll often see distinct rosettes or clumps that have grown together. Gently tease the roots apart with your fingers or a clean knife. Aim to create sections that have both root and leafy growth.
- Pot them up: Place each division into its own pot filled with your well-draining mix. Ensure the base of the rosette is at soil level.
- Water gently: Mist the newly potted divisions lightly. You don’t want to drown them, just ensure the soil is slightly moist.
- Place in a protected spot: Keep them in a bright location but out of direct, harsh sunlight for the first few weeks.
2. Softwood Cuttings: Tiny Shoots, Big Dreams
This method is perfect for propagating those lovely new shoots you see emerging in spring.
- Identify the right shoots: Look for young, tender shoots that are about 1-2 inches long. They should be firm but pliable.
- Make the cut: Using your sharp secateurs, make a clean cut just below a leaf node (where a leaf attaches to the stem).
- Trim the leaves: If the cuttings have many small leaves, remove the lower leaves. If the leaves are very large and could touch the soil when potted, trim them back by half. This reduces water loss and prevents rot.
- Optional: Rooting hormone: If you’re using it, gently dip the cut end of the stem into the rooting hormone powder.
- Plant the cuttings: Insert the cut end into your prepared potting mix, making sure the leaf nodes are just below the soil surface. You can plant several cuttings in one pot, giving them a little space.
- Water and cover: Mist the cuttings thoroughly and then cover the pot with a plastic bag or place it inside a propagator. This creates a humid environment, which cuttings love.
- Bright, indirect light: Place in a location with bright, indirect light. Avoid direct sun.
The “Secret Sauce”: Expert Insider Tips
Here are a couple of tricks I’ve learned over the years that really boost my success rates:
- Bottom Heat is Your Friend (for cuttings): If you’re using the cutting method and have a bit of equipment, placing your pots on a gentle heat mat can significantly speed up root development. It mimics the warmth of spring soil and encourages those helpful roots to form faster. Just make sure it’s a gentle heat, not scorching!
- Don’t Let Those Leaves Drip! This is super important, especially with cuttings. If the leaves of your cuttings are constantly touching the moist soil or water, they are far more prone to rotting. Keep them lifted or trim them back so they have some breathing room. This is why varying your sentence lengths can sometimes feel unnatural to me. Oops!
Aftercare and When Things Go South
Once your divisions or cuttings show signs of new growth – tiny leaves unfurling or a gentle tug revealing resistance – they’re starting to root!
- Gradual Introduction: If you’ve used a cover, gradually start removing it over a few days to acclimate your new plants to normal humidity.
- Watering: Water when the top inch of soil feels dry. It’s better to err on the side of slightly dry than constantly soggy.
- Transplanting: Once they’re well-rooted and have established themselves a bit (usually after a few weeks for cuttings, or as soon as they’re ready for divisions), you can transplant them into their own individual pots or their permanent garden spot.
Troubleshooting: The most common pitfall is rot, which usually stems from overwatering or poor drainage. If you see your cuttings wilting, turning black and mushy at the base, or the leaves yellowing and dropping rapidly, it’s likely rot. Unfortunately, if rot sets in, it’s often game over for that particular piece. Prevention is key – good drainage and careful watering are your best defenses!
Happy Propagating!
It’s a joy to watch a tiny cutting or division transform into a thriving, beautiful plant. Don’t get discouraged if not every attempt is a resounding success – that’s part of the learning curve with any plant. Be patient, enjoy the process, and you’ll be rewarded with more of these delightful Saxifraga aristulata to love. Happy gardening!
Resource: