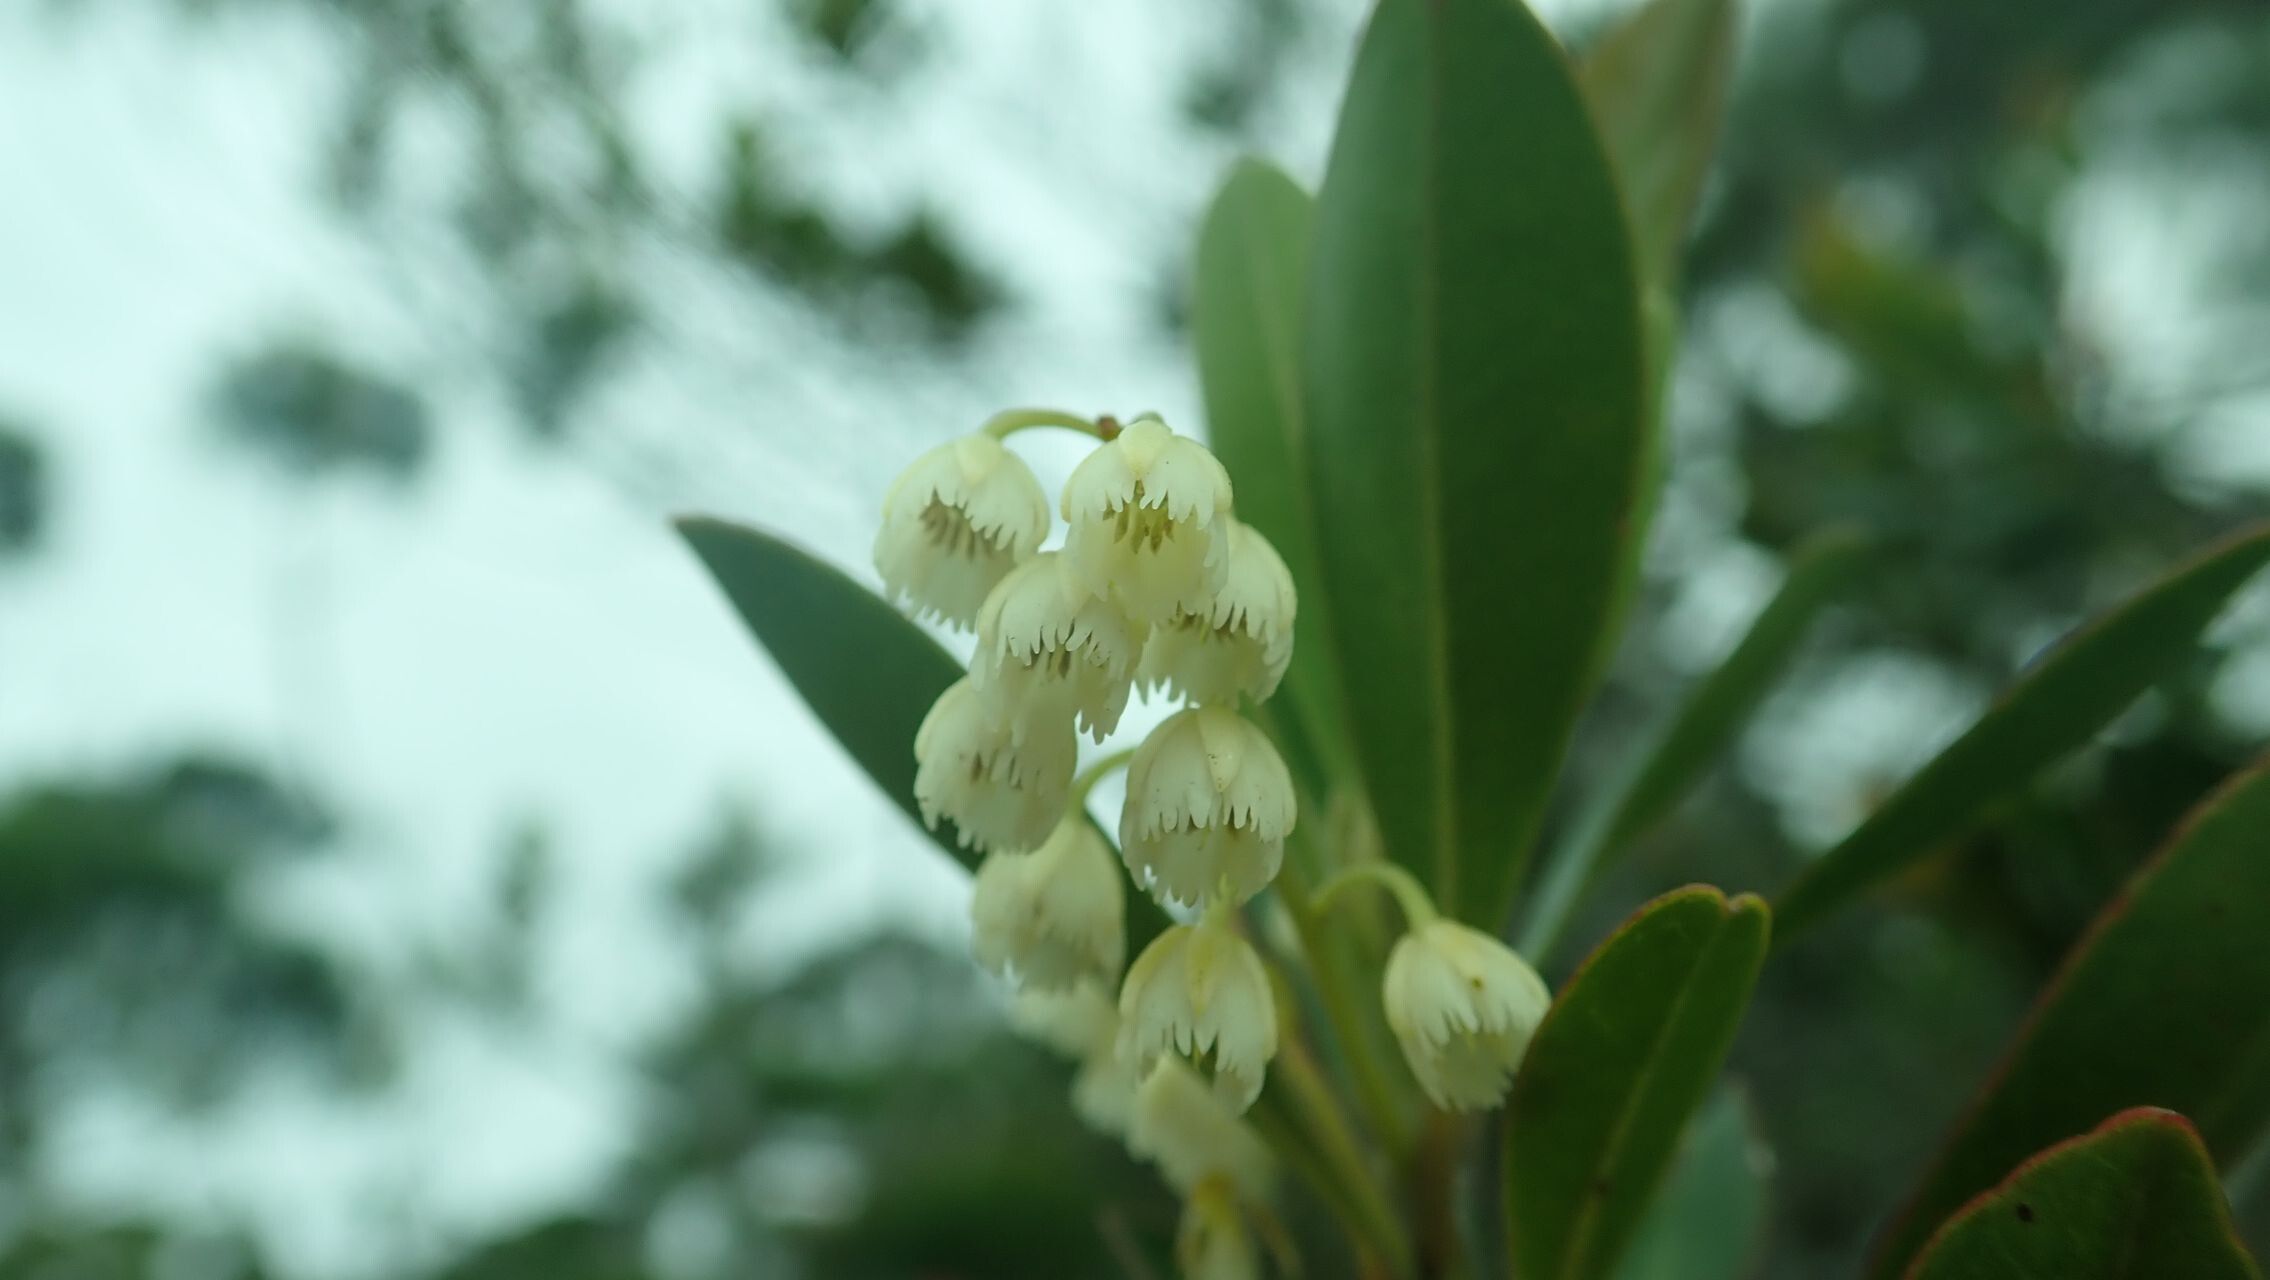
Hello there, fellow garden enthusiasts! Today, we’re diving into the wonderful world of propagating Elaeocarpus alaternoides, also known by its common name, the Rusty Jack Bean. I’ve been growing these beauties for years in my own garden, and honestly, there’s nothing quite like the satisfaction of nurturing a brand-new plant from a tiny cutting. Their attractive glossy leaves and delicate blooms make them a real stand-out, and sharing them with friends or expanding your own collection feels incredibly rewarding.
Now, if you’re new to propagating, you might be wondering if this is a good one to start with. I’d say Elaeocarpus alaternoides falls somewhere in the middle. It’s not the absolute easiest plant for a complete beginner, but with a little care and attention, you’ll find it’s definitely achievable and well worth the effort.
The Best Time to Start
For the highest success rates with Elaeocarpus alaternoides, I find that the late spring to early summer is your golden window. This is when the plant is actively growing, and the new, semi-hardwood stems have a good balance of flexibility and structure. Starting around May or June, after the intense heat has settled in but before growth slows down, gives your cuttings the best chance to establish themselves.
Supplies You’ll Need
Here’s what you’ll want to have on hand before you get started:
- Sharp, clean pruning shears or a sharp knife: Essential for making clean cuts that heal well.
- Rooting hormone (powder or gel): This is a great booster, though not always strictly necessary. I find it helps speed things up.
- Small pots or propagation trays: Clean containers are key to preventing disease.
- Well-draining potting mix: A good blend for cuttings is typically one part peat moss or coir, one part perlite, and one part coarse sand or vermiculite.
- Plastic bags or a propagation dome: To create a humid environment for your cuttings.
- Watering can with a fine rose head: For gentle watering.
- Labels and a permanent marker: So you don’t forget what you’ve planted and when!
Propagation Methods
I’ve had the most success with Elaeocarpus alaternoides using stem cuttings. It’s a straightforward method that generally yields good results.
Stem Cuttings:
- Select Your Cuttings: Look for healthy, vigorous shoots on your parent plant. You want stems that are roughly pencil-thick and have started to firm up a bit, but are not woody. Aim for cuttings that are about 4-6 inches long.
- Make the Cut: Using your clean shears or knife, make a clean cut just below a leaf node. This is the point where a leaf attaches to the stem, and it’s where roots are most likely to form.
- Prepare the Cutting: Remove the lower leaves from the cutting, leaving just a few at the tip. This prevents them from rotting in the soil and helps the cutting focus its energy on root development. If the remaining leaves are very large, you can carefully cut them in half to reduce water loss through transpiration.
- Apply Rooting Hormone: Dip the cut end of the stem into your rooting hormone, ensuring it’s coated. Tap off any excess.
- Plant Your Cuttings: Fill your pots or trays with your prepared potting mix. Make a small hole in the center of the soil with your finger or a pencil. Gently insert the cut end of the stem into the hole, and firm the soil around it to ensure good contact.
- Water Gently: Water your newly planted cuttings thoroughly but gently. You want the soil to be moist but not waterlogged.
- Create Humidity: To maintain a humid environment, place a plastic bag loosely over the pot, securing it with a rubber band, or cover the tray with a propagation dome. Make sure the plastic doesn’t touch the leaves as much as possible.
The “Secret Sauce” (Pro Tips)
Here are a few little tricks that have made a big difference for me over the years:
- Bottom Heat is Your Friend: If you can, place your pots on a gentle heating mat. This encourages root development from below, which can significantly speed up the process and increase your success rate. Aim for a consistent temperature of around 70-75°F (21-24°C).
- Don’t Over-Water! I know I said to water thoroughly initially, but after that, err on the side of slightly too dry rather than too wet. Overwatering is the fastest way to invite fungal diseases and rot, which is the death knell for cuttings. Check the soil moisture by gently poking your finger in – if it feels dry to the touch about an inch down, it’s time for a light watering.
- Location, Location, Location: Place your cuttings in a bright spot but out of direct, harsh sunlight. Too much sun will scorch the leaves and dry out the cuttings before they can root. A greenhouse shelf or a bright windowsill that doesn’t get direct afternoon sun is ideal.
Aftercare & Troubleshooting
Once your cuttings have been in their humid environment for a few weeks, you’ll want to start checking for roots. You can do this by gently tugging on a cutting. If there’s resistance, it’s a good sign roots are forming. You can also look for new leaf growth at the tips.
Once you see evidence of rooting, gradually acclimate your new plants to normal humidity by opening the plastic bag or dome a little each day over the course of a week. Continue to keep them in bright, indirect light. Water them as needed, allowing the top inch of soil to dry out between waterings.
The most common issue you might encounter is rot. If you notice stems turning black and mushy or developing a foul smell, it’s likely rot. This is usually due to overwatering or poor air circulation. Unfortunately, there’s not much you can do once rot sets in, so it’s best to discard the affected cuttings and start again, paying close attention to your watering and humidity levels. Sometimes, if only a small part of the stem is affected, you can try cutting away the rotten section and re-dipping the healthy part in rooting hormone, but it’s often a gamble.
A Little Encouragement to Close
Propagating plants is a journey, and sometimes it doesn’t work out the first time. Don’t be discouraged if a few cuttings don’t make it. The beauty of gardening is the learning process. Be patient, observe your plants, and celebrate every little success. Before you know it, you’ll have a whole collection of your own beautiful Elaeocarpus alaternoides! Happy propagating!
Resource: