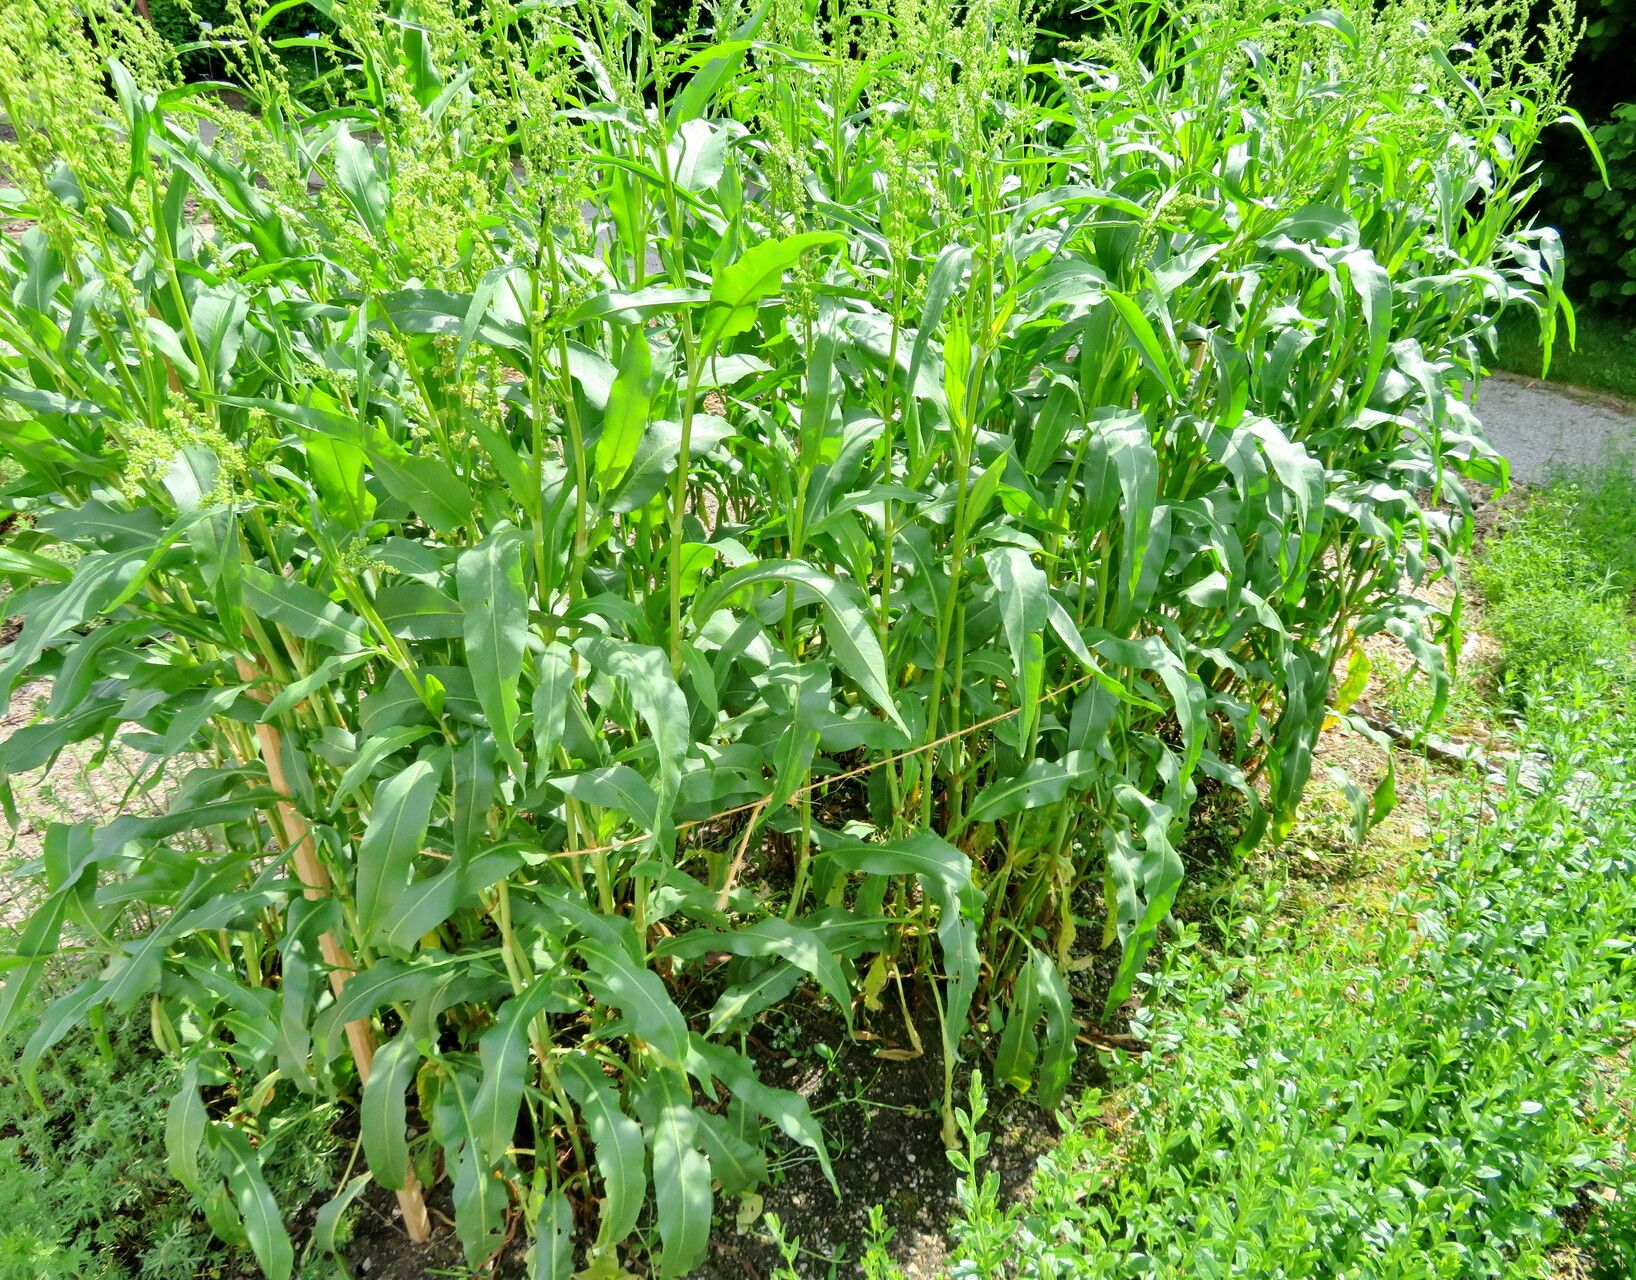
Hey there, fellow plant lovers! I’m so excited to chat with you today about a plant that’s been a quiet but reliable joy in my garden for ages: Rumex hymenosepalus. Also known as California dock, this beauty offers lovely, architectural foliage and a charming presence. Propagating it yourself is incredibly satisfying, giving you more of that wonderful green goodness for free! For beginners, I’d say Rumex hymenosepalus is moderately easy to propagate, making it a great plant to try your hand at. You’ll find the rewards are well worth the effort.
The Best Time to Start
When it comes to getting the best results, spring is your golden ticket. Once the threat of frost has passed and your Rumex is showing signs of vigorous new growth, that’s prime time. You’re essentially tapping into the plant’s natural energy surge, which dramatically increases your chances of success with cuttings and divisions.
Supplies You’ll Need
Gathering your supplies beforehand makes the whole process so much smoother. Here’s what I always have on hand:
- Sharp Pruning Shears or a Clean Knife: For making clean cuts.
- Well-Draining Potting Mix: A blend of equal parts peat moss, perlite, and compost works wonders.
- Small Pots or Seed Trays: With drainage holes, of course!
- Rooting Hormone (Optional but Recommended): Especially for stem cuttings, it can give them a helpful boost.
- Watering Can with a Fine Rose: To avoid disturbing delicate new roots.
- Labels and a Marker: Trust me, you’ll thank yourself later!
Propagation Methods
Let’s get our hands dirty! There are a couple of ways to bring more Rumex into your life.
Division: The Most Straightforward Approach
This is often the easiest way to get big results quickly.
- Gently Excavate: In the spring, carefully dig up your Rumex plant. You want to get as much of the root ball as possible without causing too much damage.
- Inspect the Roots: Look for natural divisions in the root system. Often, you’ll see where one crown joins another.
- Divide with Care: Using your hands or a clean spade, carefully split the root ball into sections. Each section should have at least one healthy root and a bit of the crown where new shoots emerge.
- Replant Immediately: Get your new divisions into their new homes as soon as possible. Use your well-draining potting mix and water them in well.
Stem Cuttings: For the Patient Gardener
This method takes a little more time but can yield multiple plants from a single source.
- Select Healthy Stems: Choose young, non-flowering stems that are about 4-6 inches long. Look for stems that are firm but not woody.
- Make Your Cut: Using your sharp shears, make a clean cut just below a leaf node (the little bump where a leaf grows from the stem).
- Prepare the Cutting: Remove the lower leaves, leaving just a few at the top. If you’re using rooting hormone, dip the cut end into it now.
- Plant Your Cuttings: Fill your small pots with your potting mix. Make a hole with a pencil or your finger and gently insert the cut end of the stem.
- Water Gently: Lightly water the soil to settle it around the cutting.
The “Secret Sauce” (Pro Tips)
Here are a few little tricks I’ve picked up over the years that really help.
- Don’t Let Those Leaves Drip Dry: If you’re doing water propagation, or even just waiting to pot up cuttings, never let the leaves sit in stagnant water. This is a fast track to rot. If you’re rooting in water, change it every few days.
- A Little Warmth Goes a Long Way: For cuttings, providing bottom heat can significantly speed up root formation. A heat mat designed for seedlings is perfect for this. It mimics springtime warmth and tells those roots to get growing!
- Air Circulation is Key: Especially for cuttings, good airflow helps prevent fungal issues. If you’re covering your pots with a plastic bag or dome, make sure to vent it regularly.
Aftercare & Troubleshooting
Once your Rumex has rooted, it’s time for a little TLC.
- Signs of Success: For divisions, you’ll see new leaves unfurling relatively quickly. For cuttings, a gentle tug will meet resistance if roots have formed. You might also see new growth at the top.
- Gradual Acclimation: If your cuttings were in a humid environment (like under a dome), gradually introduce them to drier air over a few days before moving them to their permanent spot.
- Water Wisely: Keep the soil consistently moist but not waterlogged for new divisions and rooted cuttings. As they establish, you can start watering as you would your mature plants.
- Watch for Rot: The most common sign of failure is mushy, black stems or roots. This is usually due to overwatering or poor drainage. If you see this, it’s sadly often time to start again.
So there you have it! Propagating Rumex hymenosepalus is a wonderfully rewarding project. Be patient with your new green babies, enjoy the process of nurturing them, and soon you’ll have even more of this lovely plant to admire. Happy gardening!
Resource:
https://identify.plantnet.org/k-world-flora/species/Rumex%20hymenosepalus%20Torr./data