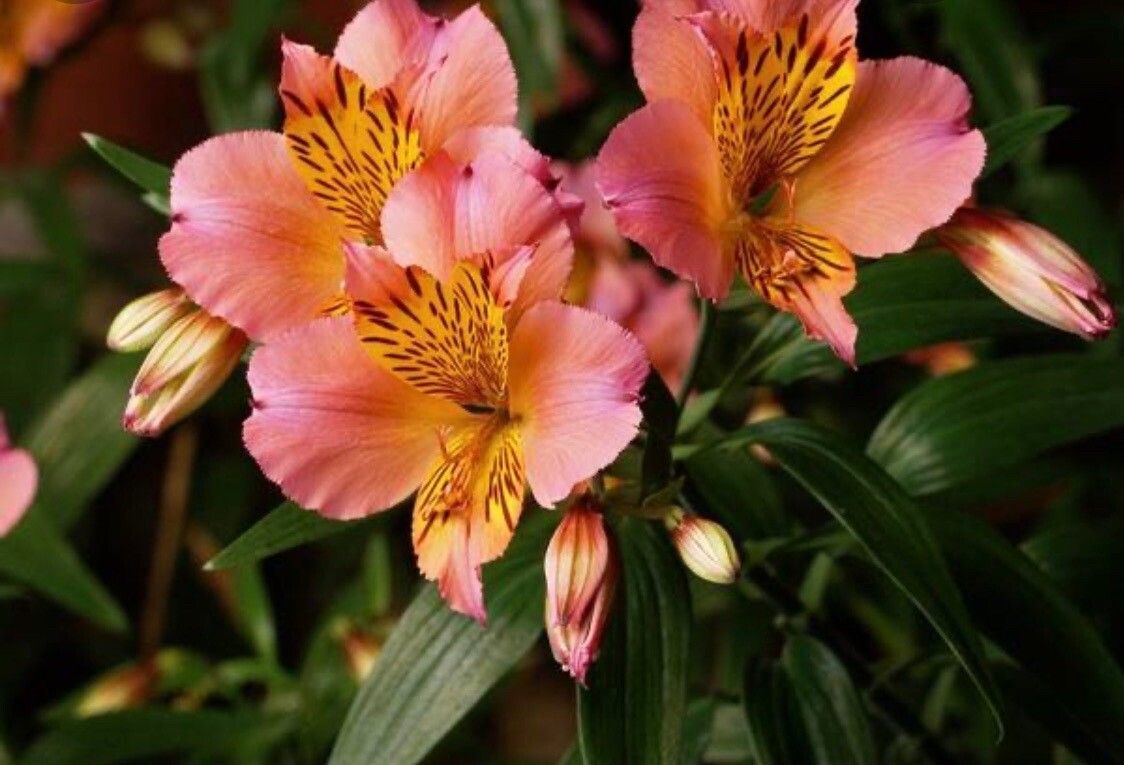
Oh, Alstroemeria! Those cheerful, long-lasting blooms are such a delight in any garden, aren’t they? They bring a burst of vibrant color and a touch of the exotic, and the best part? Getting more of them is entirely doable. I’ve been coaxing new Alstroemeria plants from my existing ones for years, and it’s a truly rewarding feeling to see those little wonders take root. If you’re new to propagation, Alstroemeria might be a little bit of a learning curve, but with a bit of patience and these tips, you’ll be well on your way.
The Best Time to Start
For Alstroemeria, the spring, as new growth emerges, is your golden ticket. After the last frost, when the soil is warming up and the plant is gearing up for its summer show, it’s the perfect time to gently encourage new life. You want to catch it before it puts all its energy into flowering. Another excellent window is late summer or early fall, after the main blooming period has passed but before the real chill sets in. This gives the divisions or cuttings a good chance to establish before winter.
Supplies You’ll Need
- Sharp Pruning Shears or a Knife: Cleanliness is key!
- Rooting Hormone (Optional but Recommended for Cuttings): Look for one specifically for softwood or semi-hardwood cuttings.
- Pots or Trays: Small, clean pots or seed starting trays with drainage holes are perfect.
- Well-Draining Potting Mix: A good blend includes peat moss, perlite, and a bit of compost. You can also buy a specific seed starting mix.
- A Watering Can or Mister: Gentle watering is essential.
- Labels: Because trusting your memory is a risky business!
- A Small Trowel or Dibber: For making holes in the soil.
Propagation Methods
Alstroemeria can be a bit stubborn when it comes to stem cuttings, so I often rely on division, which is my go-to method.
1. Division: The Most Reliable Way
This is where you physically separate a mature plant into smaller pieces, each with its own roots and shoots.
- Gently Excavate: In your chosen season (spring or early fall), carefully dig around the base of your Alstroemeria plant. You want to loosen the soil and get a good view of the root ball.
- Lift the Plant: Once you’ve loosened it enough, gently lift the entire clump from the ground.
- Inspect the Roots: You’ll see fleshy roots with shoots emerging from them. Look for natural breaks in the root system where you can see separate growth points.
- Separate the Divisions: Using your hands or a clean knife, carefully separate the clump into sections. Each section should have at least one or two healthy shoots and a good portion of root. Don’t be afraid to cut through some roots if necessary, just try to keep them as intact as possible.
- Replant Immediately: Plant your new divisions into prepared pots or directly back into the garden. Make sure they are planted at the same depth they were growing before. Water them in thoroughly.
2. Stem Cuttings: A Bit More of a Challenge
While not always as successful as division for Alstroemeria, it’s still worth a try!
- Take Your Cuttings: In the late spring or early summer, select healthy, non-flowering stems that are about 4-6 inches long. Using your sharp shears, make a clean cut just below a leaf node (where a leaf attaches to the stem).
- Prepare the Cuttings: Remove the lower leaves, leaving only a couple of leaves at the top. This reduces water loss.
- Dip in Rooting Hormone (Optional): If using rooting hormone, dip the cut end of each stem into the powder or gel. Tap off any excess.
- Plant the Cuttings: Fill small pots with your moistened, well-draining potting mix. Make a hole with a dibber or pencil, and gently insert the cutting. Firm the soil around it.
- Create a Humid Environment: Cover the pot with a plastic bag or place it in a propagator. This helps maintain humidity, which is crucial for cuttings. Make sure the leaves don’t touch the plastic.
The “Secret Sauce” (Pro Tips)
- Don’t Drench, Just Dampen: When watering new divisions or cuttings, aim for consistently damp soil, not waterlogged. Soggy conditions are the quickest way to invite rot.
- Bottom Heat for Cuttings: If you’re trying stem cuttings, placing the pots on a gentle heat mat can really speed up root development. It mimics the warmth of spring soil and gives those tiny roots a nudge.
- Patience with Divisions is Key: Sometimes, divisions might look a little sad for a week or two as they adjust. Don’t panic! As long as the shoots are firm and green, they’re likely just settling in.
Aftercare & Troubleshooting
Once your new Alstroemeria divisions are planted, water them consistently but allow the surface to dry slightly between waterings. Keep them in a bright spot, but out of harsh direct sun for the first few weeks. For stem cuttings, check regularly for condensation inside the plastic bag. If it’s excessive, open the bag for a few hours to allow some air circulation.
The most common issue you might encounter is rot, especially with cuttings. This will look like the stem turning black and mushy. If you see this, unfortunately, that cutting is a goner. Prevention is better than cure – ensure excellent drainage and avoid overwatering! Wilting can also occur if the plant isn’t getting enough water or if it’s too hot.
A Little Encouraging Closing
Propagating Alstroemeria is a journey, and like any good garden project, it’s about the process. Be patient with your new babies. Some will take off immediately, while others might need a little more time. Celebrate every little success, learn from any mishaps, and most importantly, enjoy the satisfaction of multiplying your garden’s beauty, one cheerful Alstroemeria at a time. Happy gardening!
Resource:
https://identify.plantnet.org/k-world-flora/species/Alstroemeria%20speciosa%20M.C.Assis/data