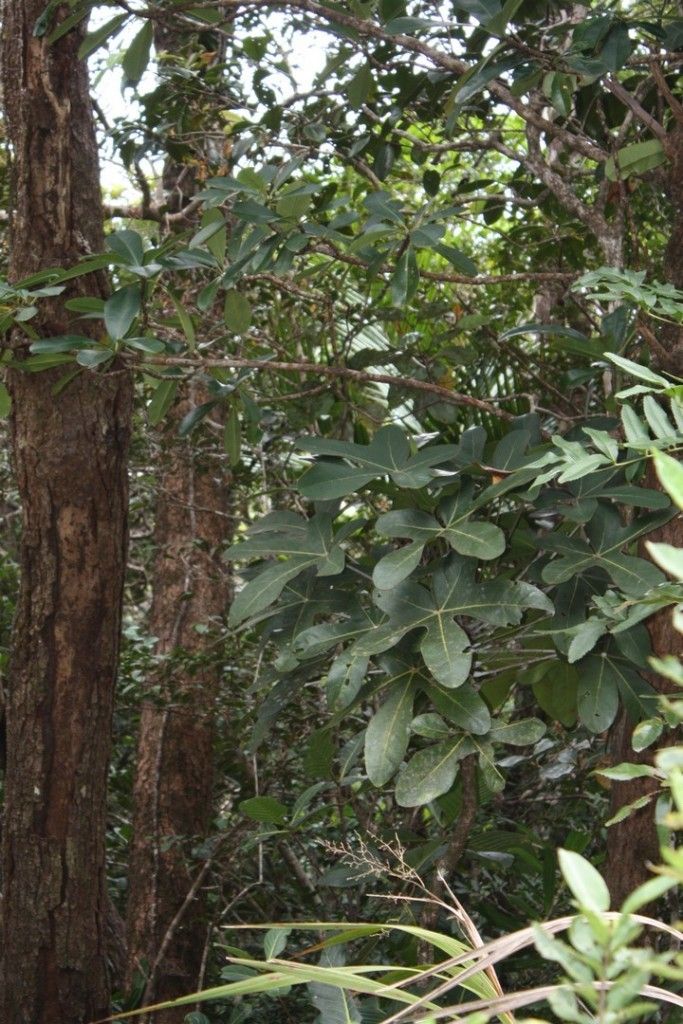
Hello there, fellow plant lovers! I’m so excited to chat with you today about a truly captivating plant: Acropogon francii. You know, the one with those absolutely gorgeous, often velvety, leaves that bring such a unique texture and a touch of the exotic to any space. Growing these from scratch is incredibly satisfying. It’s like unlocking a little bit of plant magic! Now, if you’re just dipping your toes into propagation, Acropogon francii can be a tad on the fiddly side, but trust me, with a little patience and these tips, you’ll be a pro in no time.
The Best Time to Start
For the best chance of success with your Acropogon francii, aim to propagate in late spring or early summer. This is when the plant is actively growing, brimming with energy, and much more inclined to sprout new roots. You’re essentially working with the plant at its peak, so it’s a much easier transition to a new home.
Supplies You’ll Need
To get your Acropogon francii propagation journey underway, here’s what you’ll want to have on hand:
- Sharp, clean pruning shears or a craft knife: For precise cuts without bruising.
- A well-draining potting mix: I’m a big fan of a mix that includes perlite or orchid bark. Something that won’t hold too much moisture.
- Small pots or propagation trays: Whatever you have that will hold your cuttings securely.
- Rooting hormone (optional but recommended): This little helper can give your cuttings a significant boost.
- Clear plastic bag or a propagation dome: To create a humid microclimate.
- A watering can with a fine mister: To keep things gently moist.
- Patience, lots of it!
Propagation Methods
Acropogon francii is generally a good candidate for stem cuttings. It’s my go-to method, and I find it quite reliable.
Here’s how I do it:
- Select a Healthy Stem: Look for a vigorous, non-flowering stem on your mature plant. The stem should be firm, not woody, and ideally have at least two to three leaf nodes. These are the bumps on the stem where leaves emerge.
- Make the Cut: Using your clean shears or knife, make a clean cut just below a leaf node. This is crucial because roots are most likely to form at these points.
- Prepare the Cutting: Gently remove the lower leaves from the cutting. You want to expose at least one or two leaf nodes that will be below the soil line. If the leaves are large, you can even cut them in half to reduce water loss.
- Apply Rooting Hormone (if using): Dip the cut end of the stem into your rooting hormone powder, tapping off any excess.
- Plant Your Cutting: Fill your small pot or propagation tray with your prepared, moistened potting mix. Make a small hole with your finger or a pencil and insert the cut end of the stem. Gently firm the soil around the cutting to ensure good contact.
- Create a Humid Environment: Water the soil lightly. Then, cover the pot with a clear plastic bag, securing it with a rubber band, or place it under a propagation dome. This traps humidity, which is vital for cuttings to root.
- Provide Light and Warmth: Place your cuttings in a spot that receives bright, indirect light. Avoid direct sun, which can scorch the delicate leaves. They also appreciate a bit of warmth, so a spot on a heat mat can be beneficial.
The “Secret Sauce” (Pro Tips)
Over the years, I’ve learned a few little tricks that seem to make all the difference.
- Firstly, when you’re propagating plants that appreciate humidity, like Acropogon francii, make sure your leaves never touch the water if you choose to water propagate by accident or if there’s condensation. This might seem obvious, but excess moisture on the leaves can lead to fungal issues. Good airflow is your friend!
- Secondly, don’t underestimate the power of bottom heat. A seedling heat mat gently warms the soil from below, encouraging root development and significantly speeding up the process. It’s like giving your cuttings a cozy heated blanket!
- And finally, be patient. Some plants root quickly, while others take their sweet time. Resist the urge to constantly dig them up to check for roots. You’ll know they’ve rooted when you see new growth appearing.
Aftercare & Troubleshooting
Once you see signs of new growth, or gently tugging on the cutting reveals resistance, your Acropogon francii has likely rooted! At this point, you can begin to gradually acclimate it to normal humidity. This means slowly opening the plastic bag or dome over a few days.
Continue to water gently, keeping the soil consistently moist but not waterlogged. You’ll want to maintain that bright, indirect light.
The most common issue you’ll face is rot. This usually happens if the soil is too wet and there isn’t enough airflow. If you notice the stem turning black or mushy at the soil line, it’s a sign of rot, and unfortunately, that cutting is likely lost. To prevent this, always use a well-draining mix and make sure your pots have drainage holes. If you’re using the plastic bag method, gently open it for an hour or two each day to allow for fresh air circulation.
A Encouraging Closing
Propagating plants is a journey of learning and observation. There will be successes, and there might be a few setbacks, but each one teaches you something valuable. Don’t be discouraged if your first attempt isn’t perfect. Keep experimenting, keep observing your plants, and most importantly, enjoy the beautiful process of bringing new life into your home. Happy propagating!
Resource:
https://identify.plantnet.org/k-world-flora/species/Acropogon%20francii%20(Guillaumin)%20Morat/data