Growing More of Your Beloved Dendropanax palustris!
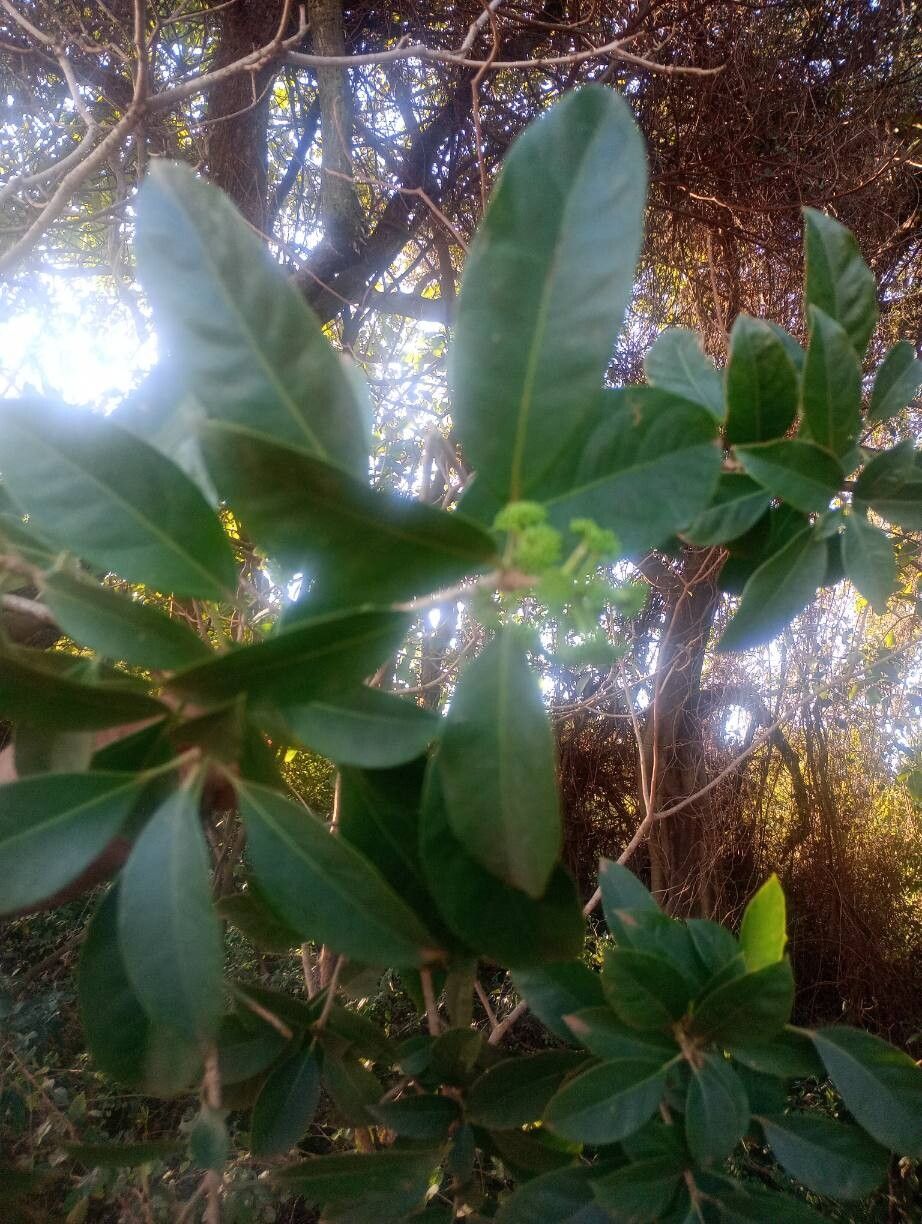
Oh, Dendropanax palustris! There’s something so captivating about its glossy, hand-shaped leaves and its elegant, tree-like form. It brings a touch of the tropics to any space, whether you’re growing it as a striking houseplant or in a sheltered outdoor spot. And the joy of growing new plants from cuttings? It’s truly one of gardening’s greatest thrills. Sharing a bit of that magic with friends, or simply expanding your own collection, makes it all the more special. Now, if you’re wondering about propagation, Dendropanax palustris is generally moderately easy to propagate, making it a fun project for most home gardeners.
When to Get Your Hands Dirty
The absolute sweet spot for taking cuttings of Dendropanax palustris is late spring to early summer. This is when the plant is in its most vigorous growth phase. You’re looking for stems that are semi-hardwood – they’ll be firm but still have a little flex to them, not completely woody and stiff, nor soft and brand new.
Your Propagation Toolkit
Here’s what you’ll want to gather before you start:
- Sharp Pruning Shears or a Clean Knife: For making clean cuts.
- Rooting Hormone: Not always strictly necessary, but it can give your cuttings a helpful boost. Look for one that contains IBA (indole-3-butyric acid).
- Well-Draining Potting Mix: A good blend is essential! I like to use a mix of equal parts peat moss or coco coir, perlite, and a bit of coarse sand. This ensures good aeration and prevents soggy soil.
- Small Pots or Propagation Trays: Clean pots are key to preventing disease.
- Clear Plastic Bag or Dome: To create a humid environment.
- Watering Can with a Fine Rose: For gentle watering.
- Optional: Heat Mat: For an extra boost in cooler conditions.
Bringing Forth New Life: Propagation Methods
Let’s get down to business! I find stem cuttings to be the most reliable method for Dendropanax palustris.
Stem Cuttings:
- Select Your Material: Find a healthy, established Dendropanax. Look for a stem that has grown this season and is beginning to firm up – that semi-hardwood stage we talked about.
- Make the Cut: Using your sharp shears or knife, take cuttings that are about 4-6 inches long. Make the cut just below a leaf node. A leaf node is where a leaf attaches to the stem; this is where roots are most likely to form.
- Prepare the Cuttings: Gently remove the lower leaves from the cutting, leaving just 2-3 leaves at the top. If the remaining leaves are quite large, you can cut them in half to reduce water loss through transpiration.
- Apply Rooting Hormone (Optional but Recommended): Dip the cut end of the stem into your rooting hormone powder, tapping off any excess.
- Plant Your Cuttings: Fill your small pots with your prepared, moistened potting mix. Make a small hole in the center of the soil with your finger or a pencil. Insert the cutting, ensuring the leaf nodes that will be buried are submerged in the mix. Gently firm the soil around the stem.
- Create Humidity: Water the soil lightly. Then, cover the pot with a clear plastic bag or place it inside a propagator with a lid. Make sure the leaves aren’t touching the plastic if possible. You want to create a mini-greenhouse effect.
The “Secret Sauce” – Insider Tips from My Garden
Here are a few little tricks that have made all the difference for me:
- Don’t Drown Your Cuttings: While humidity is crucial, overwatering the soil is your enemy. Let the top inch of soil dry out slightly between waterings. Soggy roots are the fastest way to rot.
- Bottom Heat is Your Best Friend: If you have a heat mat, placing your pots on it can significantly speed up root development. It mimics the warmth of the soil in a tropical environment, encouraging those roots to wake up and grow.
- Patience is the Ultimate Ingredient: Some plants root quickly, others take their sweet time. Dendropanax palustris appreciates a bit of a wait. Don’t be discouraged if you don’t see roots immediately.
Aftercare and What to Watch For
Once your cuttings are planted and humidified, place them in a bright, indirect light location. Avoid direct sun, which can scorch the tender leaves.
You’ll know your cuttings are rooting when you see new leaf growth or feel a gentle tug of resistance when you lightly pull on the cutting. This usually takes several weeks, sometimes even a couple of months. When they have a good root system (you might see roots peeking out of the drainage holes), you can slowly acclimate them to normal humidity by gradually opening the plastic bag or dome over a week or two. Then, transplant them into individual pots of their own.
The biggest pitfall is rot. If your cuttings turn mushy and black, or the leaves start to yellow and drop off rapidly without any signs of roots, it’s likely a sign of too much moisture and not enough air circulation. Don’t be afraid to discard any that succumb and try again!
Go Forth and Grow!
There you have it! Propagating Dendropanax palustris is a rewarding journey that lets you witness the magic of plant life up close. Be patient with your cuttings, providing them with the right conditions, and you’ll be rewarded with beautiful new plants. Happy gardening!
Resource:
https://identify.plantnet.org/k-world-flora/species/Dendropanax%20palustris%20(Ducke)%20Harms/data