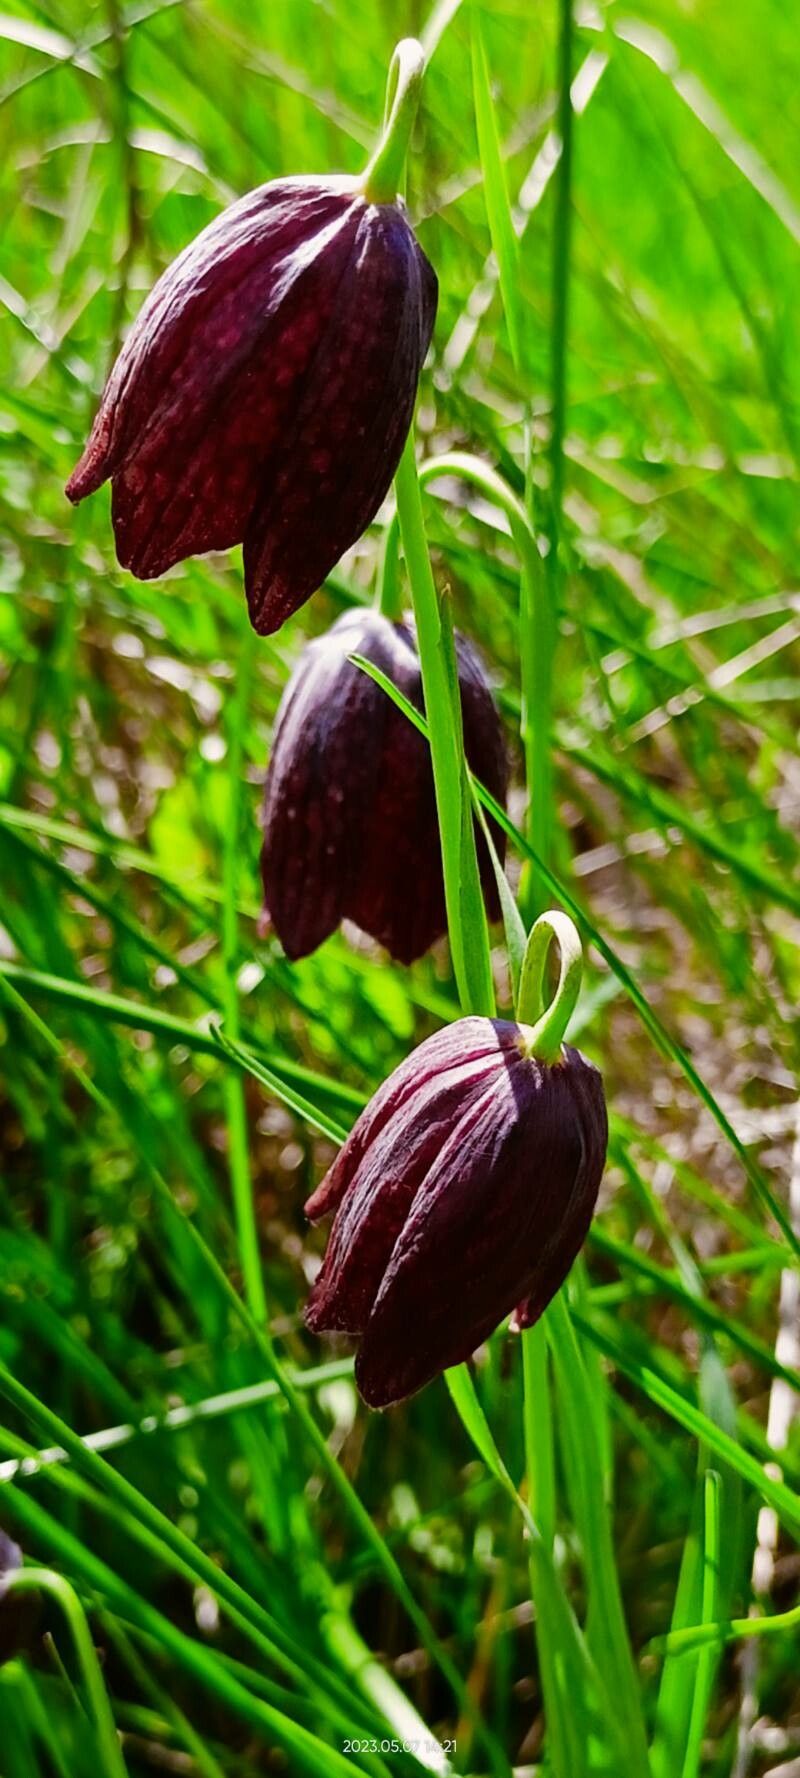
Hello there, fellow plant enthusiasts! I’m so excited to talk to you today about a truly captivating bloom: Fritillaria meleagroides, or the Snake’s Head Fritillary. Its unique checkered bell-shaped flowers are like little works of art in the garden, and there’s something incredibly satisfying about coaxing new life from an existing plant. Now, I’ll be honest, Fritillaria meleagroides isn’t the easiest plant to propagate for absolute beginners, but with a bit of care and patience, it’s a rewarding journey that any intermediate gardener can tackle.
The Best Time to Start
The sweet spot for propagating Fritillaria meleagroides is immediately after flowering, typically in late spring or early summer. This is when the bulbs are still plump and have a good store of energy. Waiting until the foliage has died back completely is also an option, but getting to it right as the blooms fade gives you the best chance of success.
Supplies You’ll Need
Gathering your tools before you start makes the whole process smoother. Here’s what I usually have on hand:
- Well-draining potting mix: A seed starting mix or a gritty compost mixed with perlite is ideal for preventing waterlogged conditions.
- Small pots or trays: Clean containers with good drainage holes are essential.
- Sharp, clean knife or secateurs: For making clean cuts.
- Gloves: Some people find their sap slightly irritating.
- Watering can or spray bottle: For gentle hydration.
- Optional: Rooting hormone powder: This can give a little boost, especially for division.
Propagation Methods
Fritillaria meleagroides are primarily propagated through division of their bulbs. They don’t readily produce offsets like some other bulbous plants, nor are they commonly grown from seed or cuttings.
Bulb Division:
- Gently excavate: Once the foliage has mostly died back, carefully dig around the parent plant. You want to find the main bulb and any smaller bulbs attached to it. Avoid damaging the bulbs with your trowel.
- Inspect the bulbs: Look for the main bulb and any smaller ones that have naturally formed at its base. These are your potential new plants.
- Separate carefully: Using your clean knife or fingers, gently detach any smaller bulbs that are growing off the main bulb. You’re looking for bulbs that are at least a pea-sized or larger. If a bulb is very tightly attached, it’s sometimes best to leave it to grow on the mother bulb for another season.
- Inspect for damage: Check the separated bulbs for any signs of rot or disease. Discard any that look unhealthy.
- Potting up: Fill your clean pots with your well-draining mix. Plant the divided bulbs about 3-4 inches deep, with the pointed end facing upwards. Space them a few inches apart if planting multiple in one pot, or plant a single bulb per pot.
- Water lightly: Give them a gentle watering to settle the soil. Don’t drench them; you just want to moisten the soil.
The “Secret Sauce” (Pro Tips)
Over the years, I’ve learned a few tricks that really seem to help these beauties thrive:
- Let them rest: Fritillaria bulbs need a dry dormancy period. After you’ve harvested and divided them, let them sit in a cool, dry, well-ventilated place for a few weeks before potting them up. This mimics their natural resting phase and can prevent rot.
- Don’t overcrowd: When you pot them up, resist the urge to cram too many bulbs into one pot. They need a bit of space to develop, and overcrowding can lead to fungal diseases.
- Think gritty: I can’t stress enough how important excellent drainage is. If your potting mix feels heavy or holds too much moisture, add more perlite or gritty compost. They absolutely hate wet feet, especially when they’re dormant.
Aftercare & Troubleshooting
Once your bulbs are planted, keep the pots in a cool, shady spot until you see signs of new growth. Water sparingly during the summer dormancy, just enough to keep the soil from becoming bone dry.
When you see shoots emerge (usually in the autumn or early spring, depending on your climate), you’ll want to increase watering slightly, ensuring the soil doesn’t dry out completely during active growth.
The most common problem you’ll encounter is rot. If you notice a bulb turning mushy and black, it’s likely succumbed to too much moisture. To prevent this, ensure your pots drain freely and that you’re not overwatering, especially during their rest periods. Another sign of trouble can be no growth whatsoever. This might mean the bulb was too small, damaged during division, or didn’t have enough stored energy. Don’t be disheartened if a few don’t make it; it’s part of the learning process.
Closing Thoughts
Propagating Fritillaria meleagroides is a gentle dance with nature, and it requires a good dose of patience. Don’t rush the process, and celebrate every tiny sprout that emerges. Enjoy the satisfaction of creating more of these garden gems from your existing ones. Happy gardening!
Resource: