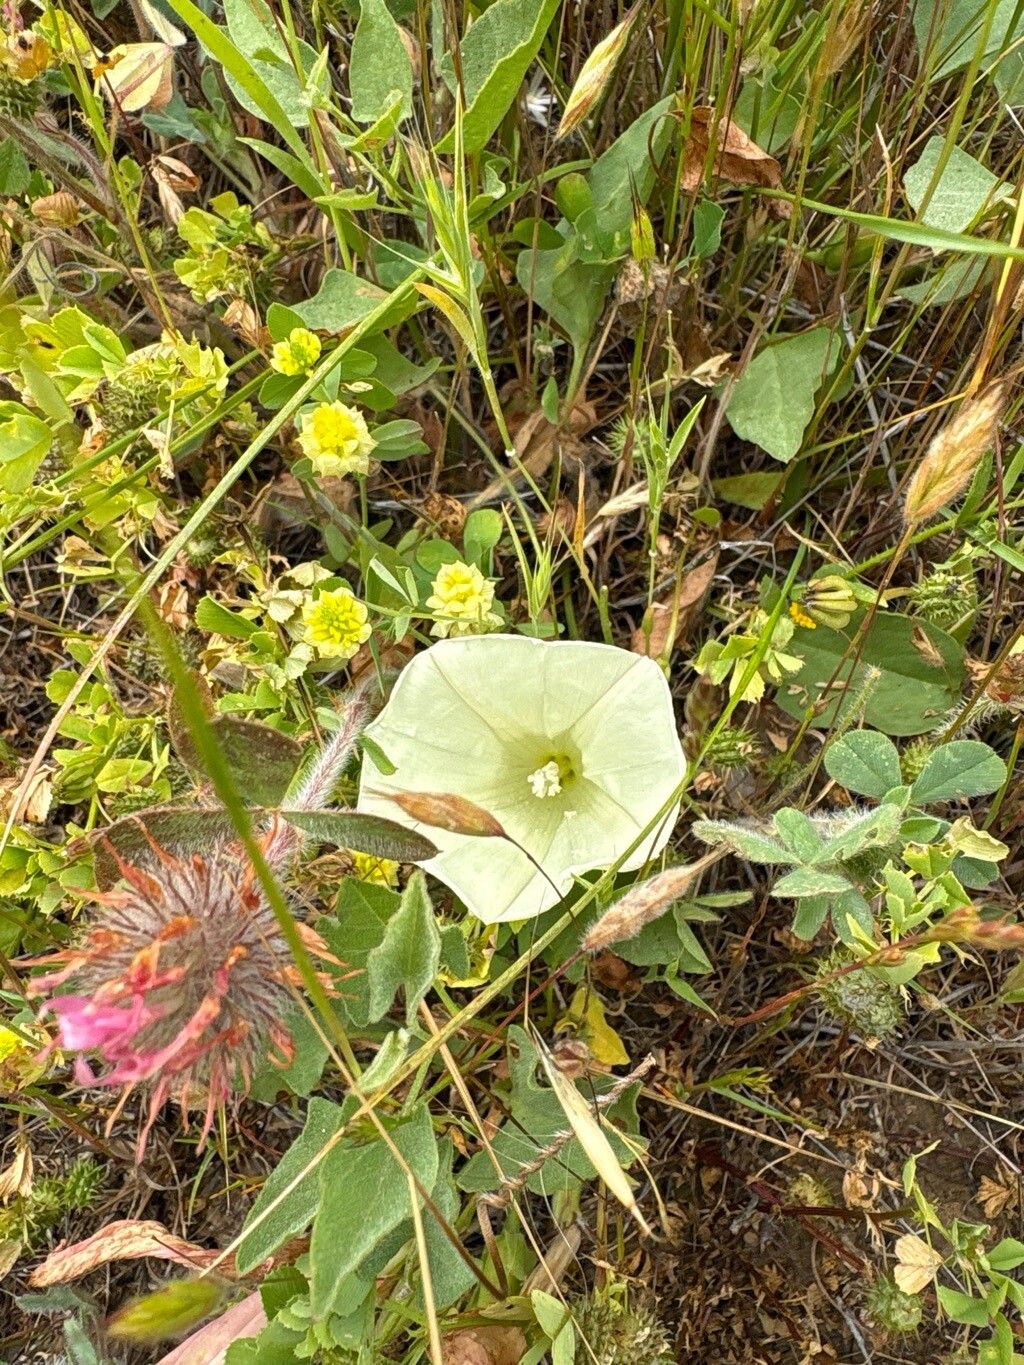
Oh, hello there! Pull up a chair and let’s chat about one of my favorite garden discoveries: Calystegia malacophylla. You might know it as a graceful morning glory relative, but this one has a special charm all its own. Its soft, downy leaves and delicate, often pinkish-white trumpet flowers are just lovely. Watching a new plant you’ve coaxed into existence from a small cutting or division? It’s a feeling of pure accomplishment, I tell you. And guess what? Propagating Calystegia malacophylla is actually quite forgiving, even for those of you just starting out in the gardening world.
The Best Time to Start
For the happiest results, I always aim to propagate my Calystegia malacophylla in late spring or early summer. This is when the plant is in its active growth phase. It has plenty of energy to dedicate to developing new roots. Trying to do it too early in the spring, before things have really warmed up, or late in the fall when it’s gearing down, can be a bit of a gamble. You want that warmth and vigor for the best chance of success.
Supplies You’ll Need
Here’s what I like to have on hand before I get my hands dirty:
- Sharp pruning shears or a clean knife: For making those all-important cuts.
- Potting mix: A light, well-draining mix is crucial. I often use a blend of peat moss or coco coir, perlite, and a touch of compost.
- Small pots or trays: With drainage holes, of course!
- Rooting hormone (optional but recommended): Helps speed things along. A powder or gel will do fine.
- Plastic bags or humidity domes: To keep things moist.
- Watering can: For gentle watering.
- Labels: Trust me, you’ll thank yourself later!
Propagation Methods
Calystegia malacophylla is a trooper, and there are a couple of ways we can encourage it to make more of itself.
Stem Cuttings
This is my go-to method for Calystegia malacophylla.
- Take your cuttings: On a healthy, non-flowering stem, make a cut just below a leaf node (where a leaf attaches to the stem). Aim for cuttings that are about 4-6 inches long. Remove the lower leaves, leaving just a few at the top.
- Prepare the cutting: If you’re using rooting hormone, dip the cut end into it, tapping off any excess.
- Plant the cutting: Make a small hole in your potting mix using a pencil or your finger. Gently insert the cutting, ensuring the node where you removed the leaves is buried. Firm the soil around it.
- Provide humidity: Water gently. Then, you can either cover the pot with a clear plastic bag (propped up so it doesn’t touch the leaves) or place it under a humidity dome.
- Find a good spot: Place the pot in a bright location, but out of direct, harsh sunlight. Keep the soil consistently moist but not waterlogged.
Division
If your Calystegia is already a well-established clump, division is a fantastic option.
- Dig carefully: Gently dig up the entire plant. You’ll want to disturb the root ball as little as possible.
- Separate the clumps: Look for natural divisions in the root system and stems. You can often gently pull apart the plant with your hands. If it’s a bit stubborn, use your trowel or a clean knife to cut through the roots.
- Replant immediately: Plant the divisions into their new homes, whether in pots or directly into the garden. Water them in well.
The “Secret Sauce” (Pro Tips)
Here are a couple of things I’ve learned from years of wrestling with plants that I think will really help you:
- Don’t Overwater those Cuttings! This is a common mistake. Too much moisture at the beginning can lead to rot before roots even have a chance to form. Your potting mix should be moist to the touch, like a wrung-out sponge, not soggy.
- A Little Warmth Goes a Long Way. If you have a seedling heat mat, placing your pots on it can be a game-changer for rooting stem cuttings. That gentle bottom heat encourages root development much faster.
Aftercare & Troubleshooting
Once you start seeing tiny white roots poking out the bottom of the pot, or new growth appearing on your divisions, congratulations!
- The key now is to gradually acclimate your new plant to less humid conditions. If it was under a plastic bag, start by opening it for a few hours each day.
- Continue to keep the soil consistently moist, especially as the roots establish.
- You can start feeding with a diluted liquid fertilizer once you see good leafy growth.
The most common issue you might encounter is rot. If your cutting turns mushy and black, it’s usually a sign of too much moisture or not enough air circulation. Don’t despair! Just remove the affected cutting and try again, adjusting your watering or humidity levels.
A Encouraging Closing
Propagating plants is a journey, and sometimes a little patience is all that’s needed. Don’t get discouraged if your first attempt isn’t a runaway success – I’ve certainly had my share of experiments that didn’t quite pan out! The joy of nurturing a new life from a small piece of your beloved Calystegia is incredibly rewarding. Enjoy the process, and happy gardening!
Resource:
https://identify.plantnet.org/k-world-flora/species/Calystegia%20malacophylla%20(Greene)%20Munz/data