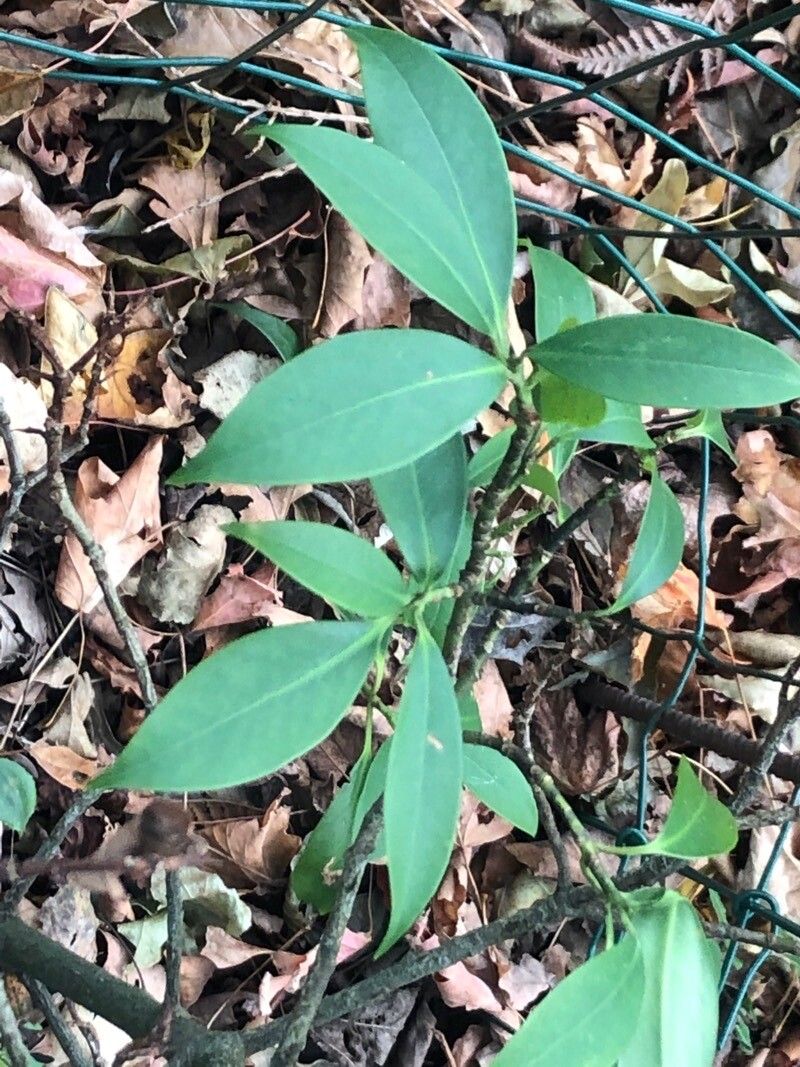
Hello fellow plant lovers! Today, we’re going to talk about a truly lovely shrub that often gets overlooked: Illicium simonsii, also known as Simons’ aniseed-tree. It’s not a plant you see everywhere, which makes it all the more special to have in your garden. Its glossy, aromatic leaves and subtle, starry flowers are a delight, and honestly, propagating it is a really rewarding way to share its beauty with friends (or just fill up your own garden!). For beginners, I’d say it’s moderately easy – with a little patience and the right approach, you’ll be successful.
The Best Time to Start
When it comes to Illicium simonsii, the sweet spot for starting new plants is late spring to early summer. This is when the plant is actively growing, and you’ll find the healthiest, most vigorous stems to work with. New growth that’s just starting to firm up, often called “softwood” cuttings, tends to root more readily during this time.
Supplies You’ll Need
Here’s what you’ll want to have on hand before you get started:
- Sharp pruning shears or a clean knife: For making clean cuts.
- Rooting hormone (optional but helpful): A powder or gel to encourage root development.
- Well-draining potting mix: A blend of peat moss or coco coir, perlite, and a little sand works wonders. You want it to hold moisture but not get waterlogged.
- Small pots or seed trays: Clean, with drainage holes, of course!
- Plastic bags or a propagation dome: To create a humid environment.
- A watering can or mister: For gentle watering.
- Labels: To keep track of your precious new plants!
Propagation Methods: Stem Cuttings
This is my go-to method for Illicium simonsii. It’s reliable and gives you a good chance of success.
- Select Your Cuttings: In late spring or early summer, look for healthy, current-year stems that are about 4 to 6 inches long. You want stems that are flexible but have started to lose their super-soft, leafy tip. The woody part of an older stem is usually too hard to root easily.
- Make the Cut: Using your clean shears or knife, take a clean, angled cut just below a leaf node (where a leaf attaches to the stem). This is where roots are most likely to form.
- Prepare the Cutting: Gently remove the lower leaves from the cutting, leaving only the top two or three sets of leaves. This reduces water loss and prevents leaves from rotting in the soil. If the remaining leaves are very large, I like to cut them in half horizontally to further minimize transpiration.
- Apply Rooting Hormone: If you’re using rooting hormone, dip the cut end of the stem into the powder or gel. Tap off any excess.
- Plant Your Cuttings: Fill your clean pots or trays with your well-draining potting mix. Make a hole in the center with a pencil or your finger, and gently insert the cutting, ensuring the nodes where you removed leaves are buried. Firm the soil gently around the base of the cutting.
- Water and Cover: Water gently to settle the soil. Then, cover the pots with a plastic bag or place them under a propagation dome. This creates a mini-greenhouse, keeping the humidity high, which is crucial for cuttings.
The “Secret Sauce” (Pro Tips)
Here are a couple of my little secrets that have helped me over the years:
- Bottom Heat is Your Friend: If you have it, place your pots on a gentle heat mat. This warmth encourages root development from below, giving your cuttings a real boost. Just make sure the heat isn’t too intense!
- Don’t Drench, Mist: While you want the soil to be moist, “soggy” is the enemy. Mist the leaves daily and water the soil only when the top inch feels dry. Overwatering can lead to rot, which is never fun.
- Air Circulation Matters: While you want humidity, don’t leave the plastic bag sealed tight 24/7. Open it up for an hour or so each day to allow for some air exchange. This helps prevent fungal issues.
Aftercare & Troubleshooting
Once your cuttings have roots, which can take anywhere from 4 to 8 weeks (or sometimes longer!), it’s time for a little more attention. You can often tell roots have formed when you see new leaf growth or gently tug on a cutting and feel resistance.
- Gradual Acclimation: Once rooted, gradually remove the plastic bag or dome over a few days. This helps the new plant adjust to normal humidity.
- Move to Brighter, Indirect Light: Gradually move your new plants to a spot with bright, indirect light. Avoid harsh direct sun, which can scorch delicate new growth.
- Watering: Continue to water when the top inch of soil is dry. They’re still establishing their root systems, so be mindful.
- Signs of Trouble: The most common problem is rot. If your cutting turns black and mushy, it’s likely succumbed to rot. This is usually due to too much moisture and not enough air circulation. Unfortunately, a rotted cutting is usually a goner. Brown, crispy leaves can indicate the cutting is drying out too much; ensure your humidity cover is effective.
A Little Patience Goes a Long Way
Propagating Illicium simonsii is a journey, not a race. There might be a few failures along the way, and that’s perfectly okay. Every gardener learns from their experiences. Enjoy the process of nurturing these little bits of life, and soon you’ll have your very own aniseed-trees to admire. Happy growing, everyone!
Resource:
https://identify.plantnet.org/k-world-flora/species/Illicium%20simonsii%20Maxim./data