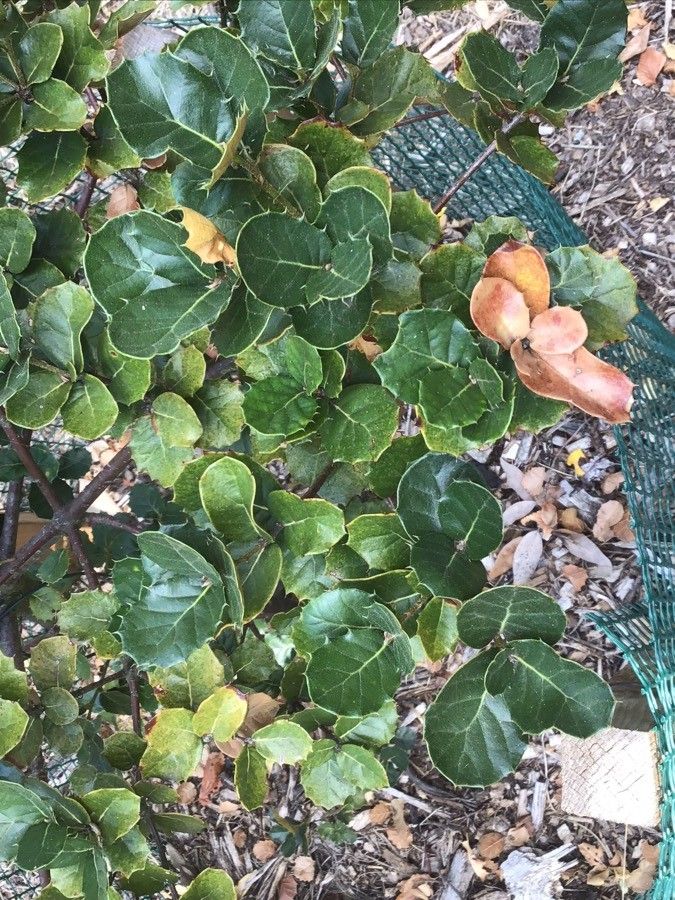
Hello there, fellow garden enthusiasts! Today, I want to chat about a truly special evergreen: the Quercus aquifolioides. You might know it by its common name, the Chinese Holly Oak, and believe me, it’s a stunner. Its spiky, holly-like leaves give it an exotic flair, and it’s a tough, dependable performer in many climates. Growing your own from a cutting or seed? That’s an incredibly rewarding feeling.
Now, if you’re new to the gardening scene, I’ll be honest. Propagating oaks, in general, can be a bit of a challenge. Quercus aquifolioides is no exception. It’s not exactly a common houseplant that roots for fun. But don’t let that discourage you! With a little patience and the right approach, it’s absolutely doable, and the thrill of nurturing a brand new oak from a tiny piece of its parent is unparalleled.
The Best Time to Start
For the highest success rates, aim to take cuttings in late spring or early summer. This is when the plant is actively growing, and the new wood is semi-hard. You’re looking for stems that are still flexible but have started to firm up a bit. Avoid the very soft, brand-new growth and also the old, woody stems. Think of it as striking gold in the middle ground!
Supplies You’ll Need
Here’s a little arsenal to have on hand:
- Sharp Pruning Shears or a Knife: Clean cuts are key!
- Rooting Hormone: A good quality rooting powder or gel will significantly boost your chances.
- Well-Draining Potting Mix: A 50/50 blend of perlite and peat moss or coco coir works wonders. You want air and moisture, but no soggy bottoms.
- Small Pots or a Propagation Tray: Clean containers are essential to prevent disease.
- Plastic Bags or a Propagation Dome: To create a humid environment for your cuttings.
- Labeling Stakes: So you don’t forget what you’ve planted where!
- Watering Can with a Fine Rose: For gentle watering.
Propagation Methods
We’ll focus on stem cuttings for Quercus aquifolioides, as this is generally the most successful method for this particular oak.
- Select Your Cuttings: On a healthy, established plant, identify those semi-hardwood stems I mentioned. Look for a piece about 4-6 inches long. Make a clean cut just below a leaf node, which is where the leaf attaches to the stem.
- Prepare the Cuttings: Gently remove the lower leaves from the cutting. You want to leave just a few leaves at the top to help with photosynthesis. If the leaves are very large, I sometimes like to cut them in half to reduce water loss.
- Apply Rooting Hormone: Dip the cut end of the stem into your rooting hormone. Make sure it’s evenly coated. A little goes a long way!
- Plant Your Cuttings: Fill your small pots or propagation tray with your prepared potting mix. Make a small hole in the center with a pencil or your finger.
- Insert Cuttings: Gently place the hormone-coated end of the cutting into the hole and firm the soil around it.
- Water Gently: Water the soil thoroughly but gently, ensuring the cuttings are secure.
- Create Humidity: Place the pots into a plastic bag, sealing it loosely, or cover them with a propagation dome. This traps moisture, creating the humid microclimate your cuttings crave.
The “Secret Sauce”
Over the years, I’ve picked up a few tricks that make a real difference:
- Bottom Heat is Your Friend: If you have the option, place your propagation tray on a gentle heat mat. Oaks love a bit of warmth rising from below to encourage root development. Just a mild warmth is perfect.
- Don’t Overcrowd: Give your cuttings a little space. They need air circulation, even under a dome, to prevent fungal issues. Also, when you remove the plastic bag for the first time (see aftercare!), do it for a short period and then re-cover. Gradually increase the time the bag is off over a few days to “harden off” the cuttings to normal humidity.
- Cleanliness is Paramount: I cannot stress this enough. Sterilize your tools (a quick wipe with rubbing alcohol works wonders) and use clean pots. This prevents any nasty pathogens from getting a foothold on your vulnerable cuttings.
Aftercare & Troubleshooting
Once your cuttings are planted, the waiting game begins. Keep them in a bright, indirect light location. Avoid direct sun, which can scorch or dry them out too quickly. Check the soil moisture regularly. It should feel consistently moist but not waterlogged.
You’ll know your cuttings are starting to root when you see new leaf growth or feel a slight tug when you gently try to pull on a cutting. This can take anywhere from a few weeks to a few months, so patience is key!
If you see signs of rot – mushy, blackened stems – it’s usually a sign of too much moisture and poor air circulation. Unfortunately, these cuttings are likely lost. Don’t get discouraged! Clean everything out and try again. Sometimes, a cutting just isn’t destined to be.
A Little Encouragement
Propagating something as magnificent as a Quercus aquifolioides is a journey, not a race. There will be times you wonder if anything is happening, and there might be a few failures along the way. Embrace the learning, celebrate the successes, and remember that every gardener, no matter how experienced, has lost a cutting or two. Enjoy the process of tending to your little oak-in-training – it’s a beautiful act of connection with nature. Happy propagating!
Resource: