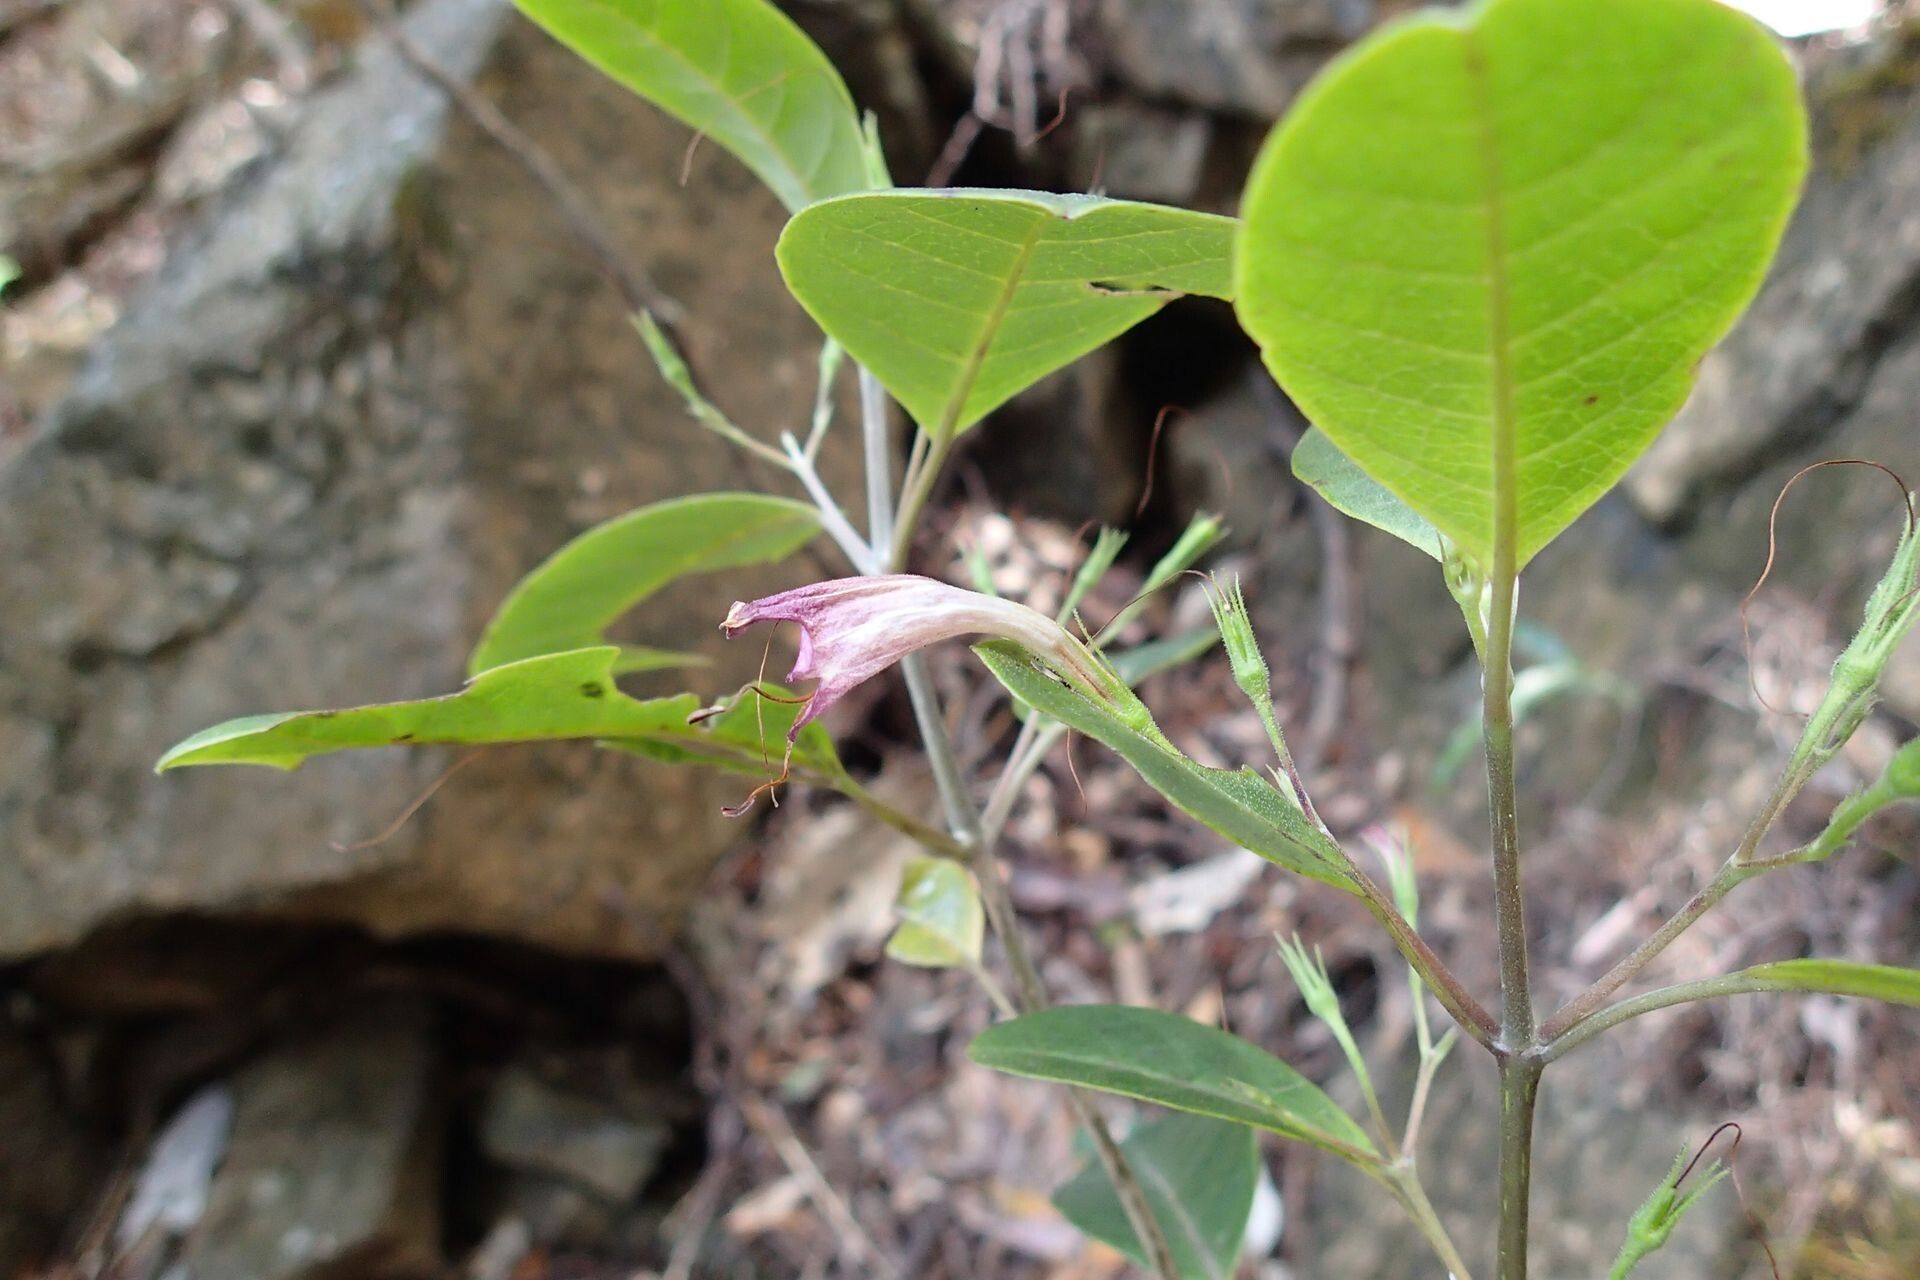
Hello, fellow plant lovers! Today, we’re diving into the wonderful world of Graptophyllum ophiolithicum, sometimes called the “Snakeskin Plant” or “Serpentine Plant.” If you’ve ever admired its striking, glossy leaves with their intricate patterns, you know how much character it brings to a space. And guess what? You can easily bring that beauty home to your own garden or collection by propagating it! It’s a truly rewarding experience, and I’m happy to report that, for the most part, this plant is quite forgiving, making it a fantastic project for beginners and seasoned gardeners alike.
The Best Time to Start
My personal preference for propagating Graptophyllum ophiolithicum is during its active growing season, which typically falls in the late spring or early summer. This is when the plant has plenty of energy to put into root development. You’ll see new growth emerging, and those are usually the best stems to take. However, if you’re in a warmer climate, you might find success almost year-round. Just aim for when the plant is looking vigorous and healthy.
Supplies You’ll Need
To get your propagation station set up, you’ll want a few key items:
- Sharp Pruning Shears or a Knife: For clean cuts that heal well.
- Rooting Hormone (Optional but recommended): This really gives cuttings a helpful boost. Gel or powder forms work great.
- Well-Draining Potting Mix: A good blend of potting soil, perlite, and a little bit of sand is perfect. Or grab a specialized succulent/cacti mix.
- Small Pots or Seedling Trays: Whatever you have that can hold your cuttings and is clean.
- Plastic Bag or Humidity Dome: To keep the humidity high around your cuttings.
- Water: For water propagation or to moisten your soil.
- Spray Bottle: For misting, if needed.
Propagation Methods
There are a couple of ways you can propagate your Graptophyllum ophiolithicum, and I find both work beautifully.
Stem Cuttings
This is my go-to method, and it’s generally the most successful for this plant.
- Take Your Cuttings: Using your sharp shears, cut sections of stem that are 4-6 inches long. Look for stems that are healthy and not too woody or too soft. Make a clean cut just below a leaf node, which is where roots will emerge.
- Prepare the Cuttings: Gently remove the lower leaves from your cuttings, leaving just a few at the top. This prevents them from rotting in the soil.
- Apply Rooting Hormone (Optional): Dip the cut end of each stem into your rooting hormone, tapping off any excess.
- Plant Your Cuttings: Fill your small pots with your well-draining potting mix. Make a small hole with your finger or a pencil, and then insert the cut end of the stem. Gently firm the soil around it.
- Water Gently: Water the soil thoroughly but gently, making sure not to dislodge the cuttings.
Water Propagation
This method is a bit more hands-off initially and allows you to watch the magic happen!
- Prepare Your Cuttings: Follow steps 1 and 2 from the stem cutting method above – take 4-6 inch cuttings and remove lower leaves.
- Place in Water: Fill a clean jar or glass with room-temperature water. Place your cuttings in the water, ensuring that no leaves are submerged. If your jar is wide, you might need to support the stems so they don’t all fall to one side.
- Find a Good Spot: Place the jar in a location with bright, indirect light.
- Change Water Regularly: Change the water every few days, or whenever it starts to look cloudy. This is crucial to prevent bacterial growth.
The “Secret Sauce” (Pro Tips)
Now for a few little tricks that can really make a difference!
- The Importance of Leaf Nodes: Always make your cutting just below a leaf node. Those little bumps are where the plant’s natural rooting hormones are concentrated. It’s like a little roadmap for new roots to grow from.
- Humidity is Key: For stem cuttings planted in soil, creating a humid environment is crucial. I like to pop a clear plastic bag over the pot, making sure the leaves don’t touch it. You can also use a small humidity dome. This is like a mini-greenhouse and prevents the cuttings from drying out before they can root.
- Patience with Water Propagation: When propagating in water, you might be tempted to put them in soil as soon as you see tiny roots. My advice? Wait until those roots are at least an inch long and have started to branch a bit. This gives them a much better start when you transplant them.
Aftercare & Troubleshooting
Once your cuttings have rooted (you’ll see new leaf growth or feel a gentle tug when you test them), it’s time for a little extra TLC.
- For Soil Cuttings: If you used the plastic bag method, gradually remove the bag over a few days to acclimatize the new plant to your home’s humidity. Continue to water when the top inch of soil feels dry.
- For Water Cuttings: Gently transplant your rooted cuttings into pots with your well-draining potting mix. Water them in well, and then treat them as you would a mature Graptophyllum ophiolithicum.
The most common issue you might encounter is rot. This usually happens if the soil is too wet, or if you have too many leaves submerged in water. If you see leaves turning yellow and mushy or the stem at the soil line looking dark and soft, it’s often a sign of overwatering and potential rot. Be sure to let the soil dry out a bit more between waterings. If you catch rot early, you might be able to cut away the affected part and try to reroot a healthy section.
A Little Encouragement to Grow
Propagating plants is a bit like gardening in miniature. It requires a touch of patience, a little observation, and a whole lot of hope. Don’t get discouraged if every single cutting doesn’t make it; that’s perfectly normal! With Graptophyllum ophiolithicum, you’re usually working with a pretty resilient plant, and the joy of watching those tiny roots emerge and new leaves unfurl is simply wonderful. So, grab your shears, gather your supplies, and happy propagating!
Resource:
https://identify.plantnet.org/k-world-flora/species/Graptophyllum%20ophiolithicum%20Heine/data