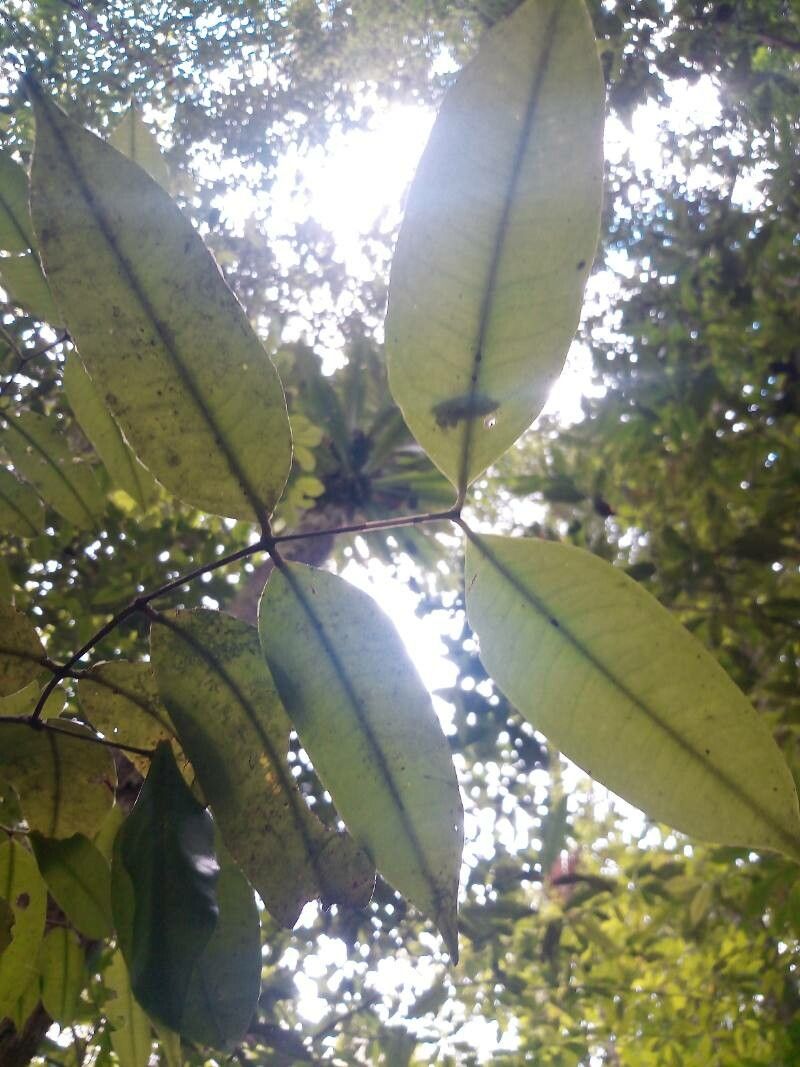
Hello there, fellow plant enthusiasts! Today, we’re diving into the wonderful world of Votomita guianensis. If you’ve had the pleasure of seeing this beauty grace someone’s garden or conservatory, you know what I mean. It’s got this lush, almost tropical vibe with its vibrant foliage and potential for delicate blooms. Propagating Votomita guianensis is a truly rewarding experience. Seeing a new little plant emerge from a simple cutting or division fills me with such joy. Now, let’s talk honestly – is it a walk in the park for a brand-new gardener? I’d say it falls into the “moderately easy” category. With a little patience and following these steps, you’ll be well on your way to success.
The Best Time to Start
For Votomita guianensis, the sweet spot for propagation is definitely during its active growing season. This typically means late spring through early summer. You’re looking for healthy, vigorous new growth. Avoid taking cuttings from stems that are woody or appear stressed. Fresh, green shoots are your best bet for quick rooting.
Supplies You’ll Need
Gathering your tools beforehand makes the whole process so much smoother! Here’s what you’ll want to have on hand:
- Sharp, clean pruning shears or a sharp knife: Sterilize them with rubbing alcohol to prevent disease.
- Rooting hormone (optional, but recommended): A good quality powder or gel will give your cuttings a significant head start.
- Well-draining potting mix: A blend of peat moss or coco coir, perlite, and a bit of compost works beautifully. You can also find specific houseplant or propagation mixes.
- Small pots or seedling trays: Ensure they have drainage holes.
- Plastic bags or a propagation dome: This helps maintain humidity around your cuttings.
- Watering can or spray bottle: For gentle watering.
- Labels and a marker: To keep track of your projects!
Propagation Methods
Let’s get our hands dirty with the best ways to multiply your Votomita guianensis.
Stem Cuttings
This is my go-to method for Votomita guianensis. It’s straightforward and usually yields great results.
- Select your cutting: Look for a healthy stem that’s about 4-6 inches long and has at least two sets of leaves.
- Make the cut: Just below a leaf node (where the leaf attaches to the stem), make a clean cut with your sterilized shears or knife. Remove the leaves from the bottom half of the cutting, leaving just a couple at the top.
- Apply rooting hormone: Dip the cut end into your rooting hormone, tapping off any excess.
- Pot it up: Fill your small pot with your well-draining potting mix. Make a small hole in the center with your finger or a pencil.
- Insert the cutting: Gently place the cut end of the stem into the hole and firm the soil around it.
- Water gently: Moisten the soil thoroughly.
- Create a humid environment: Cover the pot with a plastic bag (ensure the leaves don’t touch the bag if possible by propping it up with stakes or skewers) or place it under a propagation dome. Place it in a warm spot with bright, indirect light.
Water Propagation (Use with Caution)
While possible, I often find stem cuttings in soil to be more robust for Votomita guianensis. However, if you want to try water propagation:
- Prepare your cutting: Same as above, take a healthy stem cutting, removing lower leaves.
- Place in water: Put the cutting in a jar or glass filled with clean water. Make sure the leaf nodes are submerged, as this is where roots will emerge.
- Change the water regularly: Every few days, refresh the water to keep it clean and oxygenated.
- Provide light: Place it in bright, indirect light.
- Transplant once rooted: Once you see a good root system developing (about an inch or two long), carefully transplant it into your well-draining potting mix. Be extra gentle with these young roots!
The “Secret Sauce” (Pro Tips)
Here are a couple of things I’ve learned over the years that can really boost your success:
- Don’t let those leaves touch the water: If you’re using the water propagation method, soggy leaves are an invitation for rot. Try to prop up your cutting so only the nodes are submerged.
- Bottom heat is your friend: For stem cuttings, placing your pots on a heat mat designed for seedlings can dramatically speed up root formation. It mimics the warmth of spring soil, and plants absolutely love it! You can find these at most garden centers or online.
Aftercare & Troubleshooting
Once you see signs of new growth, like tiny leaves emerging from the top, that’s a fantastic sign that roots are forming!
- Acclimatize slowly: If you used a plastic bag or dome, gradually increase ventilation. Start by opening the bag for a few hours each day, then remove it completely over a week.
- Continue with bright, indirect light: Keep your new plant in a similar light situation.
- Water when the top inch of soil is dry: Be careful not to overwater.
- Watch for rot: The most common sign of trouble is a black, mushy stem at the soil line. This usually indicates too much moisture and not enough air circulation. If you see this, it’s often best to discard the cutting and start again, ensuring your soil drains well and you’re not overwatering. Yellowing leaves that persist can also indicate issues, either with water (too much or too little) or light.
A Encouraging Closing
Growing new plants is such a rewarding journey, and Votomita guianensis is a delightful specimen to propagate. Remember, not every cutting will make it, and that’s perfectly okay! Gardening is a learning process, and each attempt teaches you something new. Be patient, enjoy the magic of watching life emerge from a simple piece of a plant, and before you know it, you’ll have a whole collection of your own beautiful Votomita guianensis. Happy propagating!
Resource:
https://identify.plantnet.org/k-world-flora/species/Votomita%20guianensis%20Aubl./data