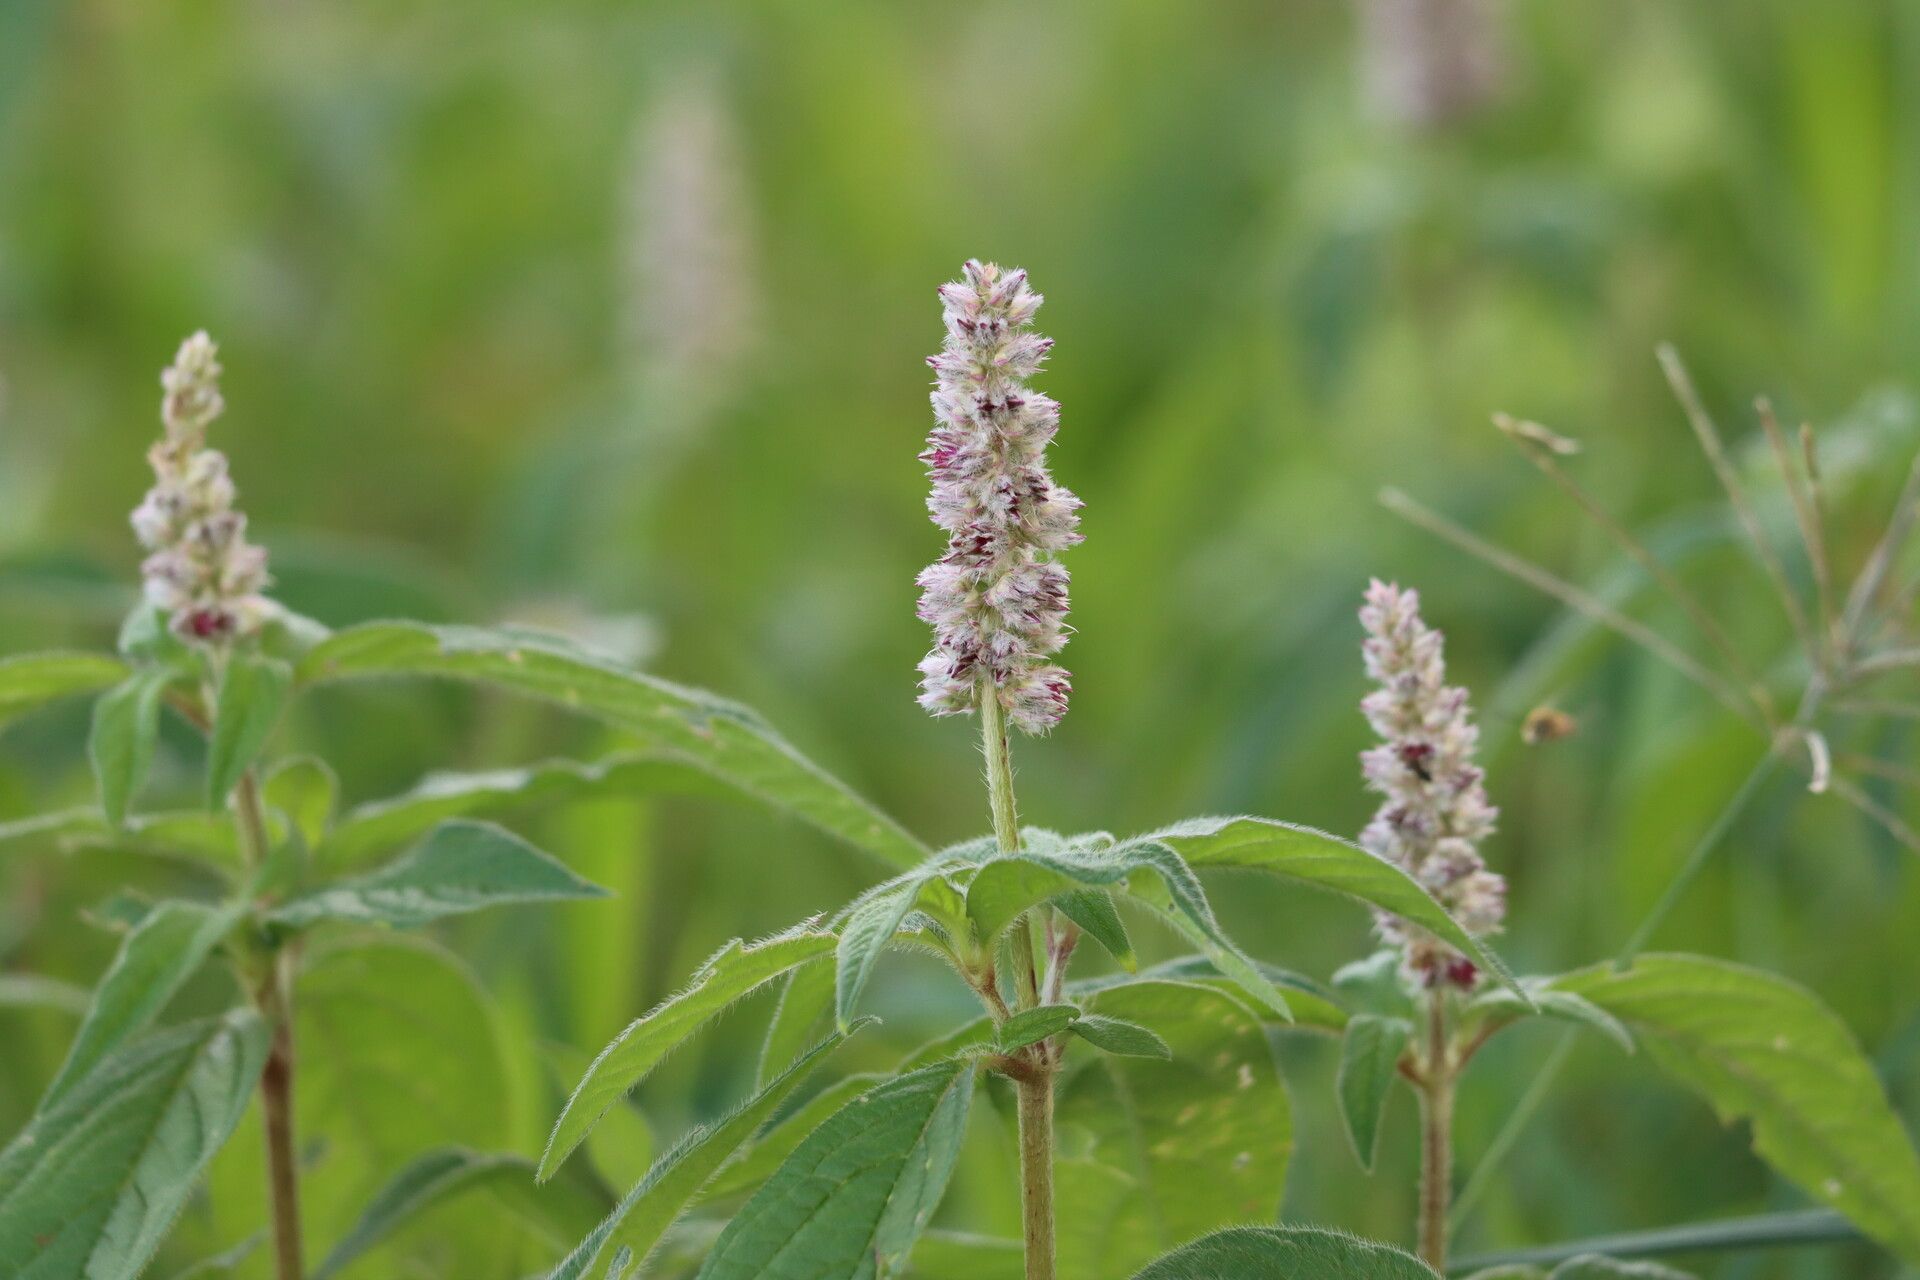
Hello fellow plant lovers! Today, we’re going to dive into the wonderful world of propagating Cyathula orthacantha. I’ve been growing and coaxing new life out of plants for two decades now, and I can tell you, there’s a special kind of joy in creating more of something beautiful from a single specimen. And Cyathula orthacantha? It’s a stunner. With its intricate, almost architectural form and those delightful spiky details, it’s a plant that really commands attention.
For those new to the plant-parenting game, I’d say propagating Cyathula orthacantha falls into the moderately easy category. It’s not going to throw fits if you miss a watering by a day, but it does appreciate a little attention to detail. You’ll be rewarded with a piece of your plant to share, to fill another spot in your garden, or simply to admire your growing skills.
The Best Time to Start
The sweet spot for propagating Cyathula orthacantha is definitely during its active growing season. Think late spring through mid-summer. This is when the plant is full of energy, ready to push out new growth and, importantly, send out those roots more readily. Starting when the days are getting longer and the temperatures are warming up gives your new cuttings the best chance to establish themselves before the cooler, dimmer months arrive.
Supplies You’ll Need
Before we get our hands dirty, let’s gather our toolkit. Having everything ready beforehand makes the whole process much smoother.
- Sharp, clean pruning shears or a sharp knife: Cleanliness is key to preventing disease!
- Rooting hormone (optional but recommended): This isn’t strictly necessary, but it can give your cuttings a significant boost.
- Well-draining potting mix: A good seed-starting mix or a blend of perlite and peat moss works beautifully. You want something airy that won’t hold too much moisture.
- Small pots or propagation trays: Anything that can hold your potting mix and your cuttings.
- Plastic bags or a propagation dome: To create a humid microclimate.
- Watering can or spray bottle: For gentle watering.
- Velcro ties or plant labels: To keep things organized.
Propagation Methods
Cyathula orthacantha is quite amenable to a few different propagation techniques. I find stem cuttings to be the most straightforward and successful method for this plant.
Stem Cuttings
- Take the Cutting: Using your sterilized pruning shears, select a healthy, non-flowering stem. Look for a stem that’s about 4-6 inches long and has at least a few sets of leaves. Make a clean cut just below a leaf node (where a leaf attaches to the stem). This is where the magic starts to happen.
- Prepare the Cutting: Gently remove the lower leaves from the cutting, leaving just 2-3 sets of leaves at the top. This helps the plant focus its energy on rooting rather than supporting unnecessary foliage. If the remaining leaves are quite large, you can even trim them in half to reduce water loss.
- Apply Rooting Hormone (Optional): Dip the cut end of the stem into your rooting hormone powder, tapping off any excess. This creates a protective layer and encourages root development.
- Plant the Cutting: Moisten your well-draining potting mix in your chosen pot. Make a small pre-made hole with your finger or a pencil, and then insert the cut end of your Cyathula orthacantha cutting. Gently firm the soil around it so the cutting stands upright.
- Create Humidity: Water the soil very gently. Then, cover the pot with a clear plastic bag, creating a mini-greenhouse effect. You can prop the bag up with small stakes or skewers so it doesn’t touch the leaves. Alternatively, use a propagation dome.
- Find the Right Spot: Place the pot in a location that receives bright, indirect light. Avoid direct sun, as this can scorch the delicate cuttings. A windowsill that gets morning sun but is shaded in the afternoon is often ideal.
The “Secret Sauce” (Pro Tips)
Here are a couple of things I’ve learned over the years that make a real difference:
- Bottom Heat is Your Friend: If you can, place your propagation pots on a heated seed mat. This gentle warmth from below encourages root development much faster than ambient room temperature alone. It’s like giving your cuttings a cozy electric blanket!
- Don’t Drench, Just Dampen: When watering your cuttings, aim for consistently moist, but never waterlogged, soil. Overwatering is the fastest way to invite rot, and nobody wants that. A light misting from a spray bottle can also help keep humidity levels up without drowning the roots.
- Patience with Potting: Resist the urge to pot up too soon! Wait until you see visible roots emerging from the drainage holes of your pot. This is your sure sign that the cutting has successfully established itself.
Aftercare & Troubleshooting
Once you start seeing new growth on your cutting, and perhaps roots peeking through the bottom of the pot, it’s time to transition.
- Acclimatization: Gradually introduce your new plant to less humid conditions. Start by opening the plastic bag for a few hours each day, then remove it altogether over a week or so.
- Watering: Water your young plant when the top inch of soil feels dry. Continue to ensure good drainage.
- Light: Gradually move your plant into a brighter light situation, again avoiding harsh, direct sun initially.
- Troubleshooting – Common Signs of Failure:
- Yellowing Leaves: This can be a sign of overwatering or insufficient light. Check your watering schedule and move it to a brighter spot.
- Wilting and Drooping: If the stem is mushy and the leaves are falling off, this is almost certainly rot, usually due to too much moisture. There’s often no coming back from this, so preventing it is key.
- No Signs of Life: If after several weeks you see absolutely no change, it could be that the cutting didn’t take. Don’t despair! Just try again with a fresh cutting – sometimes it takes a few tries.
Propagation is a journey, and it’s all about learning from each step. Don’t be discouraged if not every attempt is a roaring success. The most important thing is to enjoy the process of nurturing and growing. Happy propagating!
Resource: